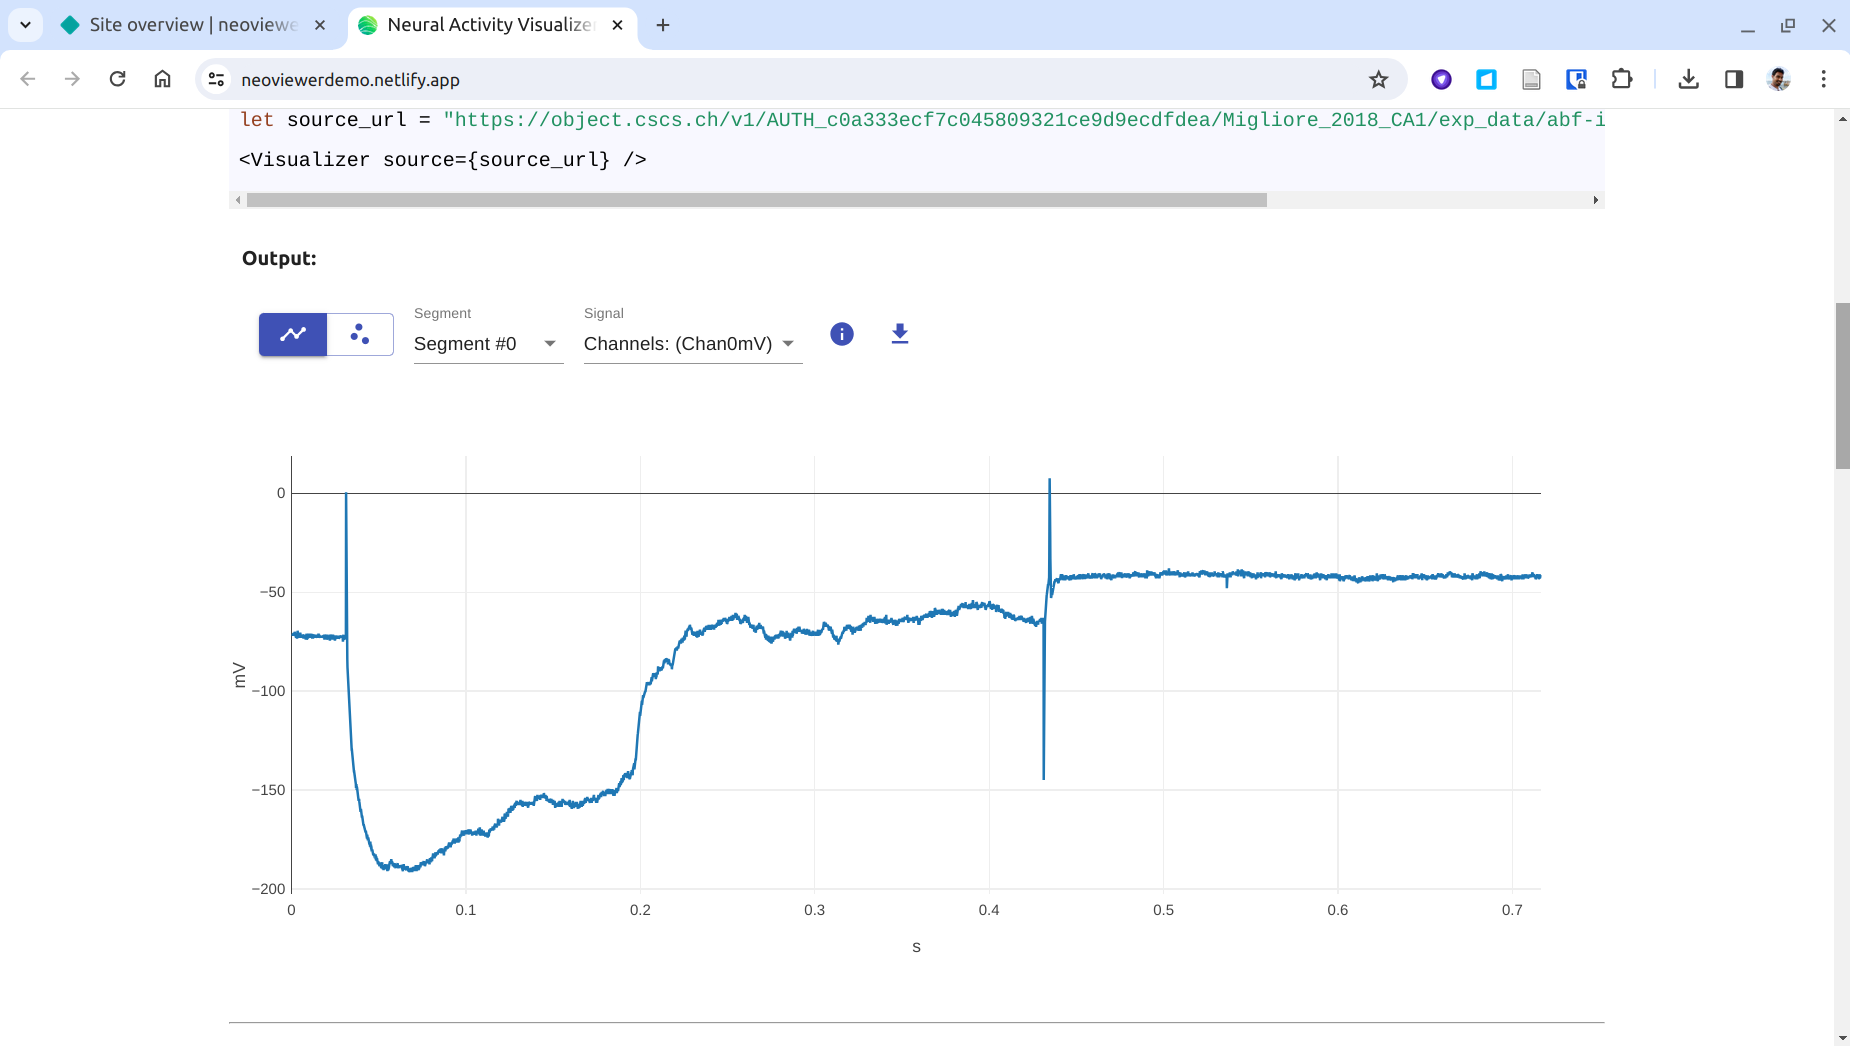
Deploying the React Demo App
A step-by-step guide to deploying the Neural Activity Visualizer ReactJS demo app. The final result will be similar to the app running on this page. You will need a GitHub account.
Step 1
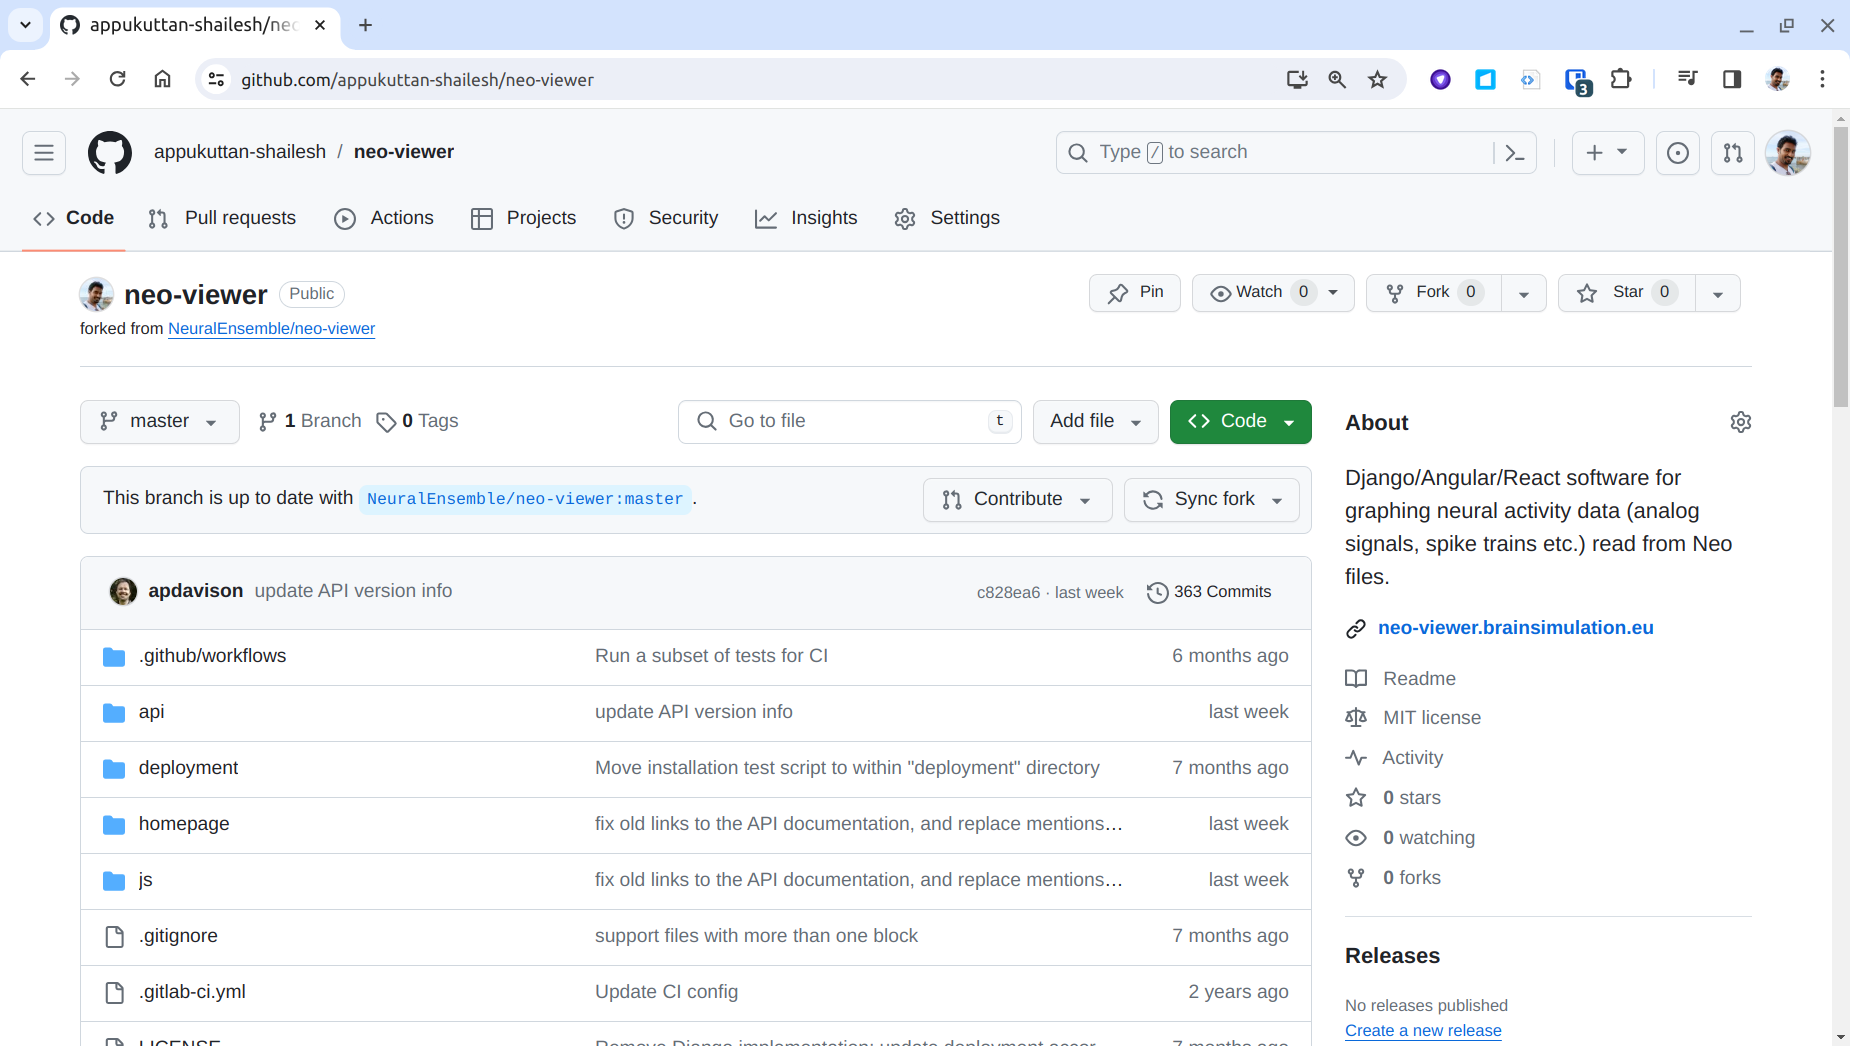
Open the GitHub repository at https://github.com/NeuralEnsemble/neo-viewer .
Step 2
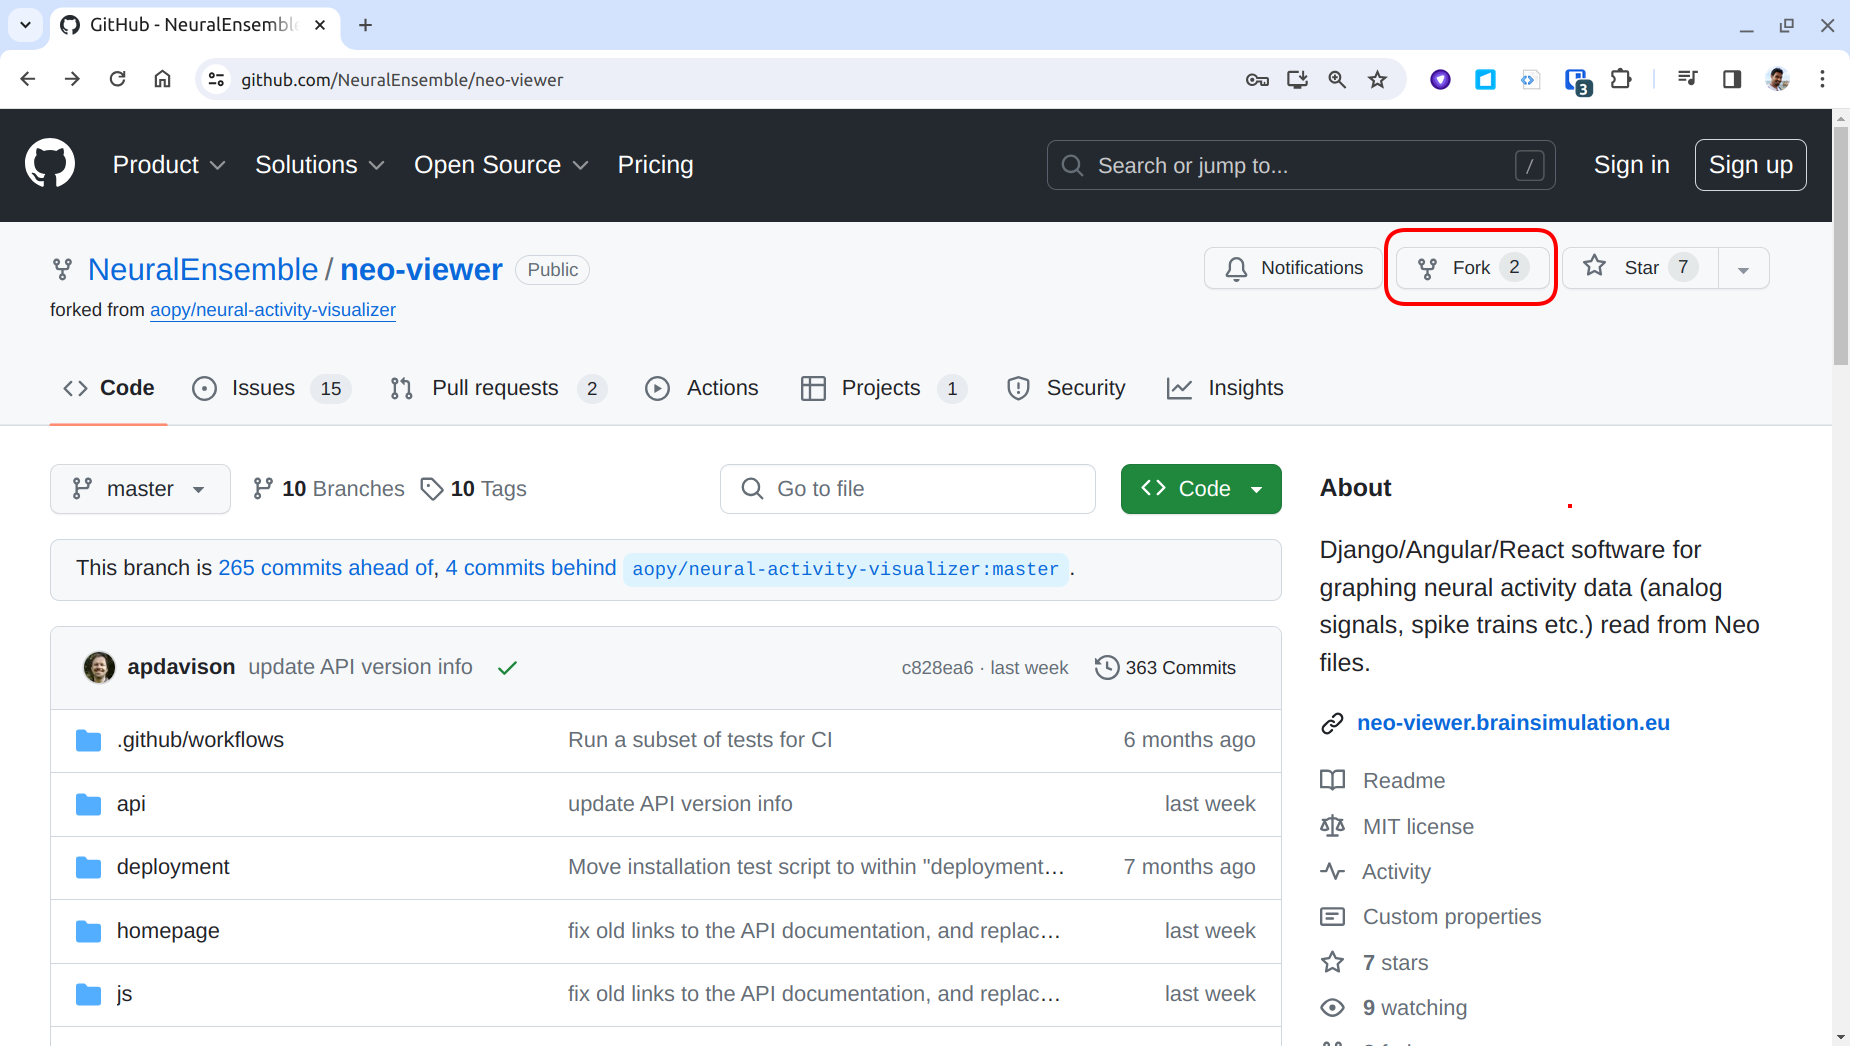
Create a fork by clicking Fork:
Step 3
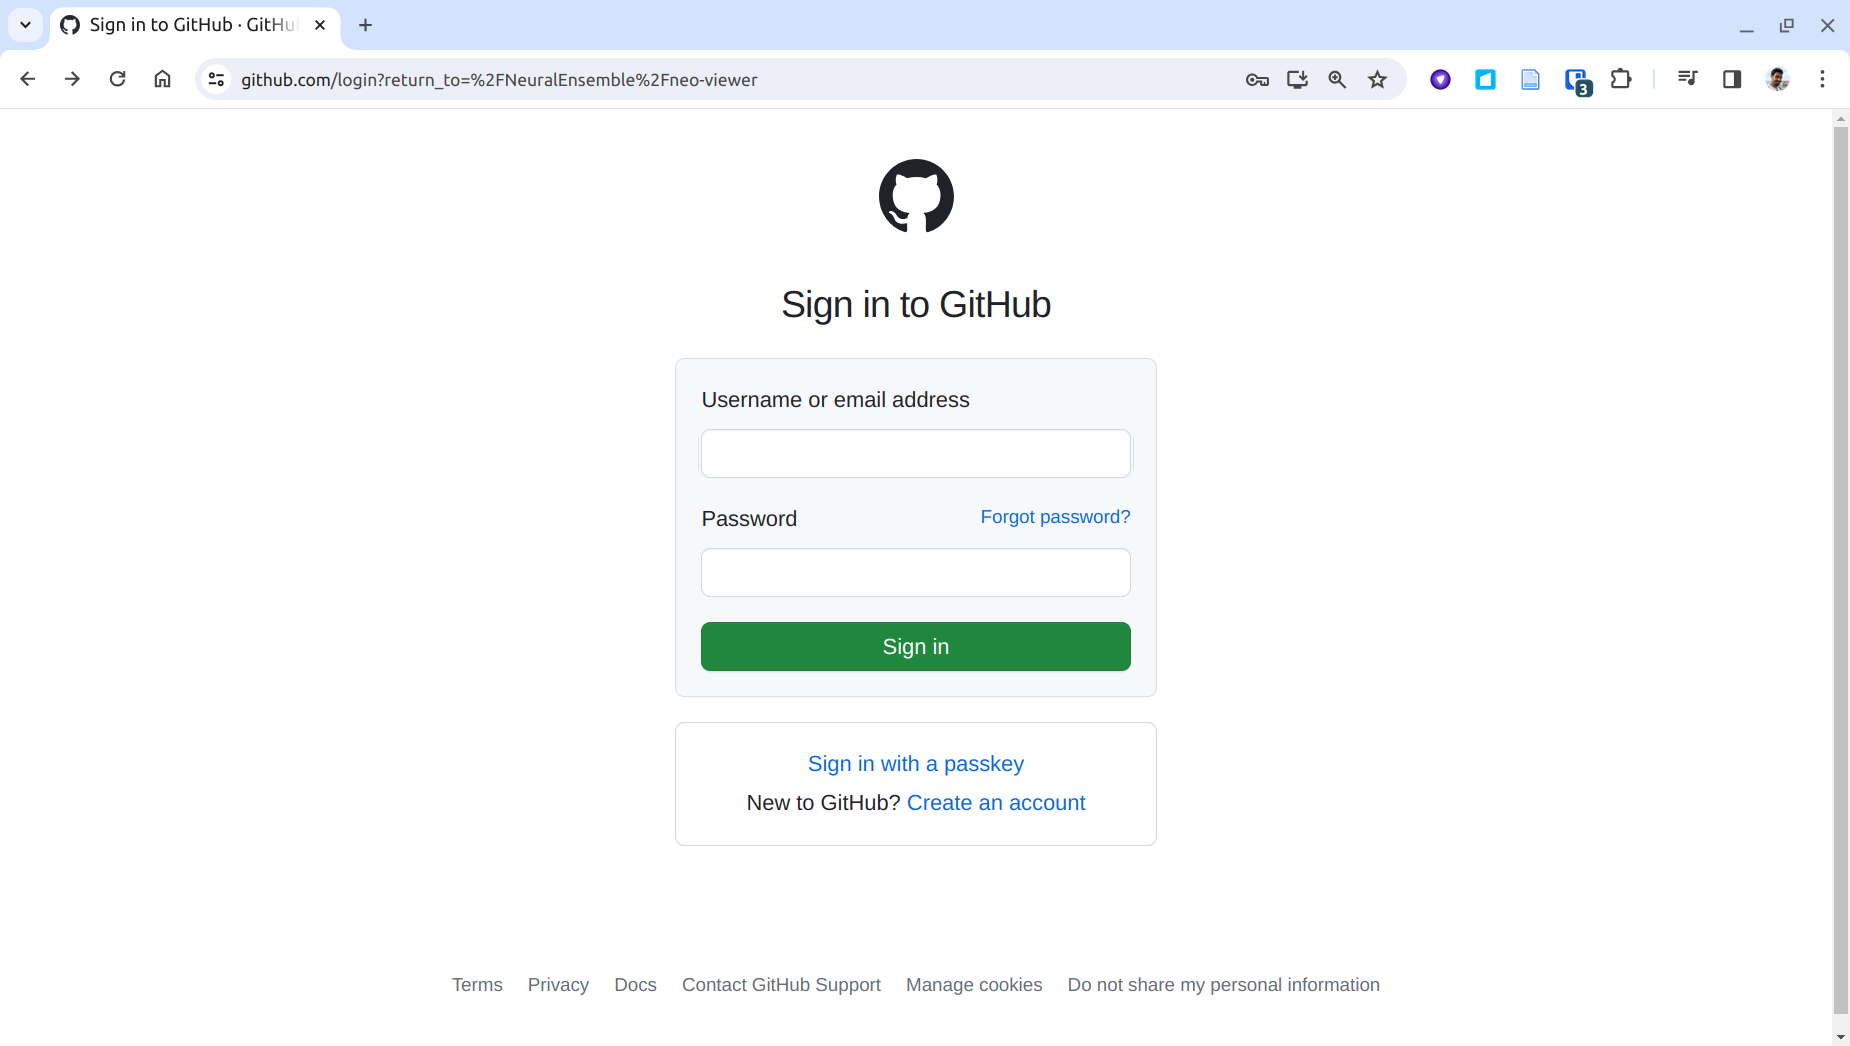
Log in to GitHub if prompted:
Step 4
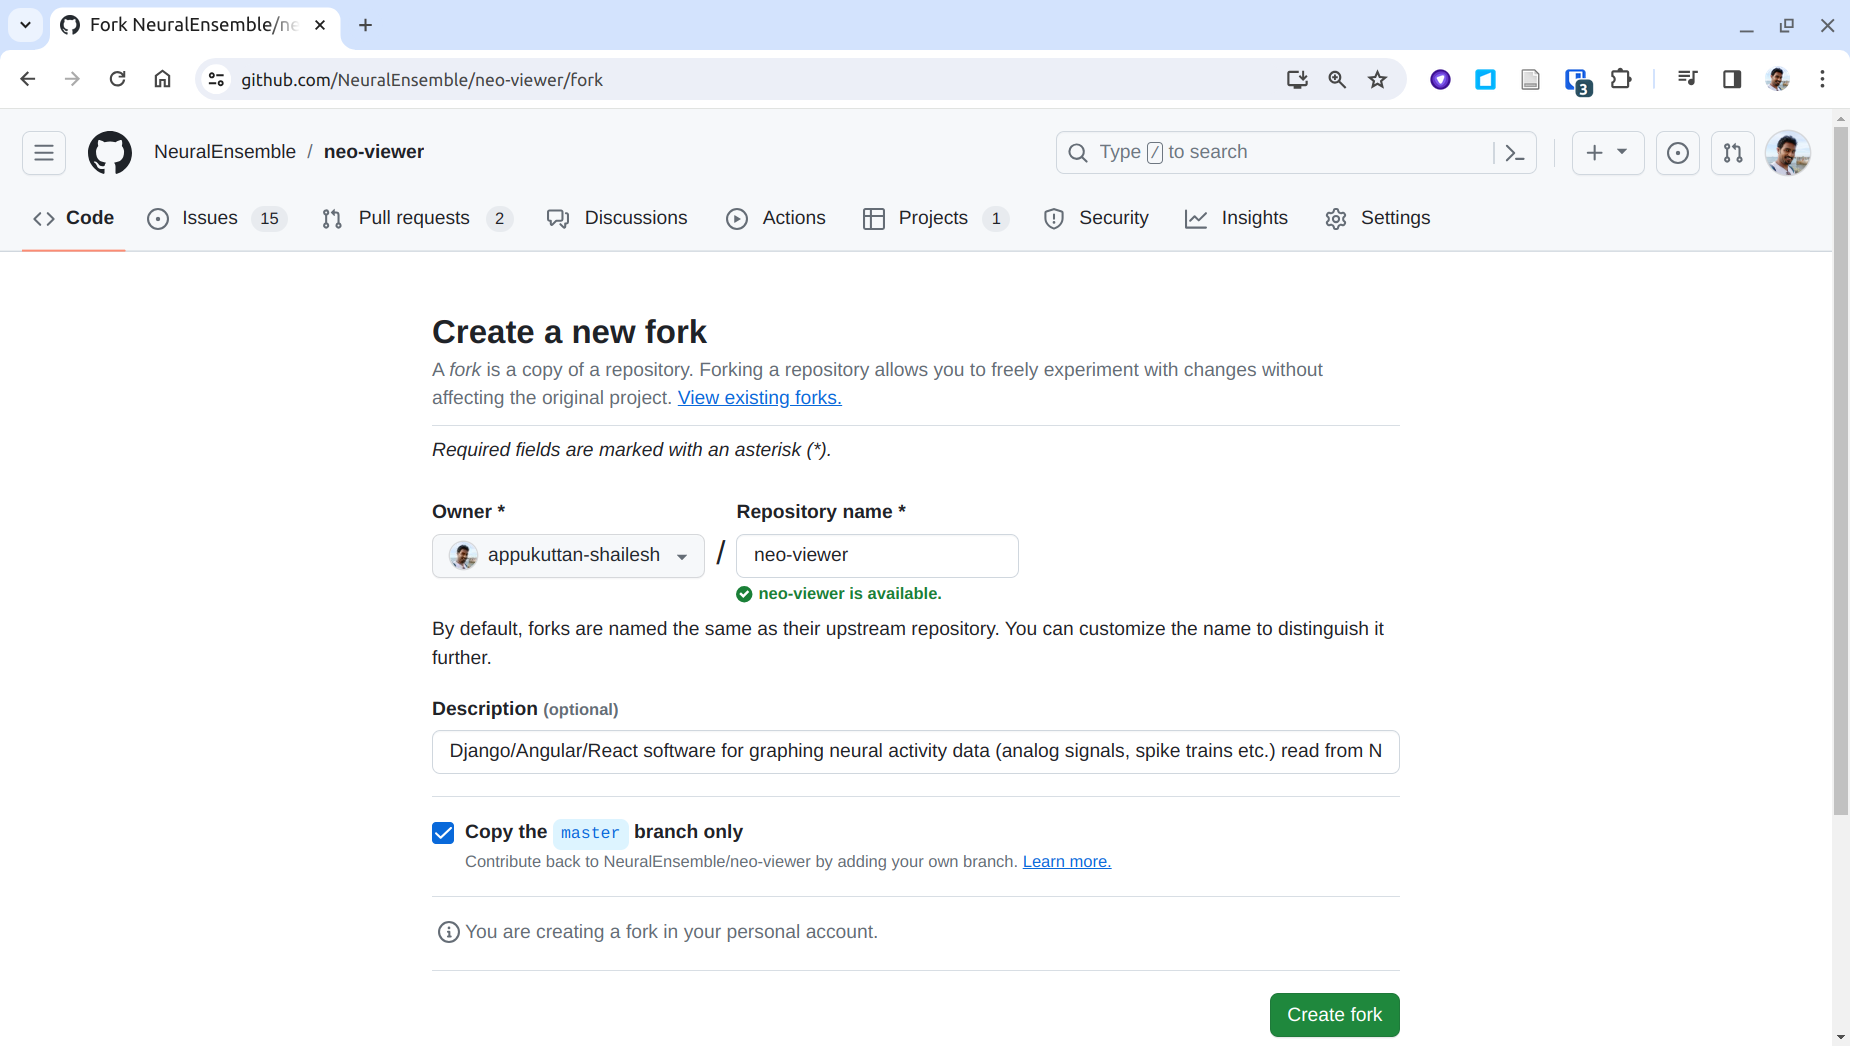
Select the account to fork into, then click Create fork:
Step 5
You will be redirected to your fork at
https://github.com/GitHub_Username/Repo_name:
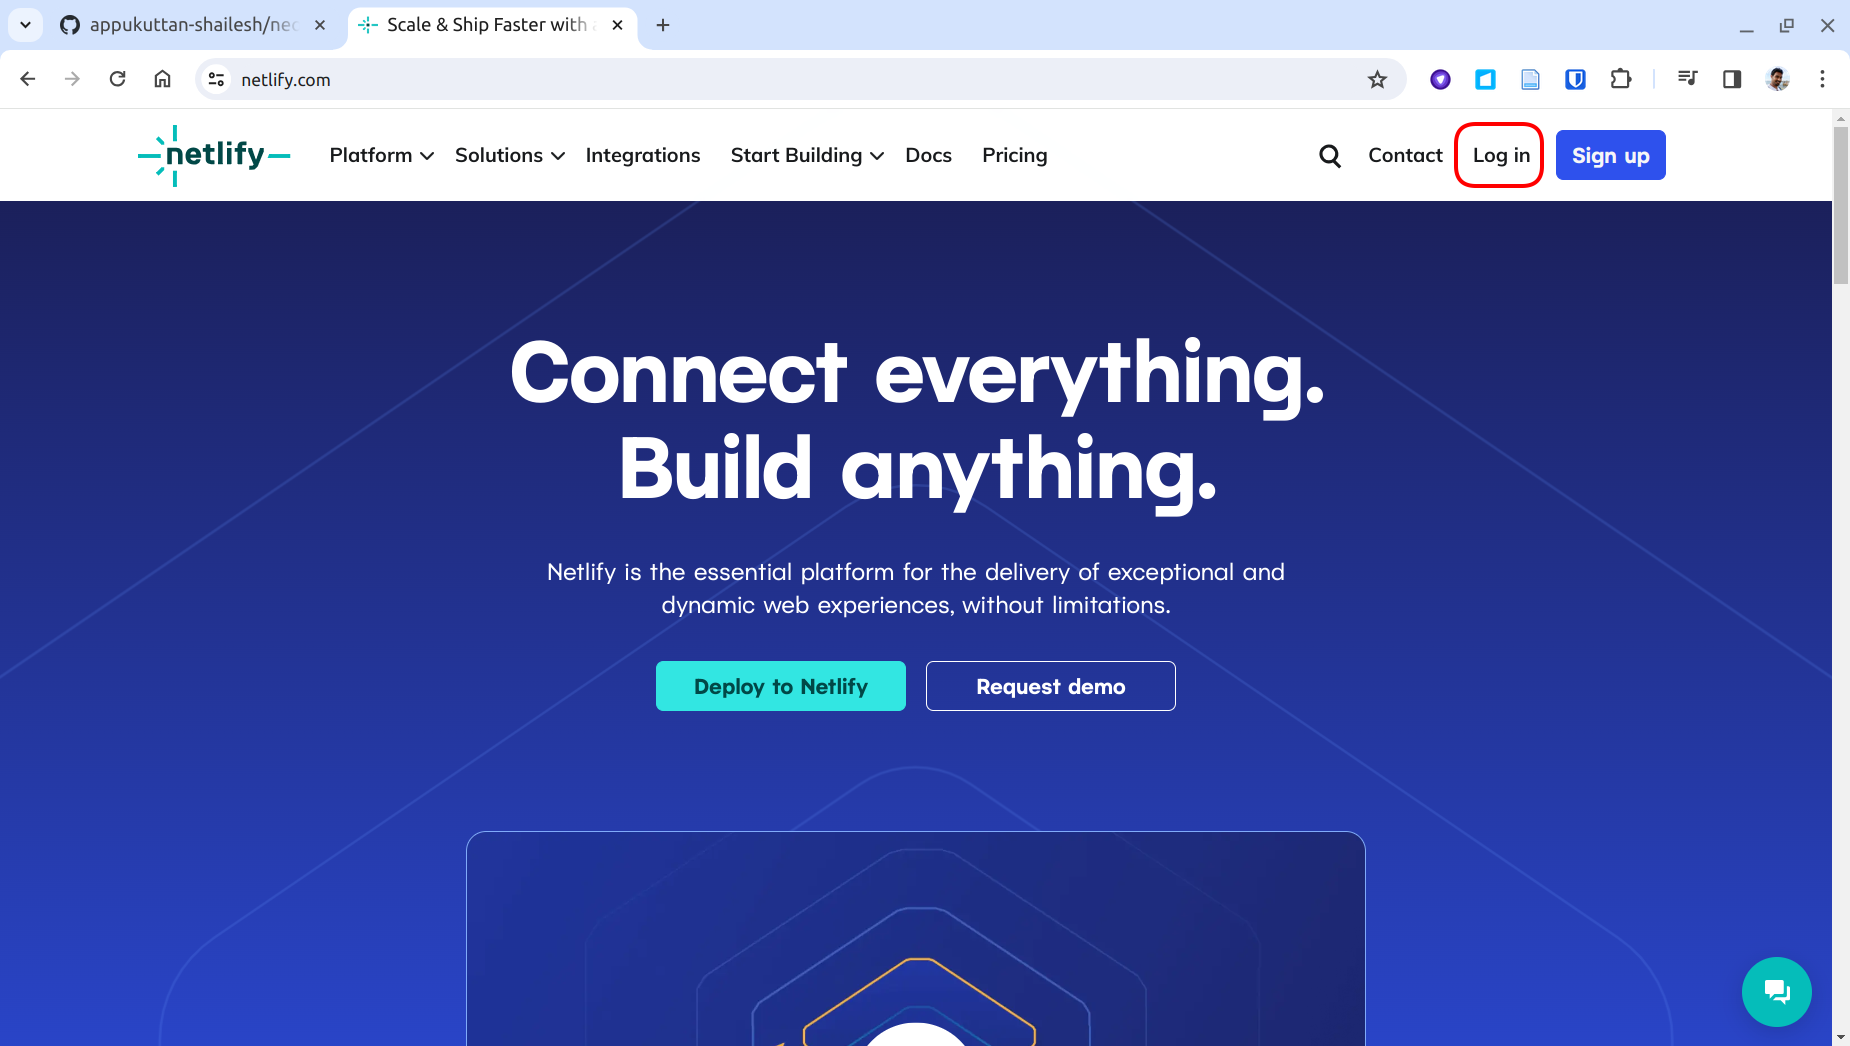
Step 7
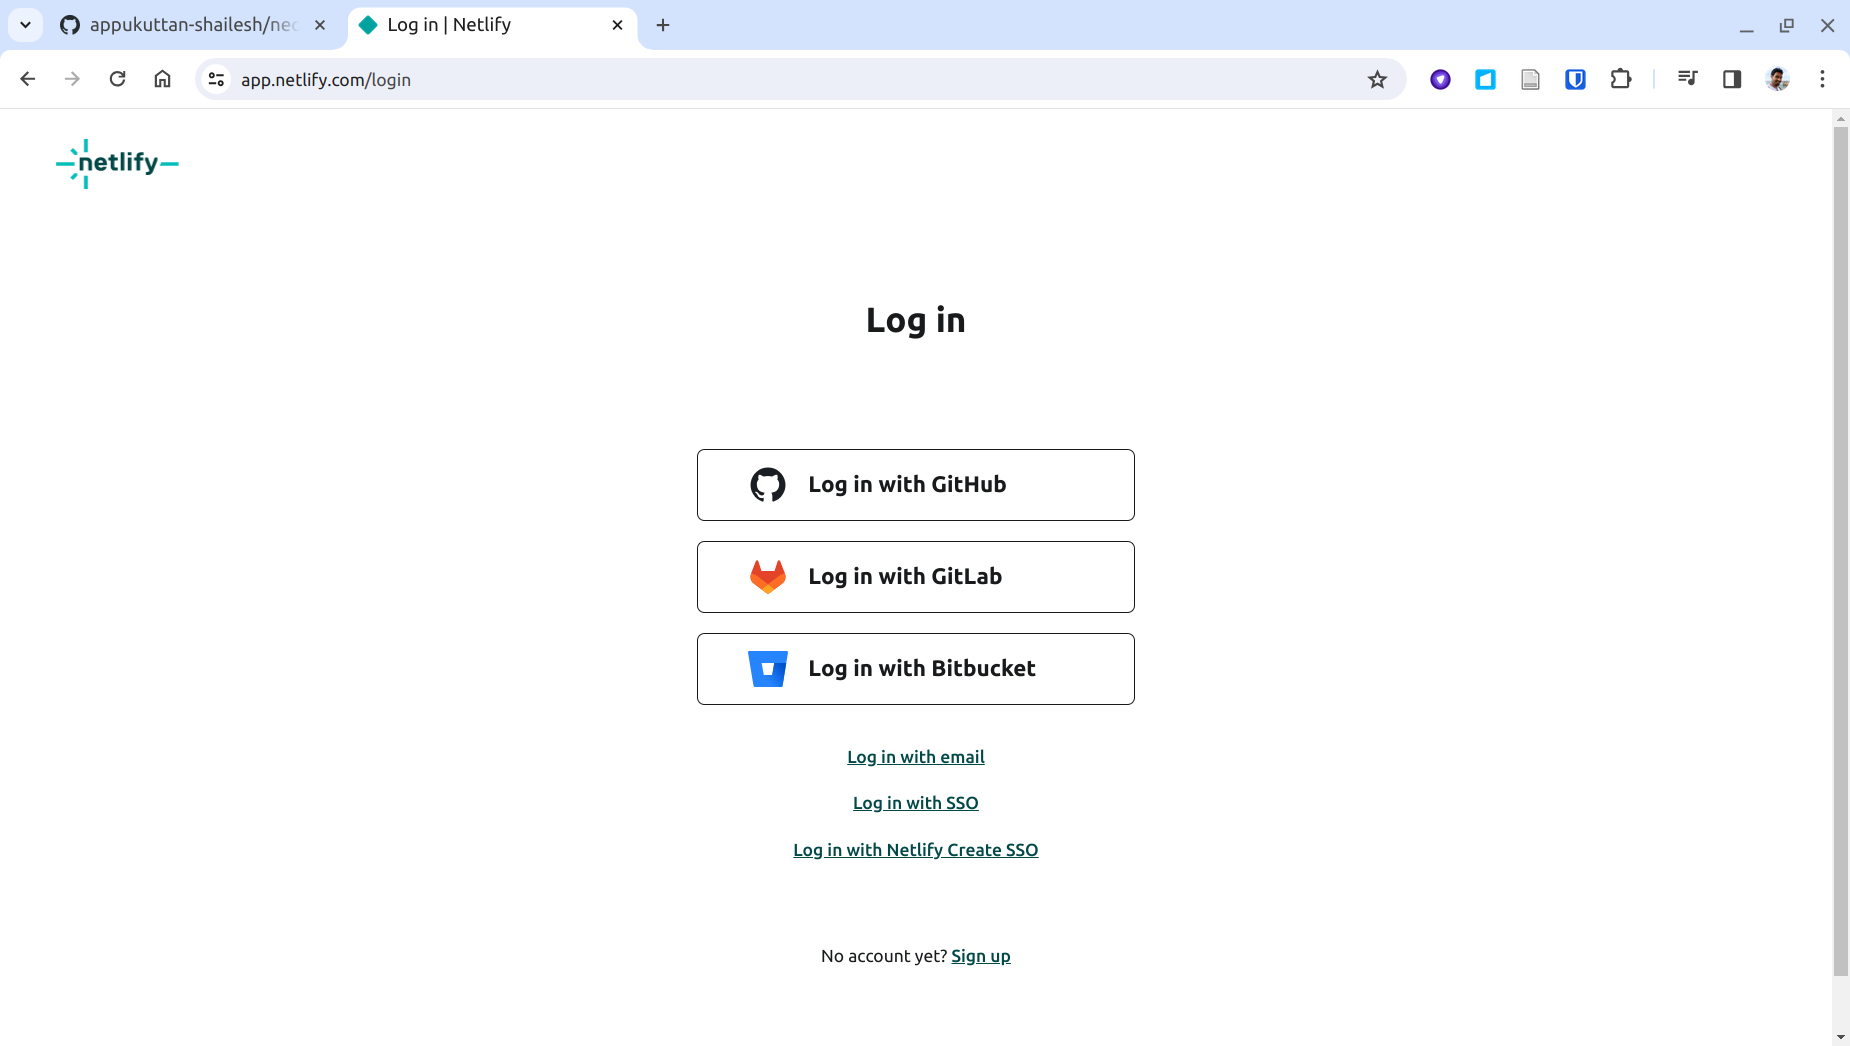
Log in with your GitHub account:
Step 8
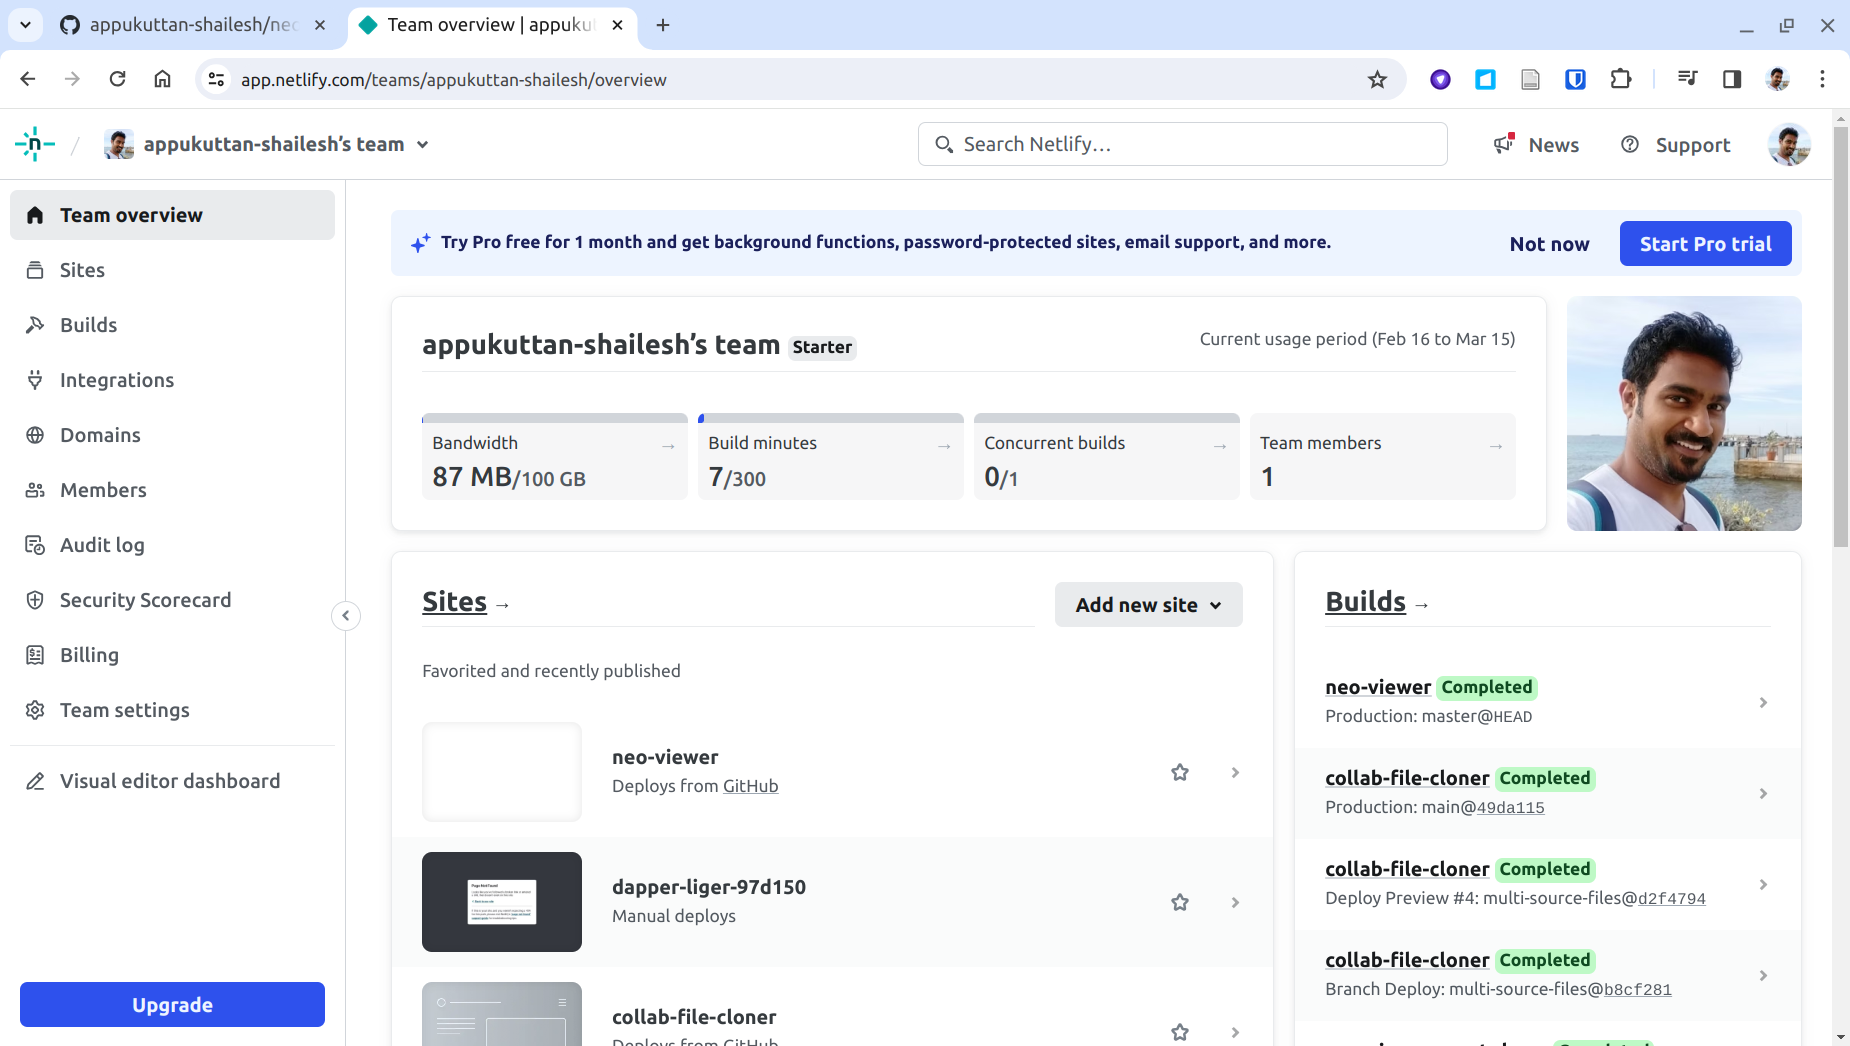
Click Add new site:
Step 9
Click Import an existing project:
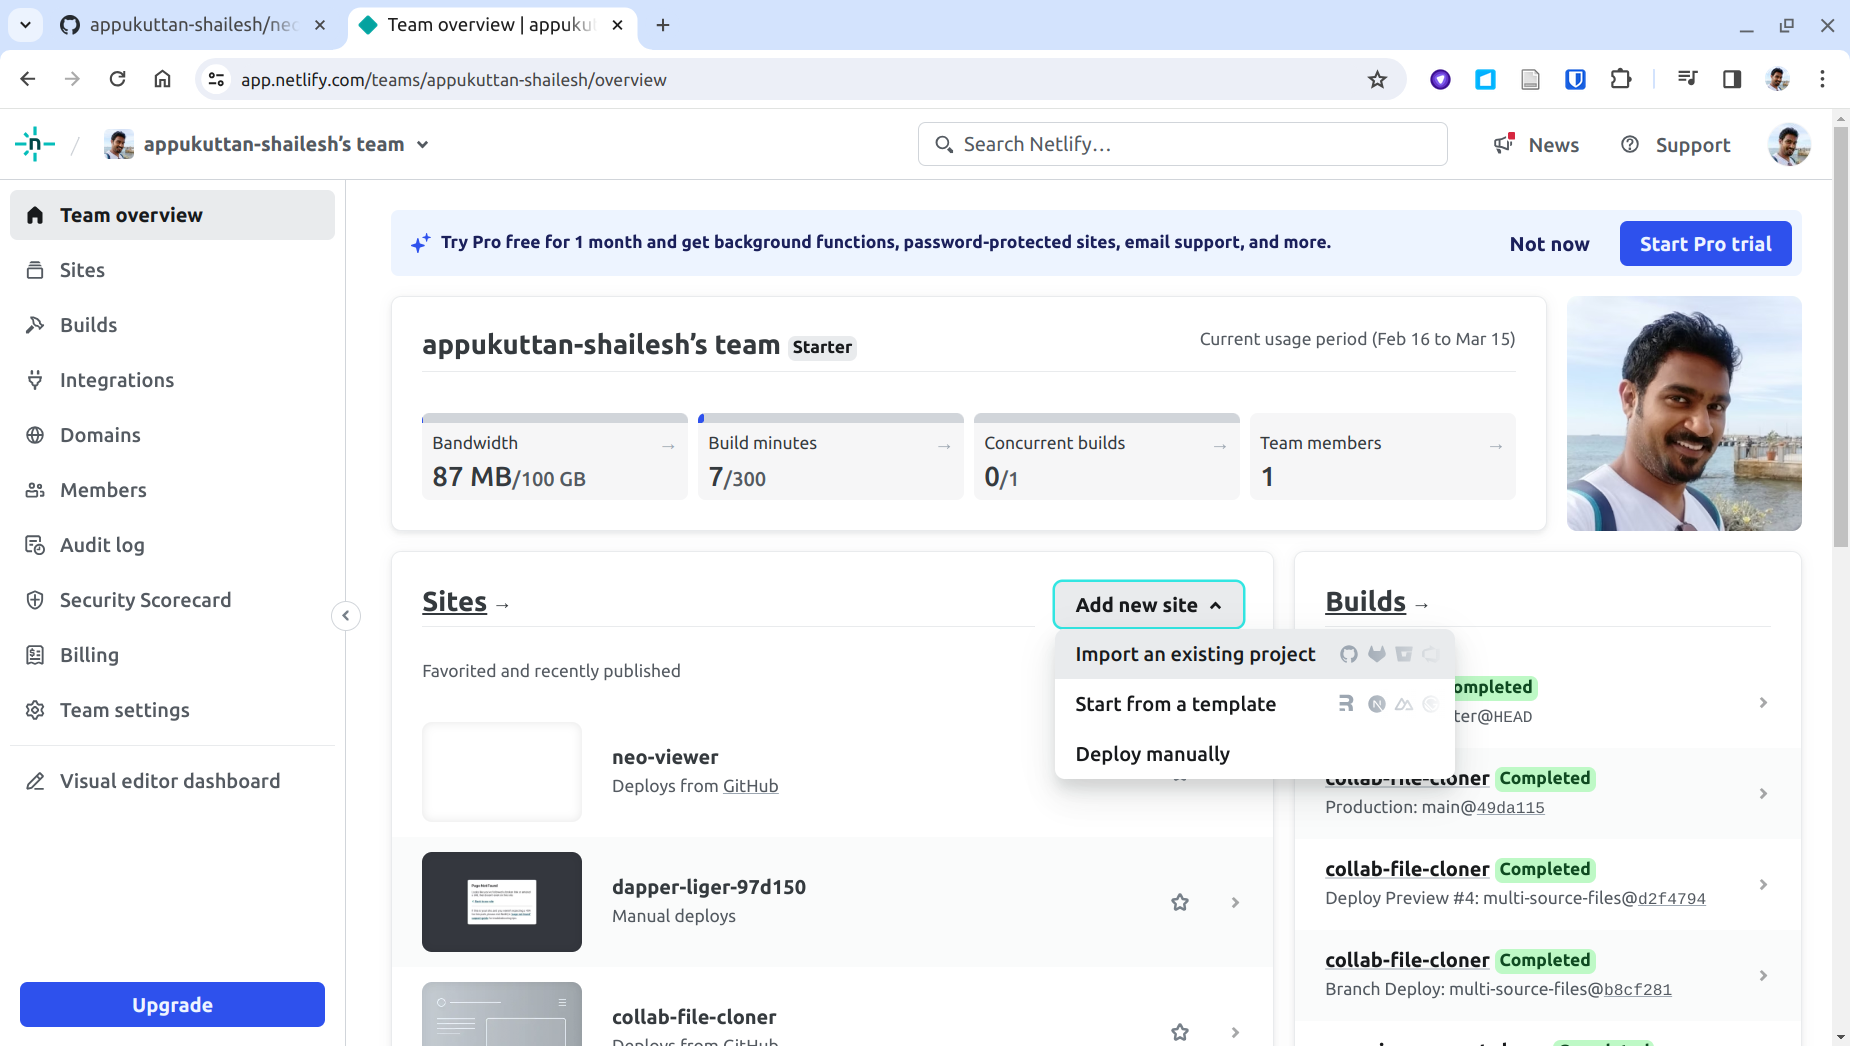
Step 10
Click Deploy with GitHub:
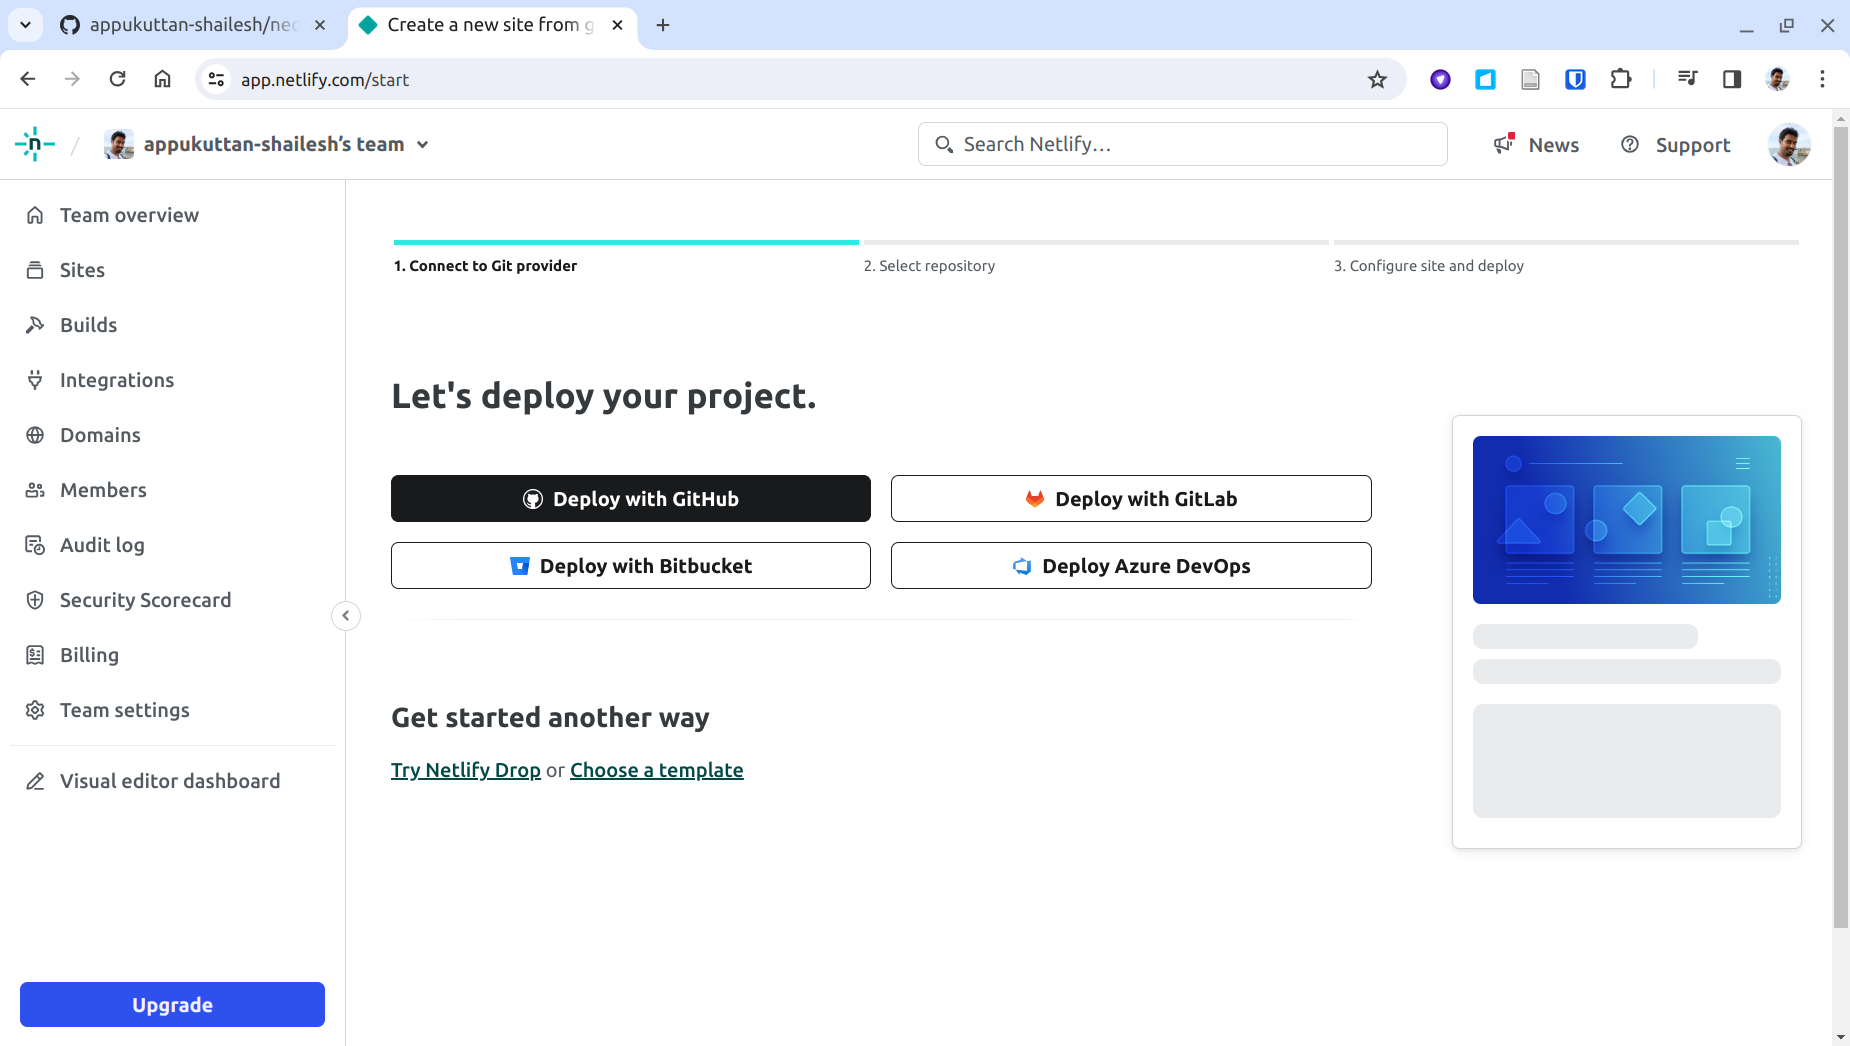
Step 11
If your fork isn't listed, click Configure the Netlify app on GitHub to grant access:
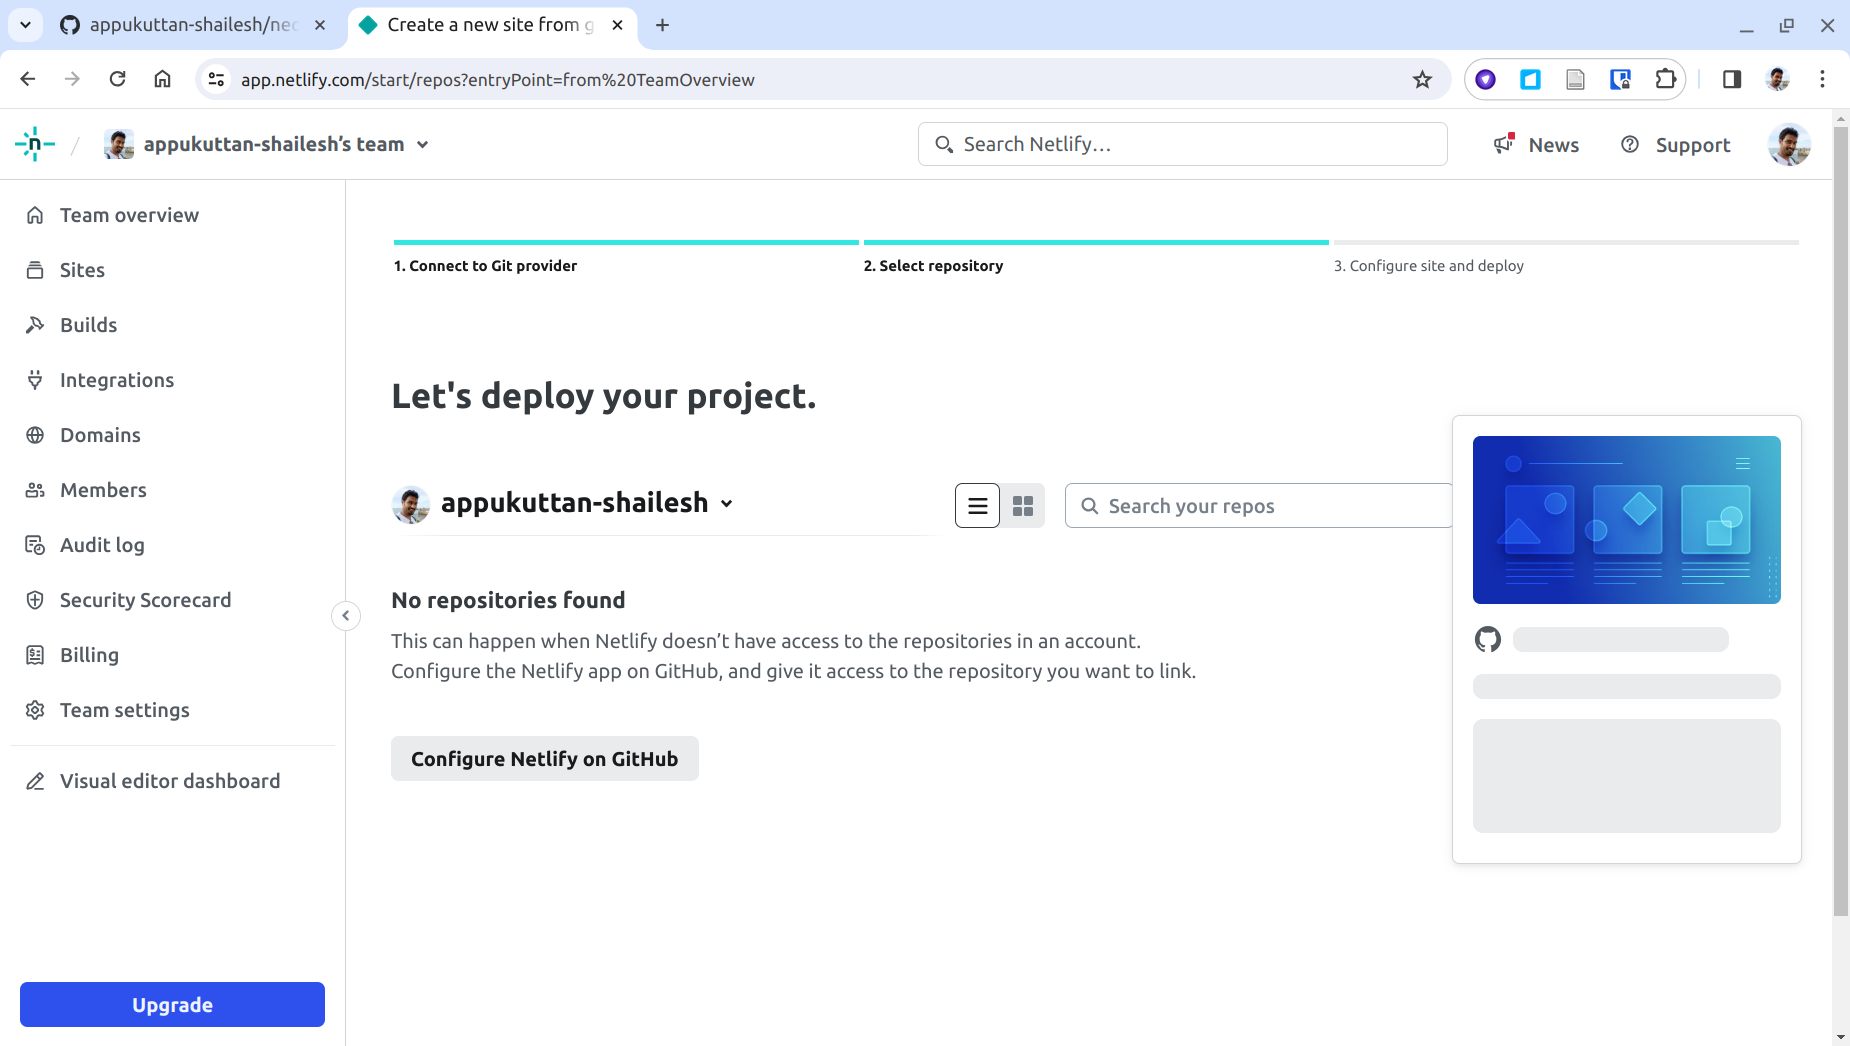
Step 12
Select the GitHub account that owns your fork:
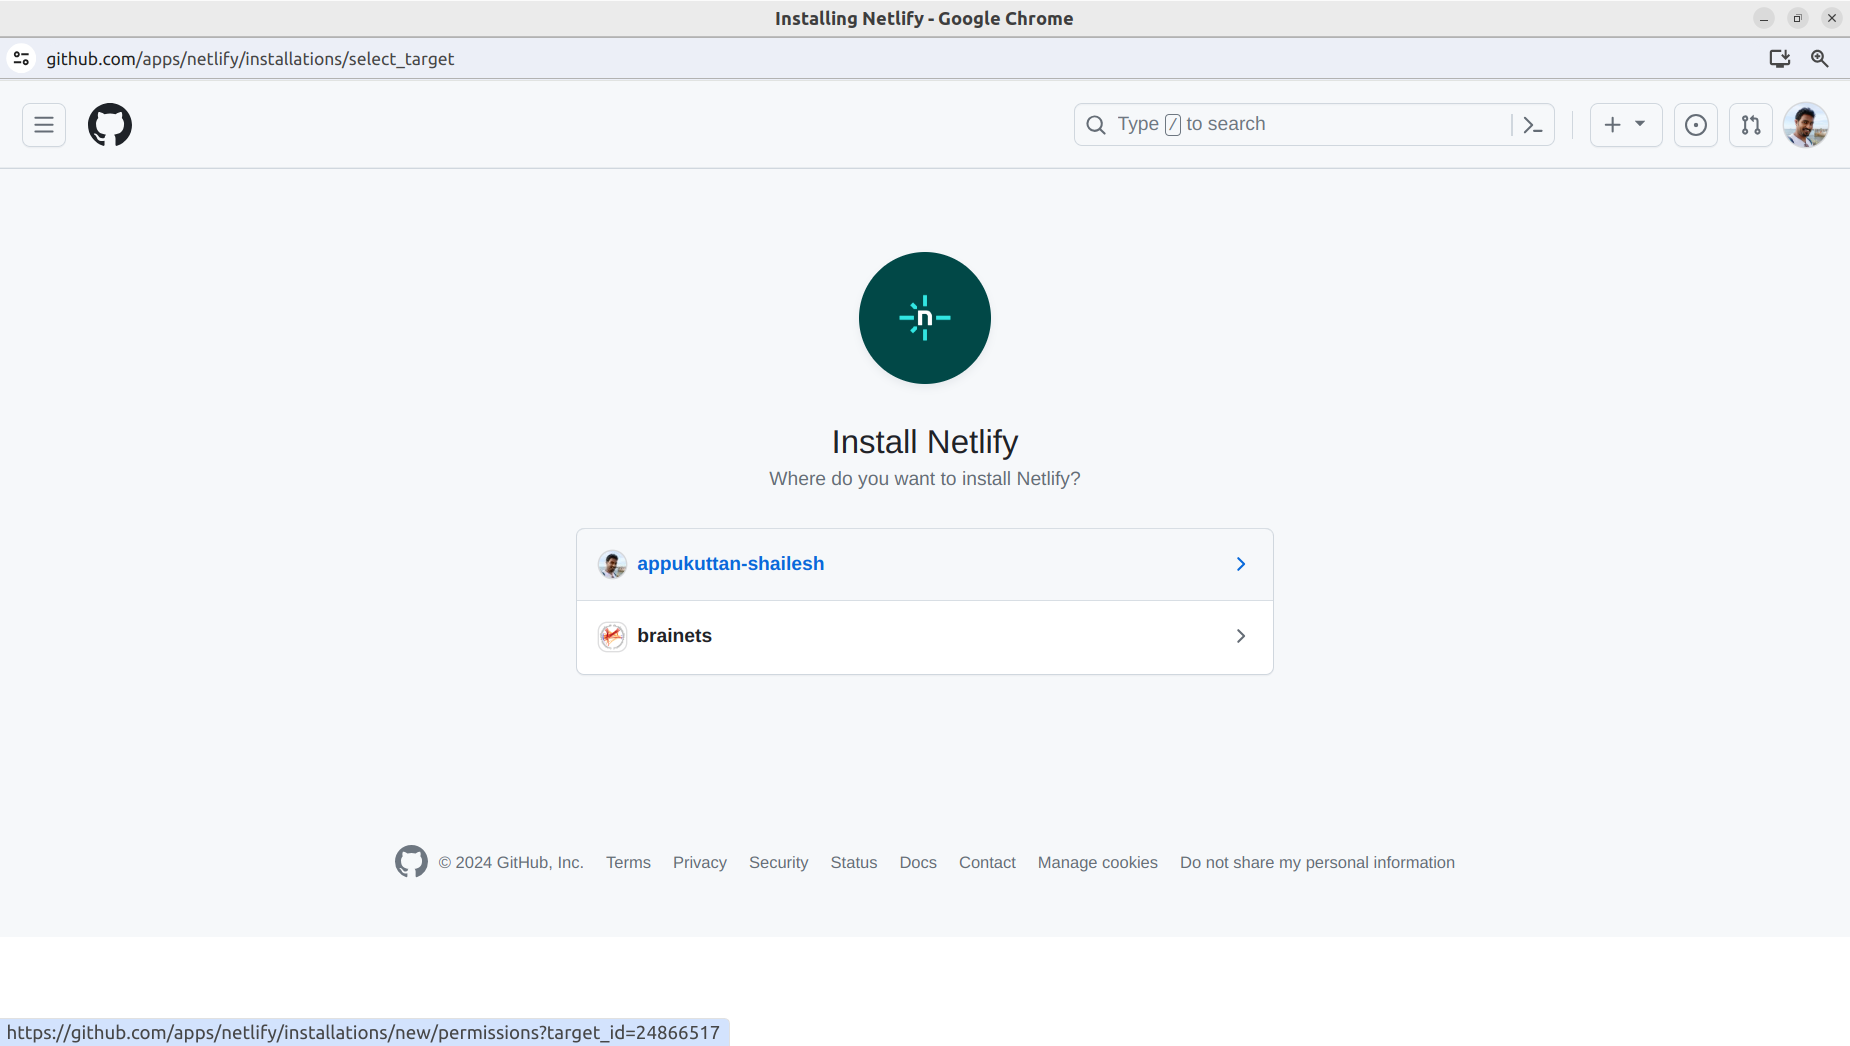
Step 13
Grant Netlify repository access:
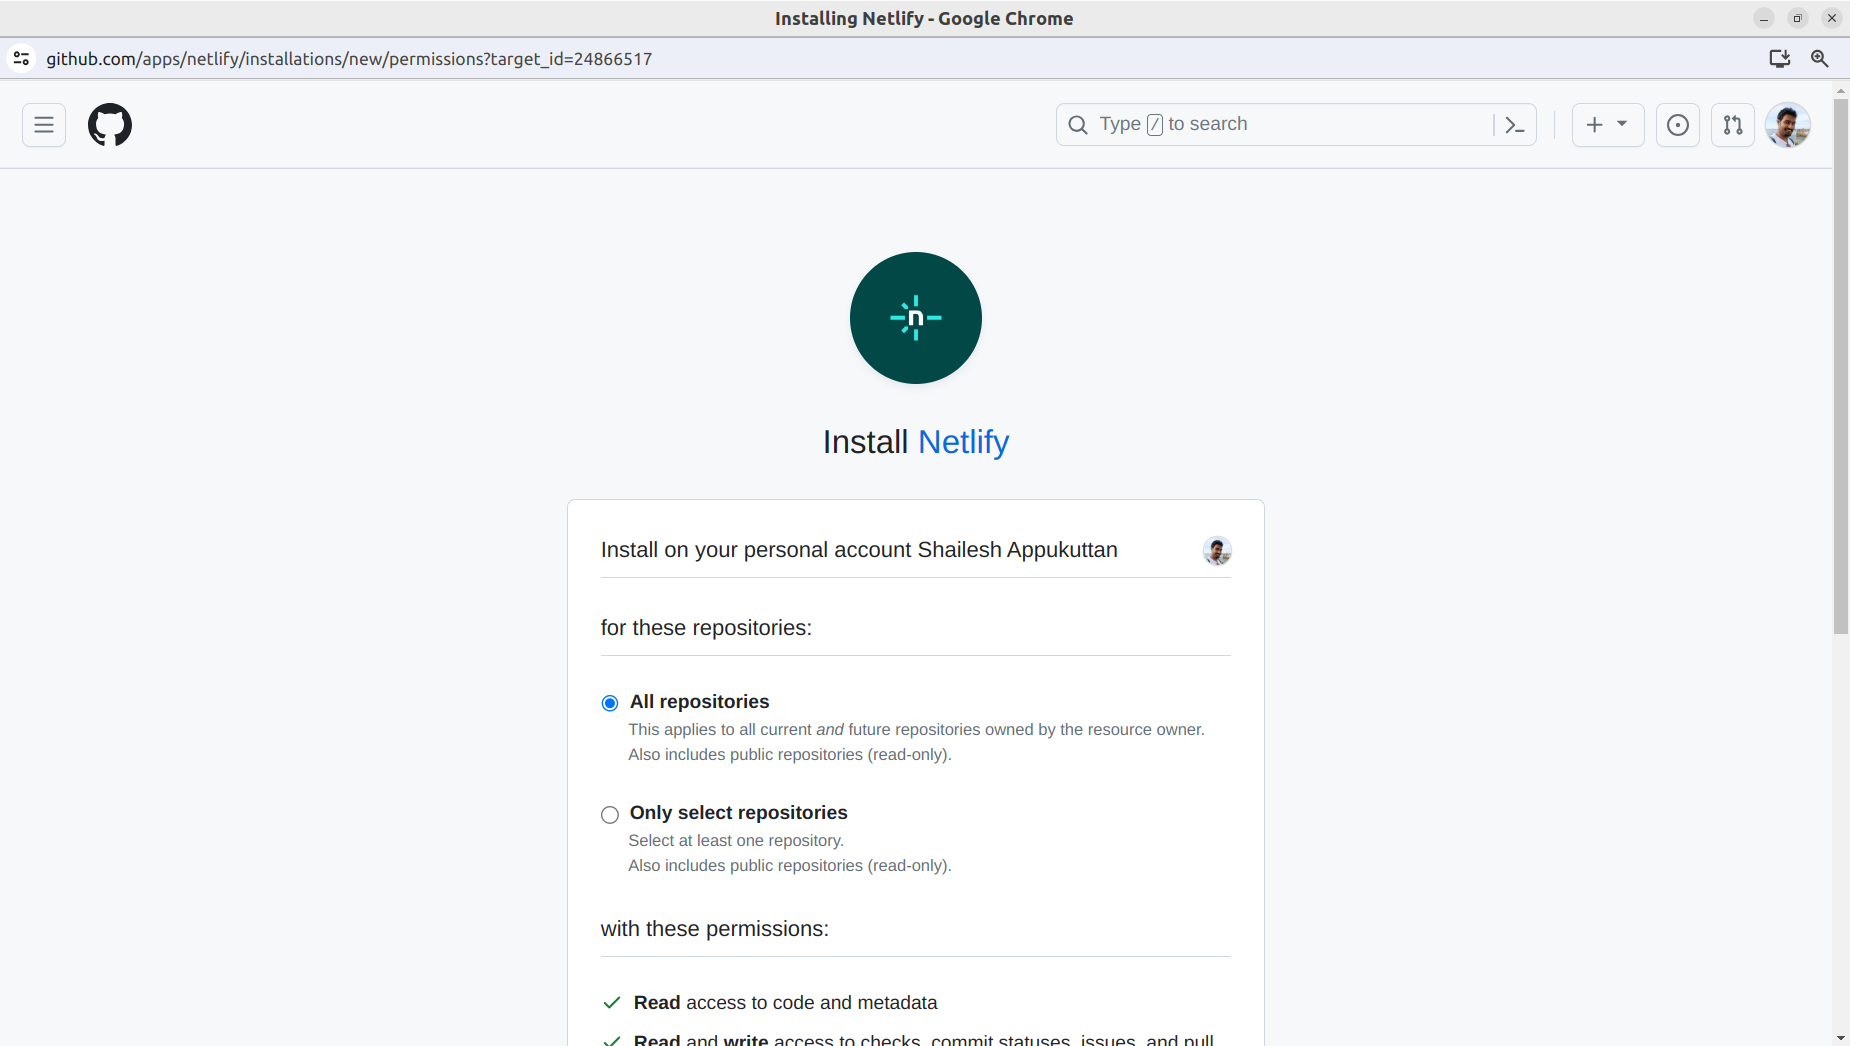
Step 14
Select All repositories or choose your fork specifically, then click Install:
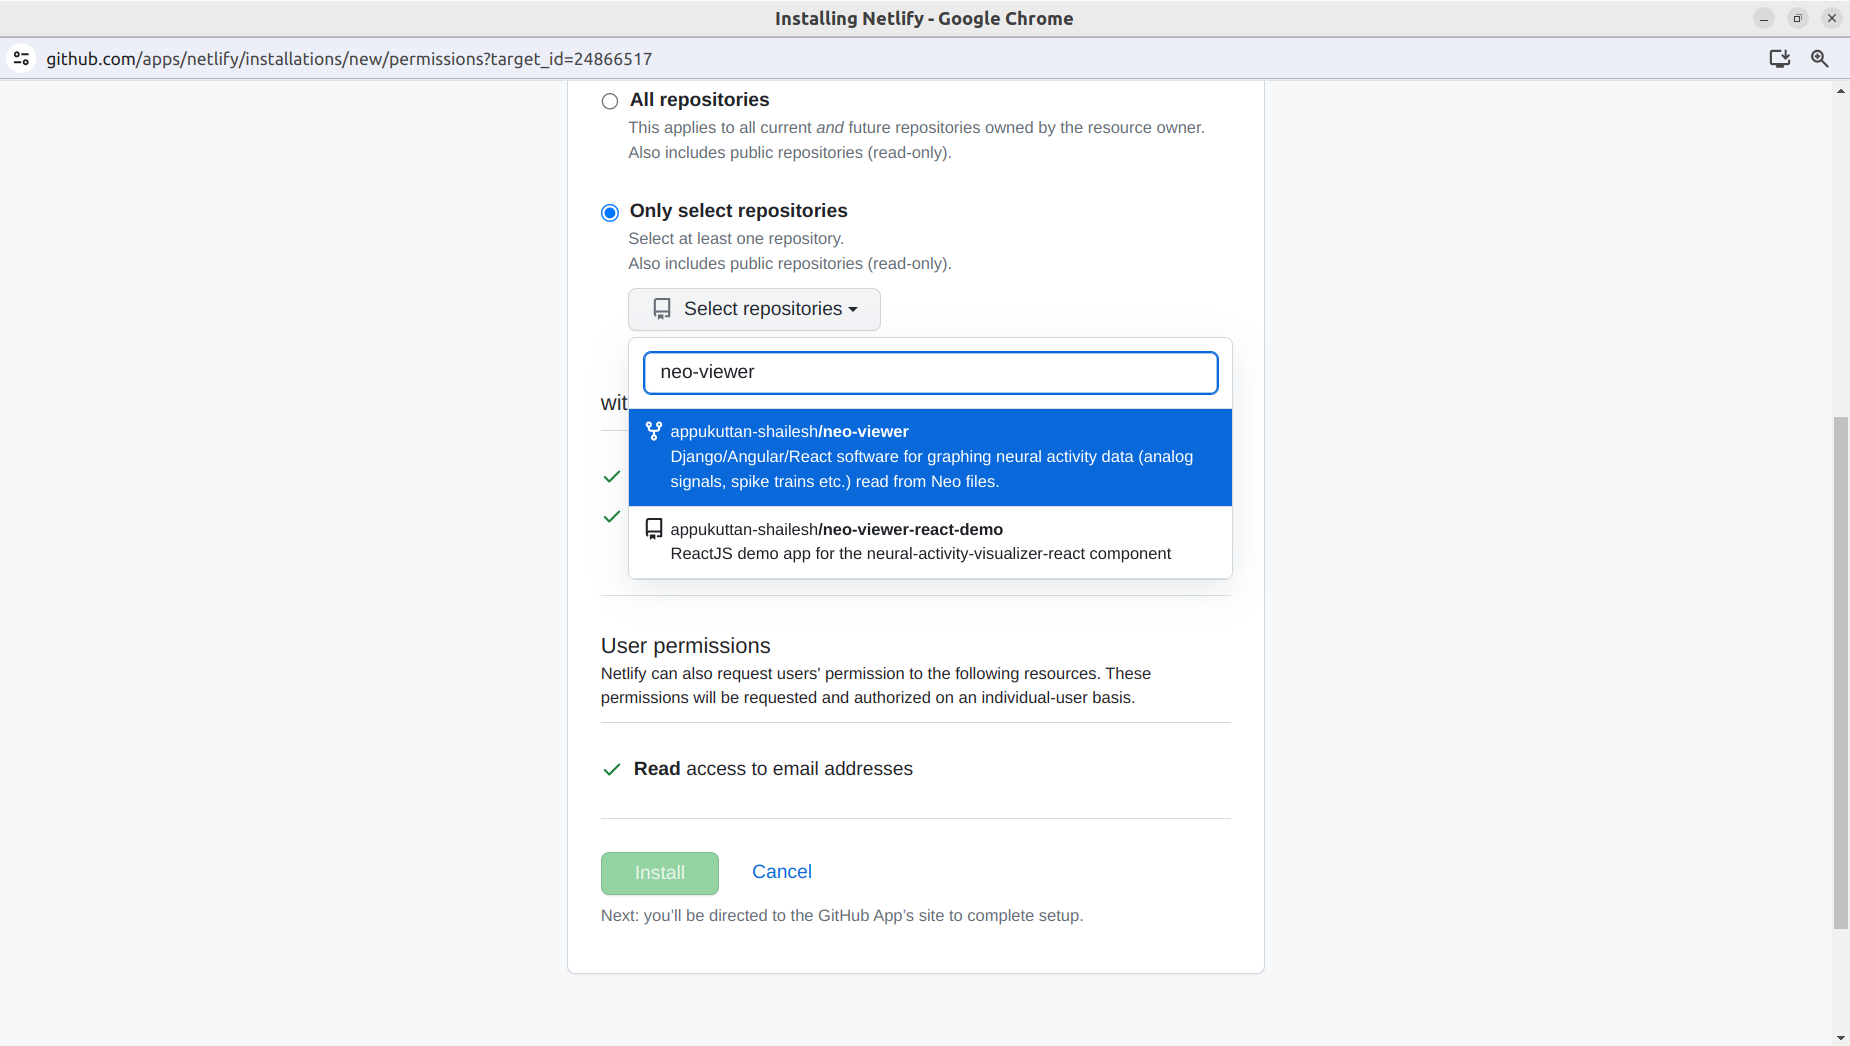
Step 15
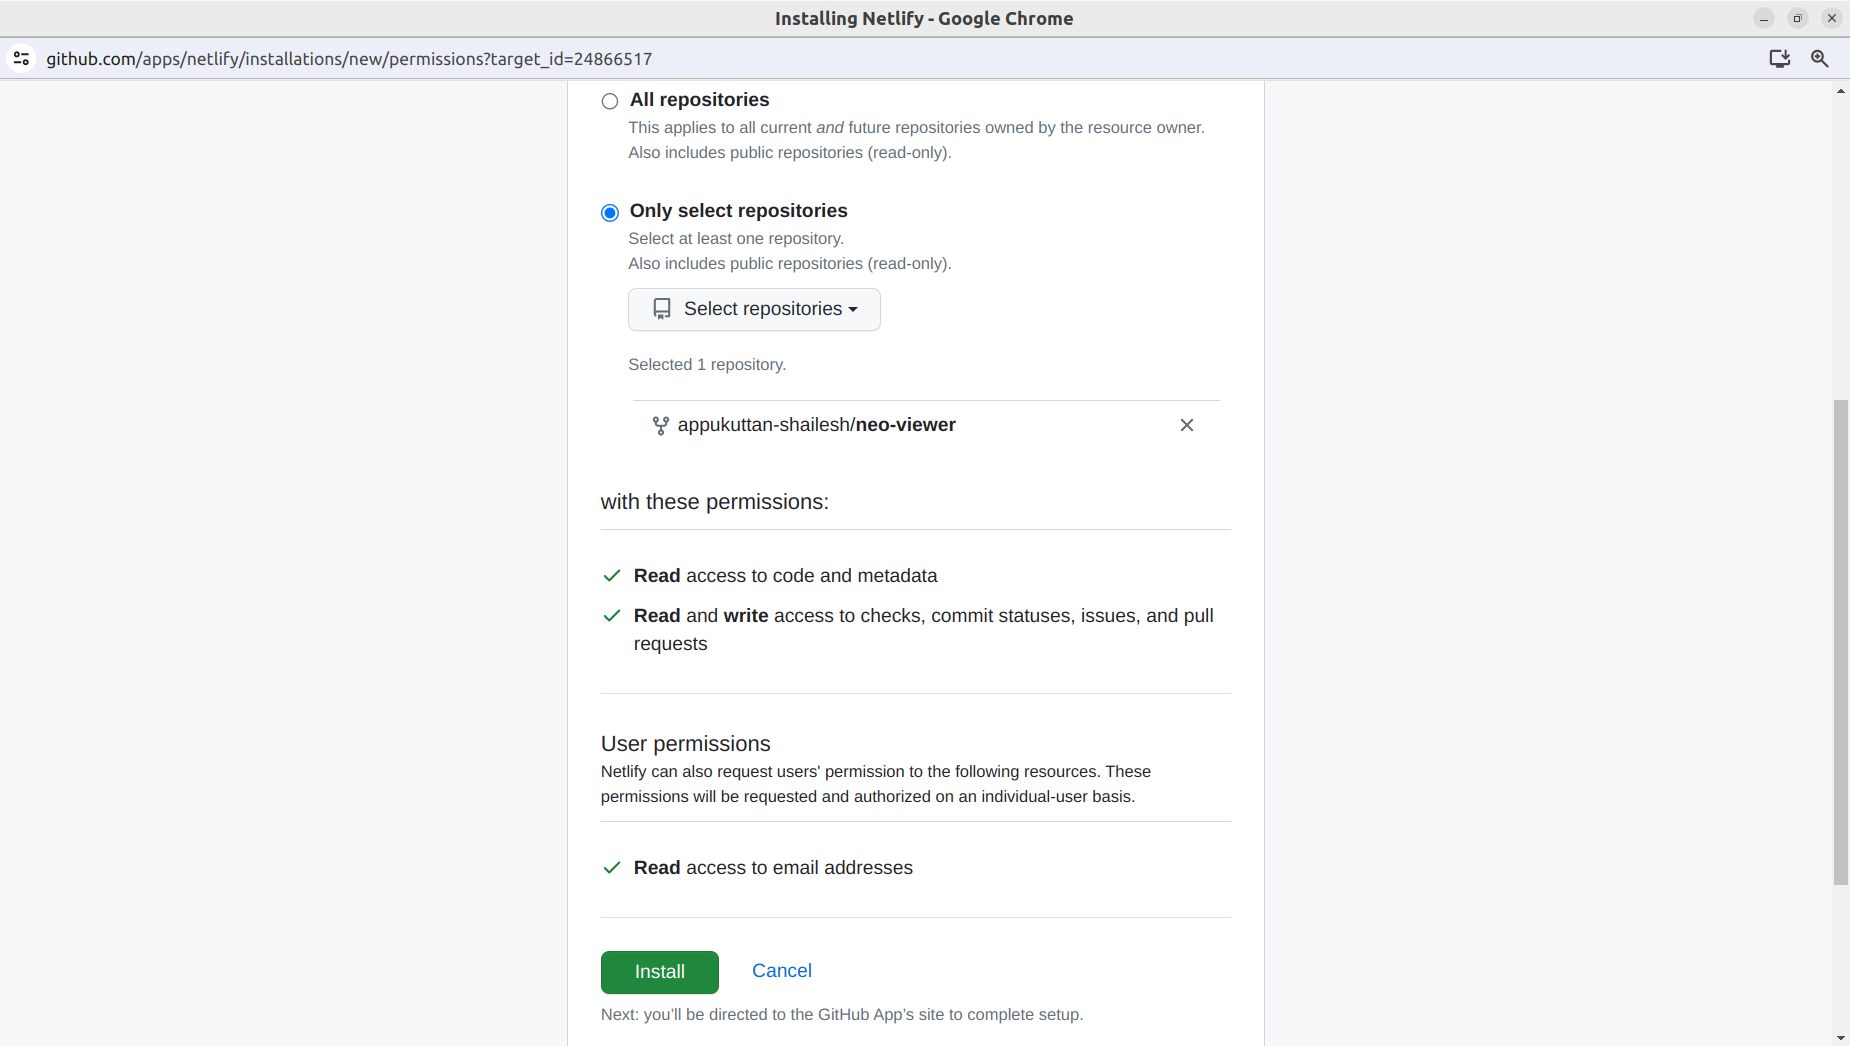
Step 16
Click your forked repository to proceed:
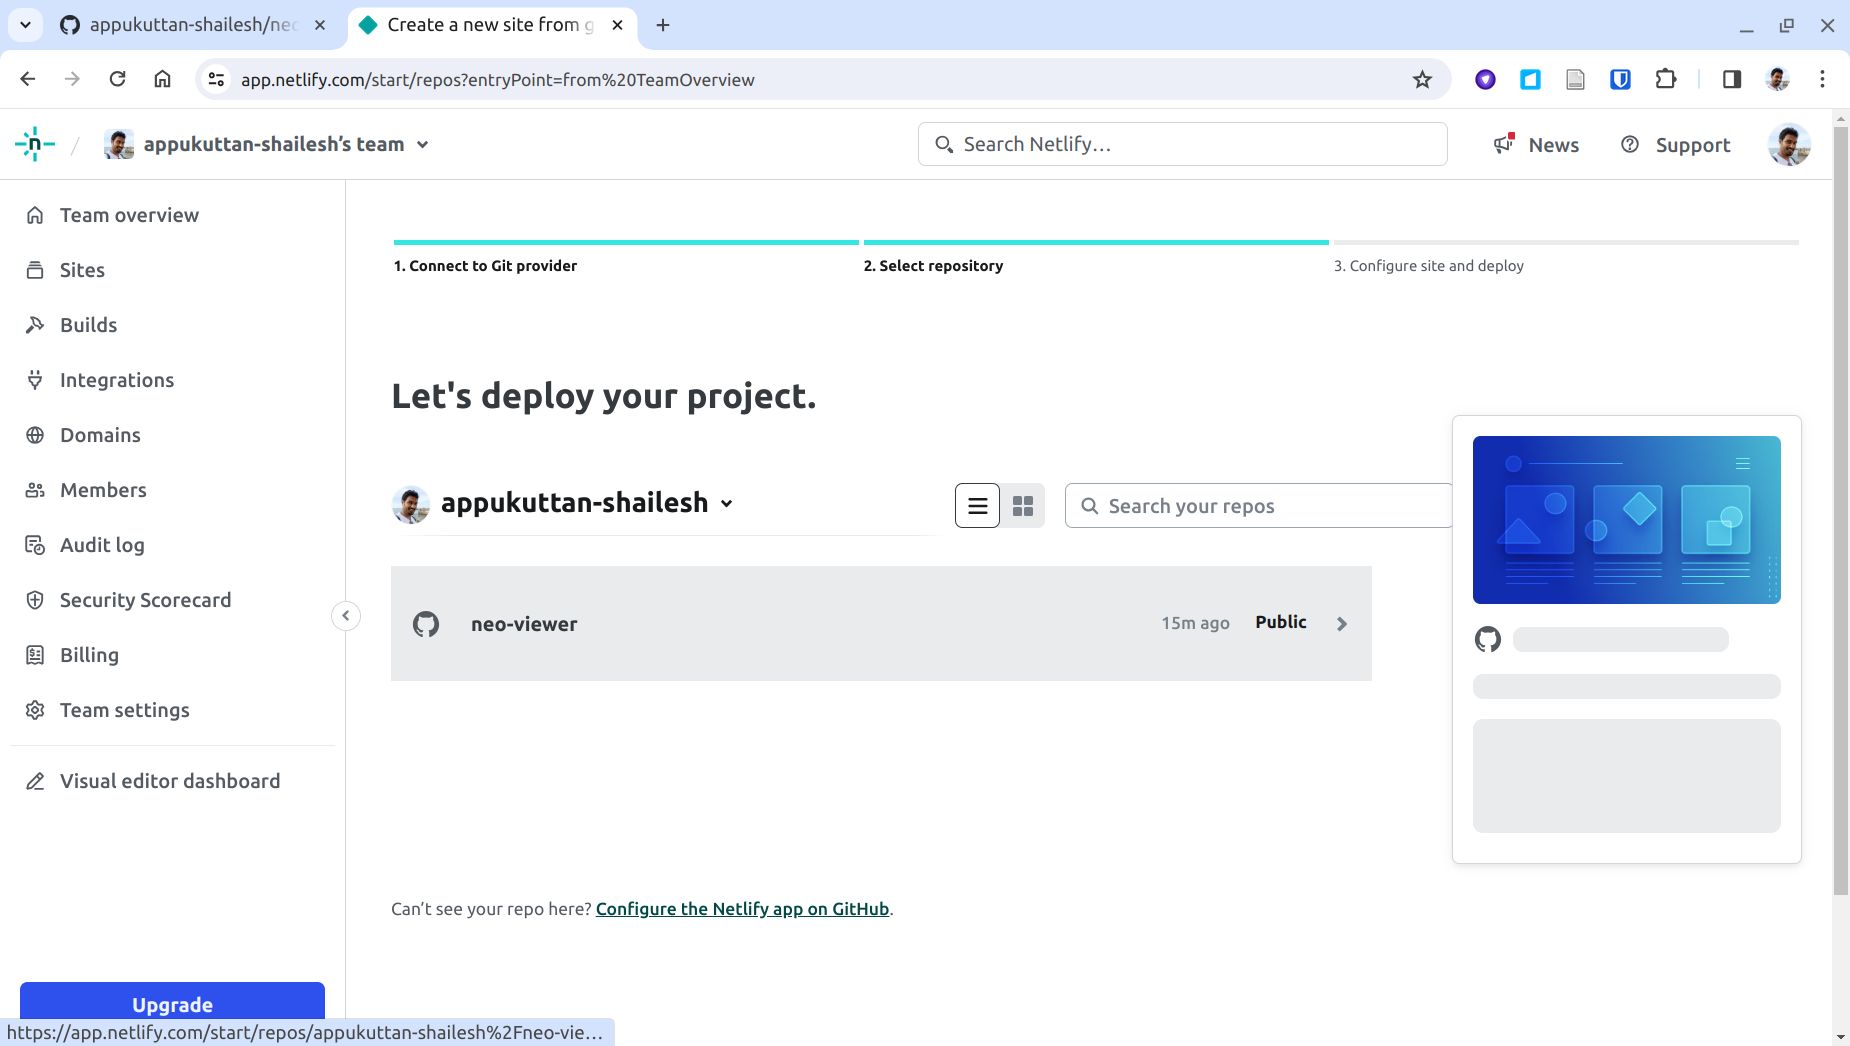
Step 17
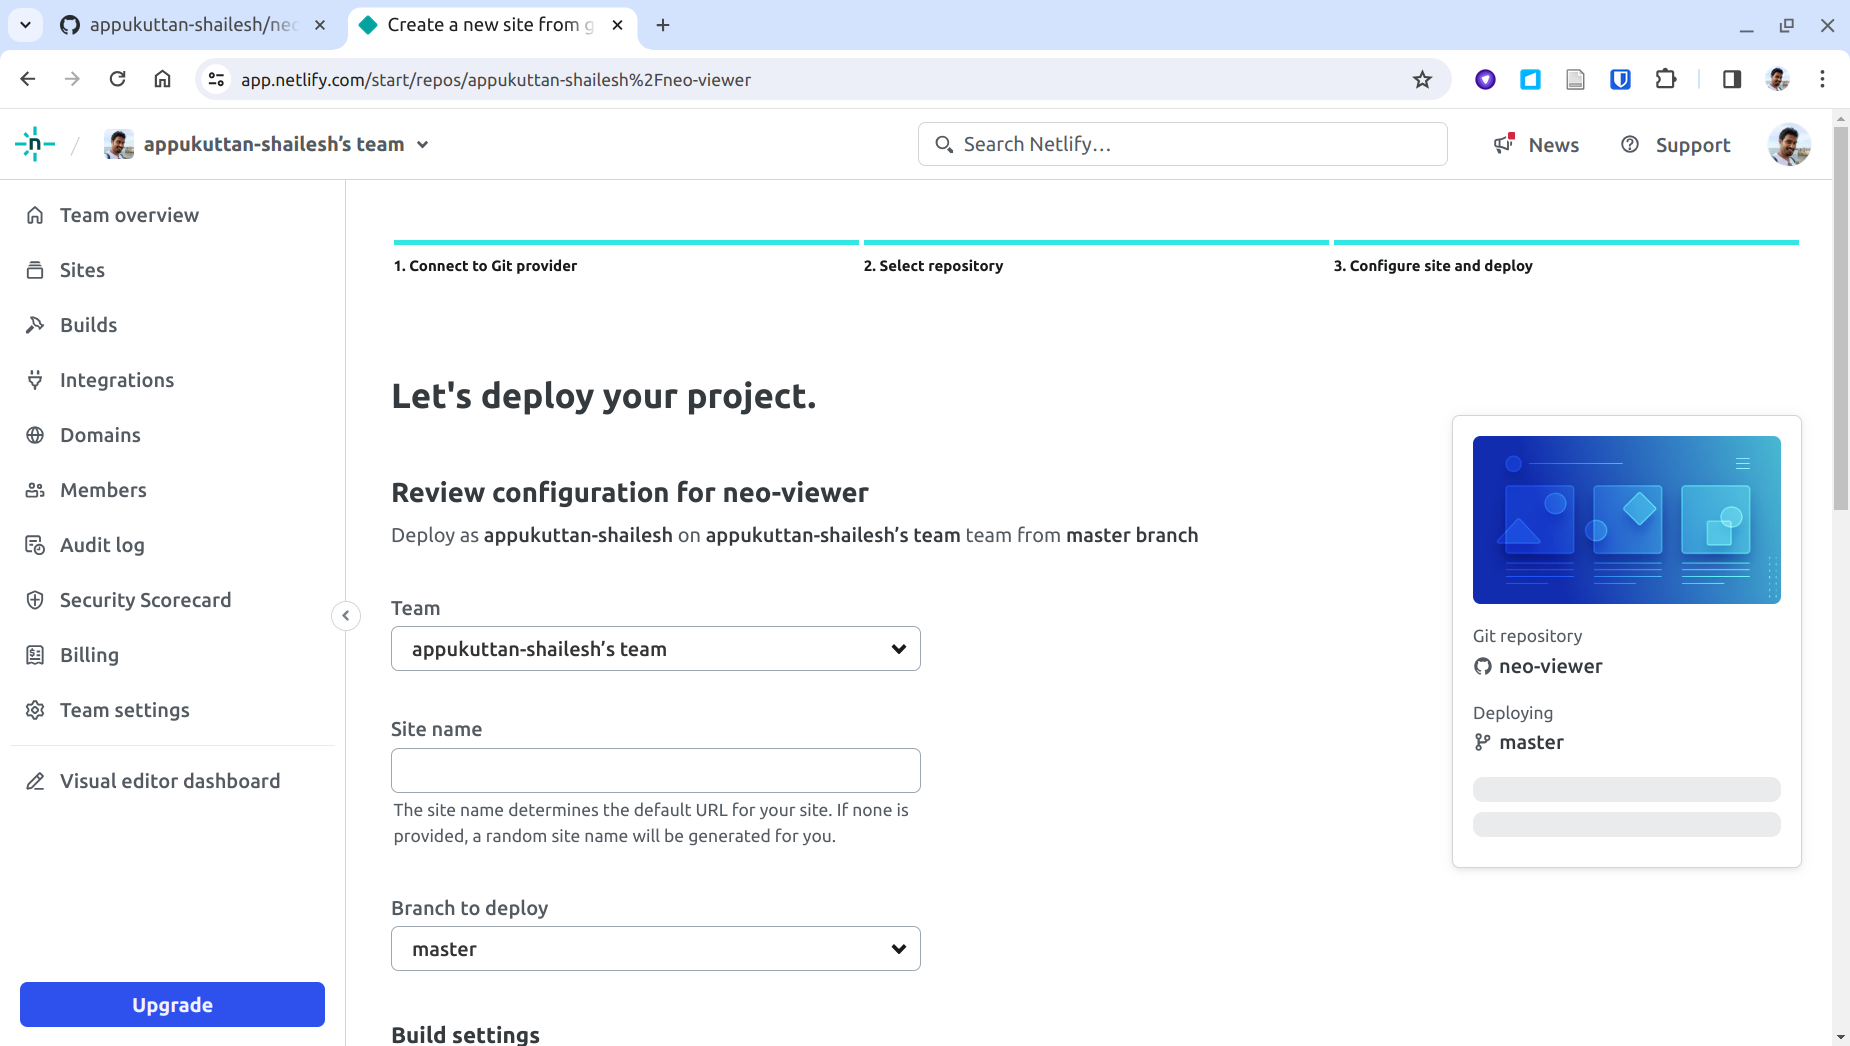
You will see the deployment configuration page:
Step 18
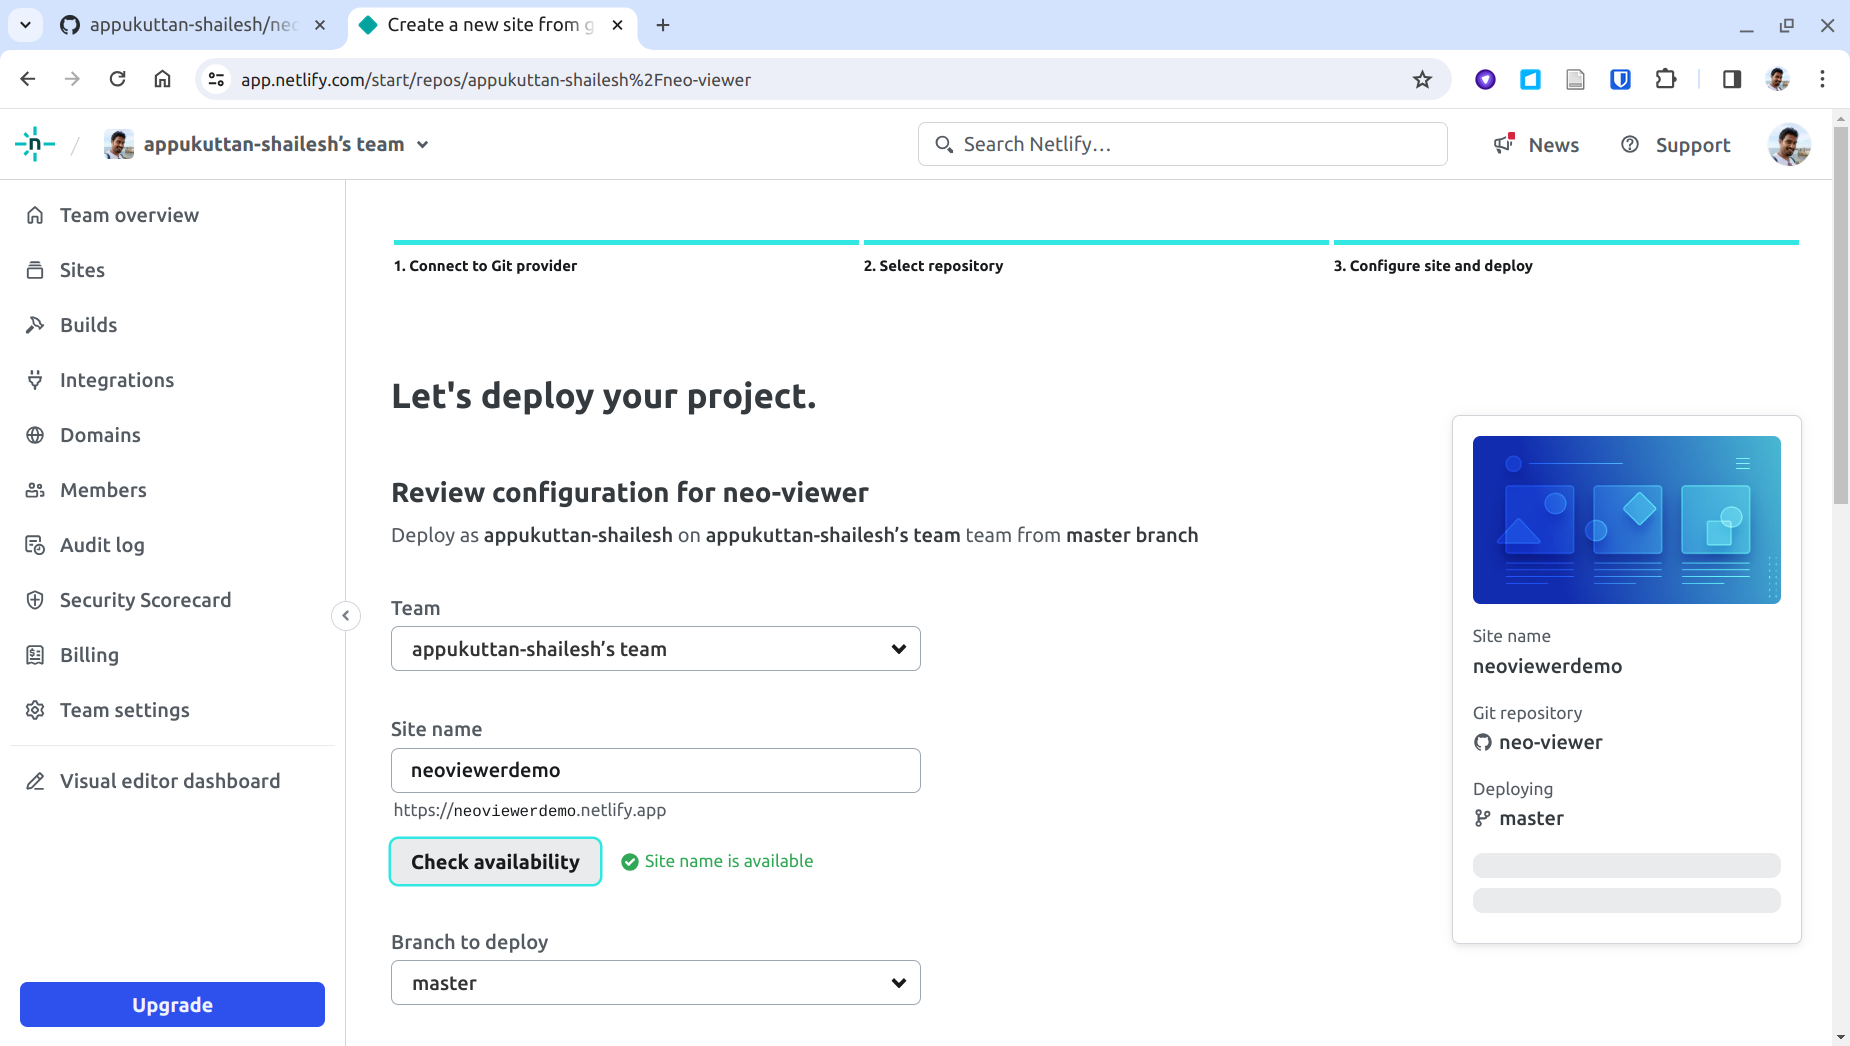
Assign a site name, e.g. neoviewerdemo
→ URL: https://neoviewerdemo.netlify.app:
Step 19
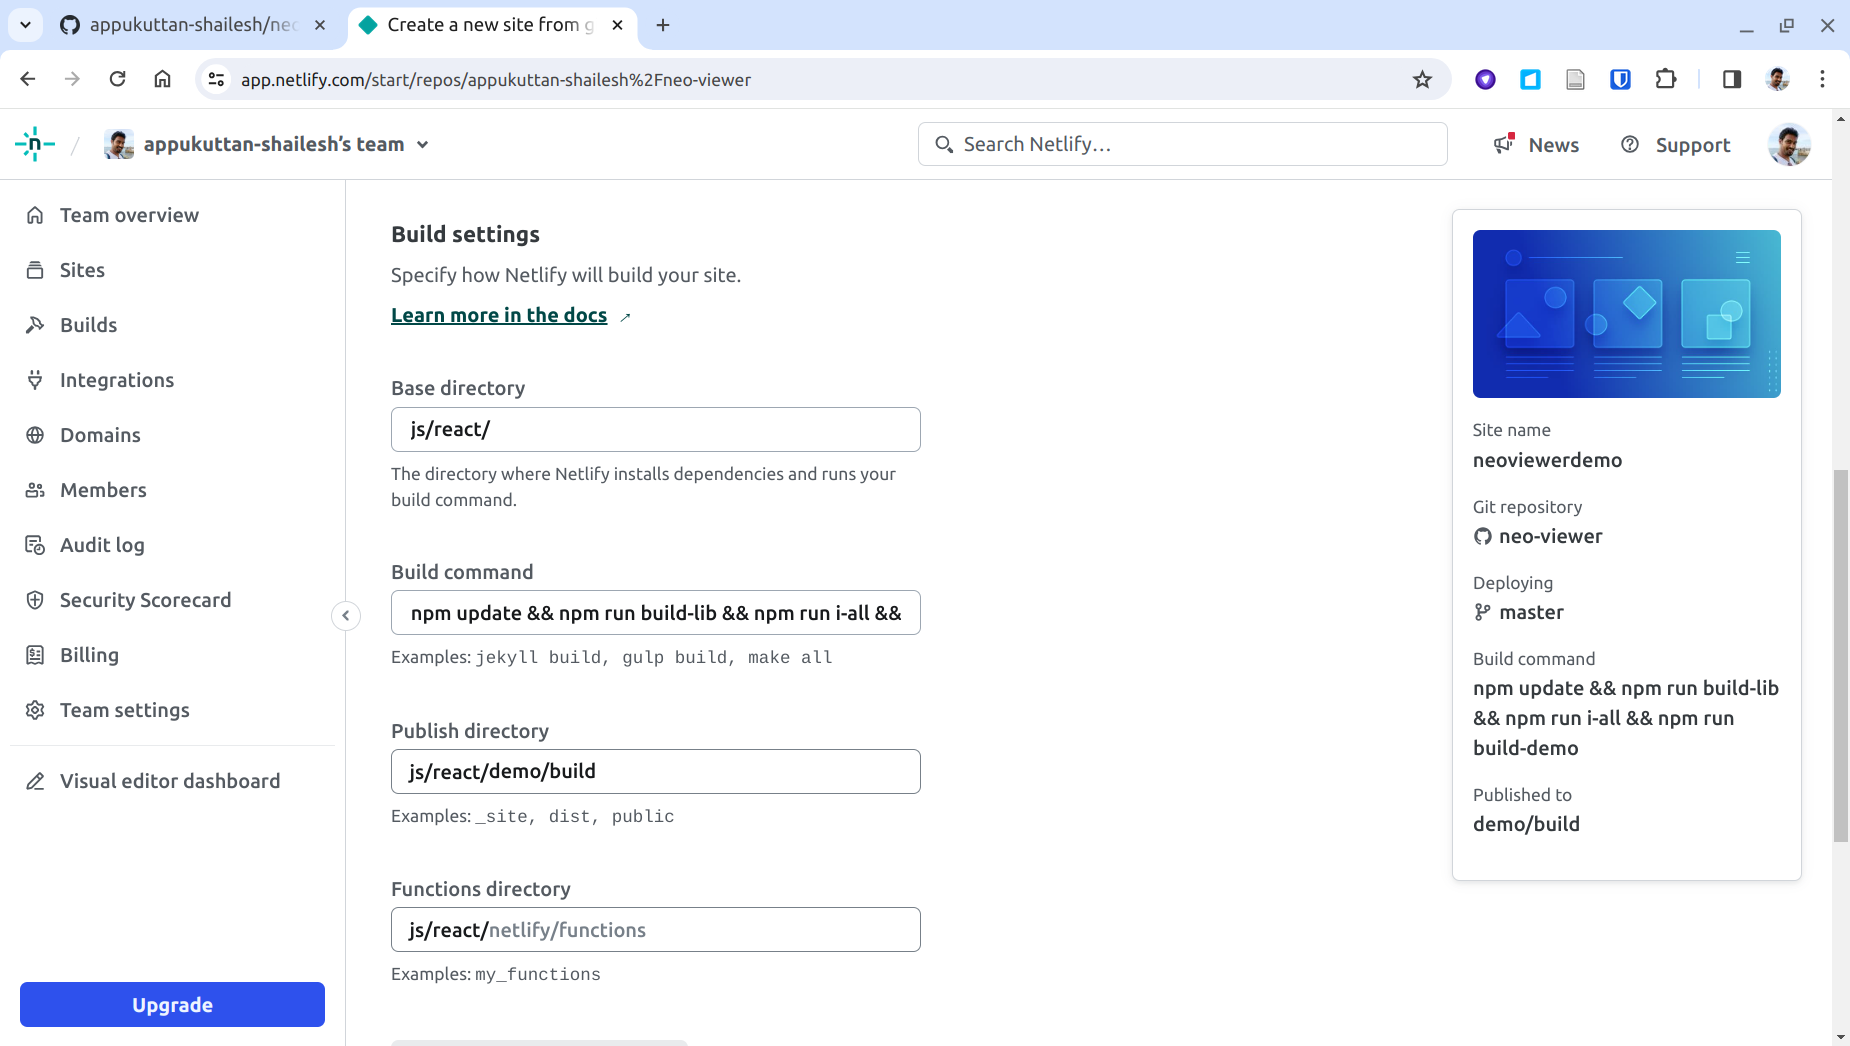
Set these build settings:
| Base directory | js/react/ |
| Build command | npm update && npm run build-lib && npm run i-all && npm run build-demo |
| Publish directory | js/react/demo/build |
Step 20
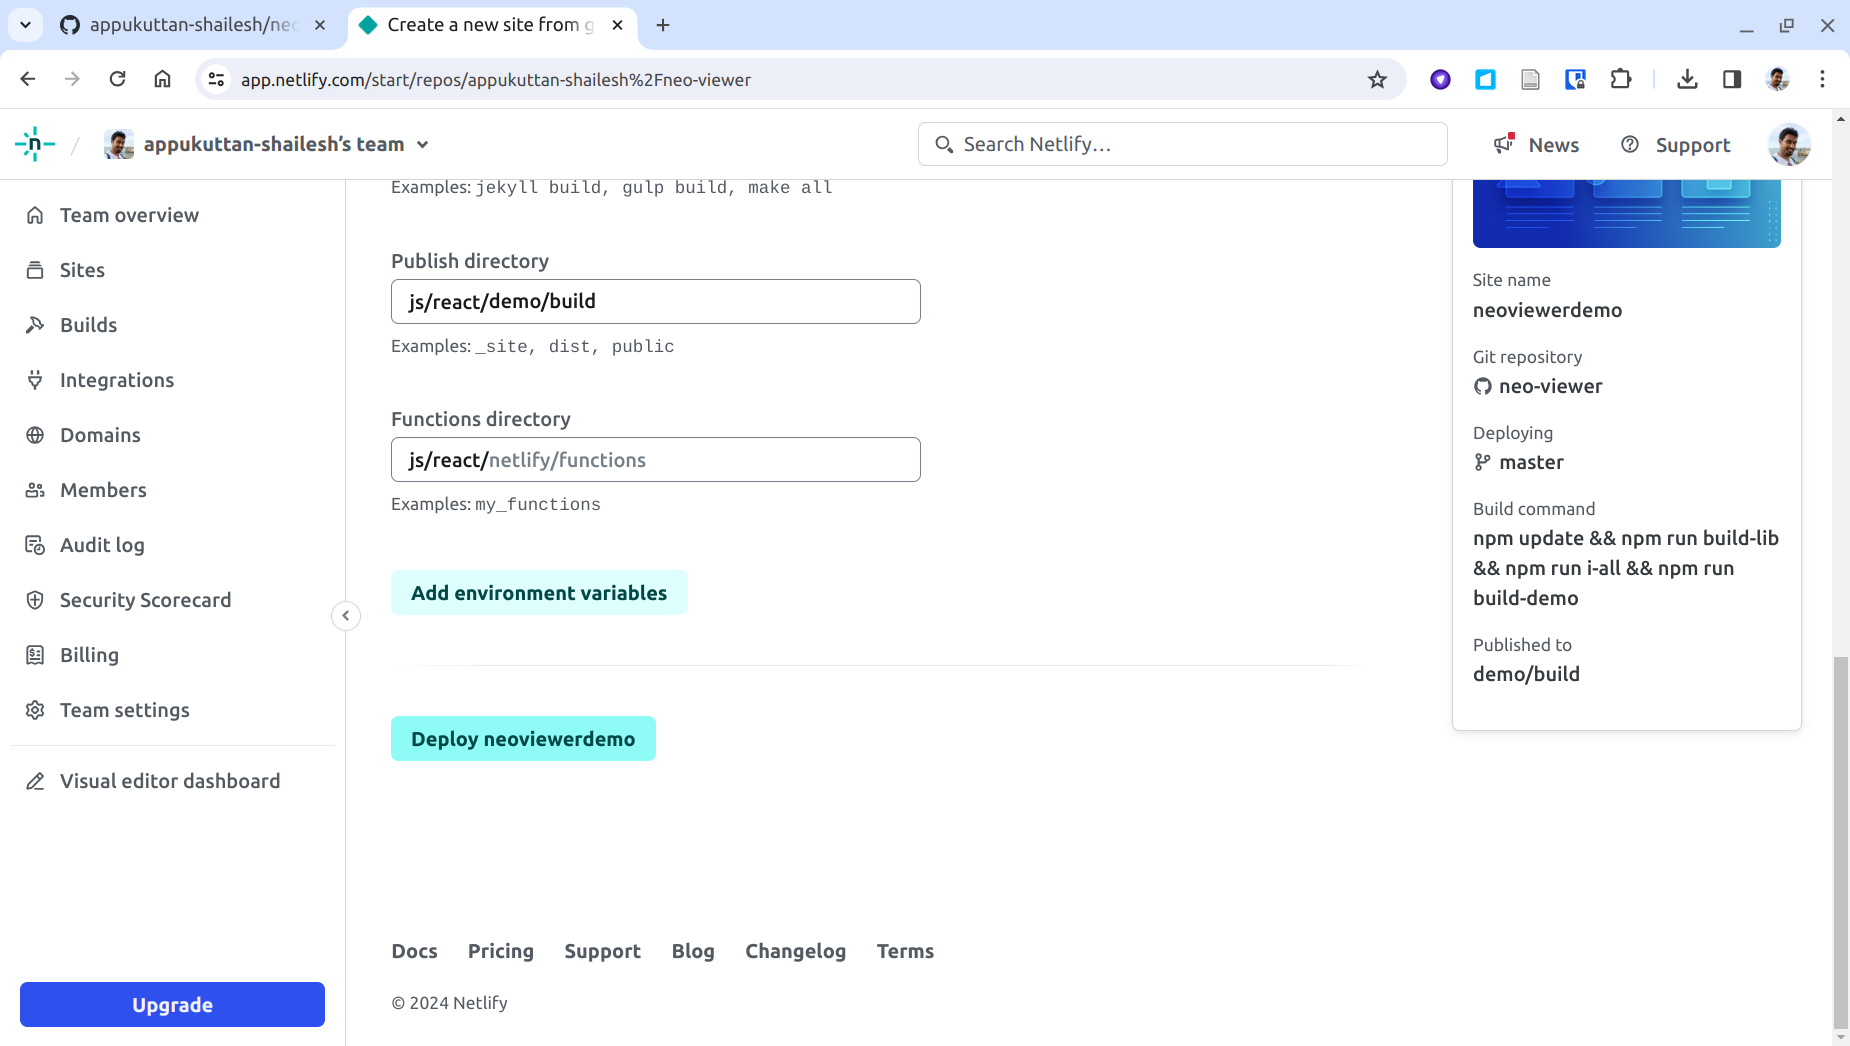
Click Add environment variables:
Step 21
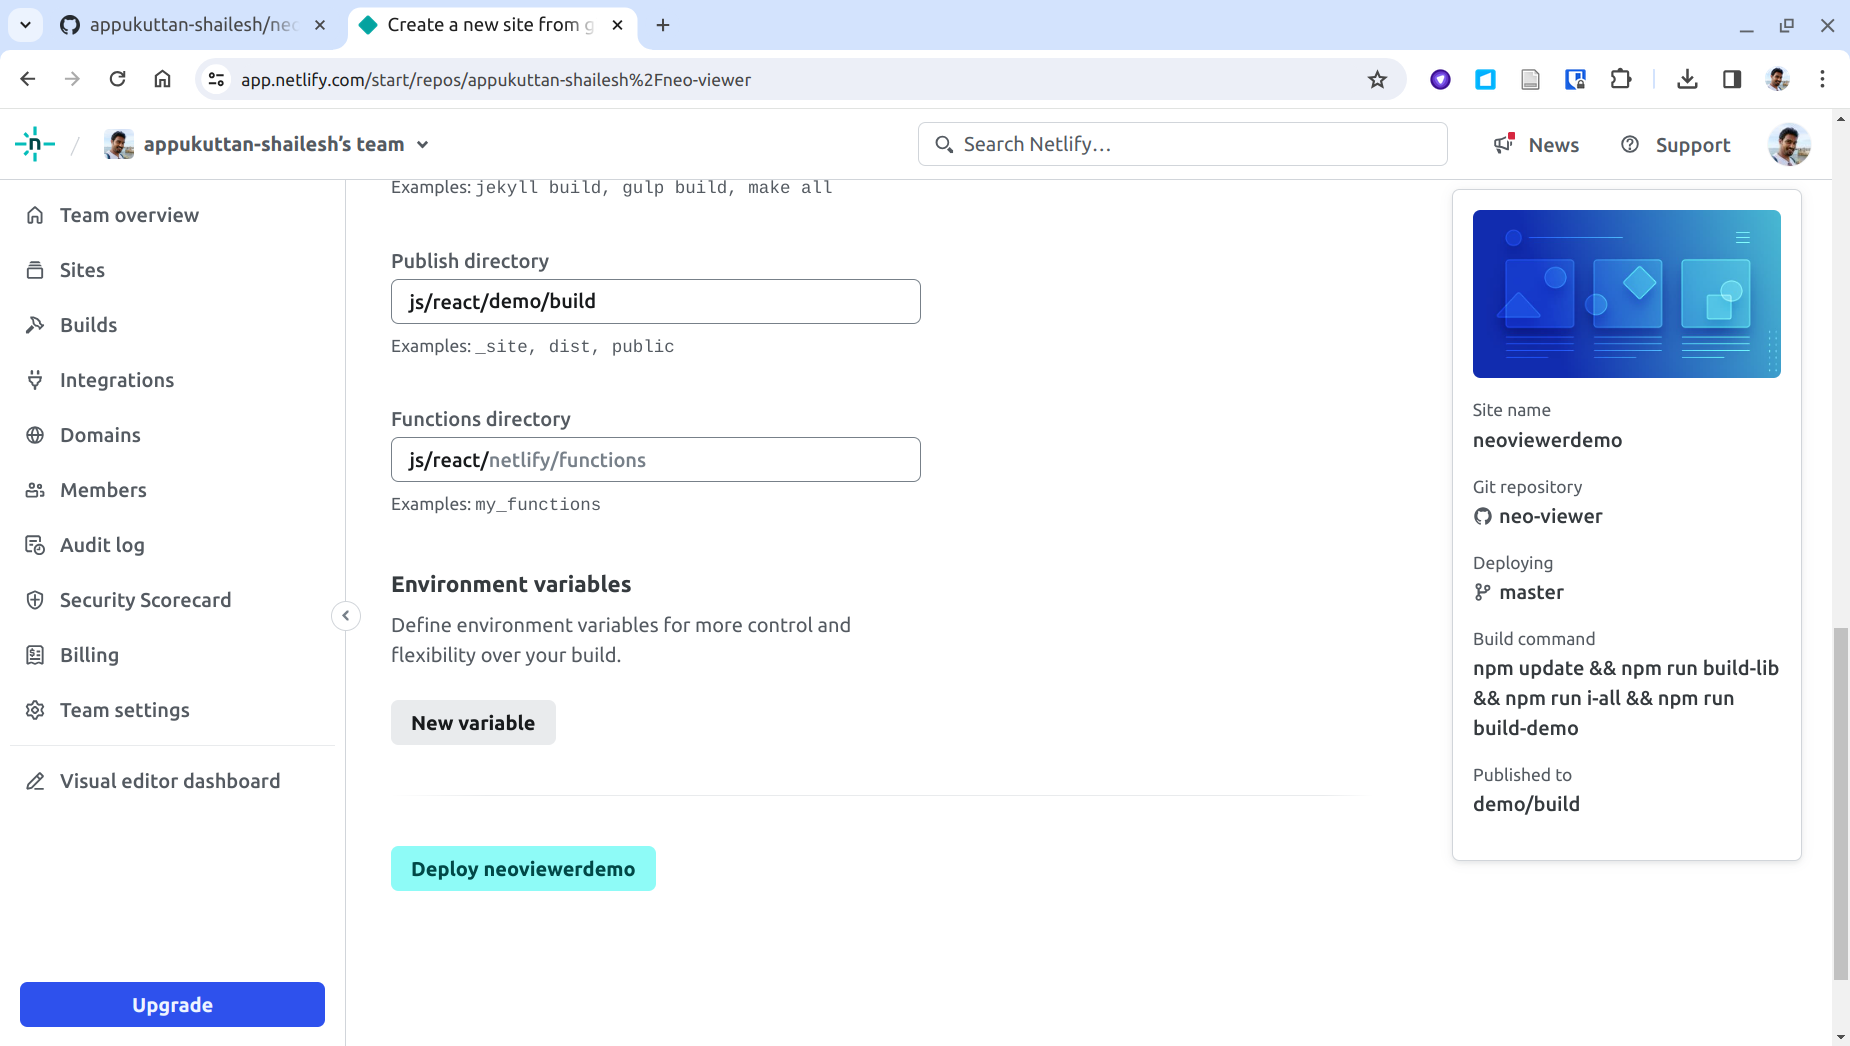
Click New variable:
Step 22
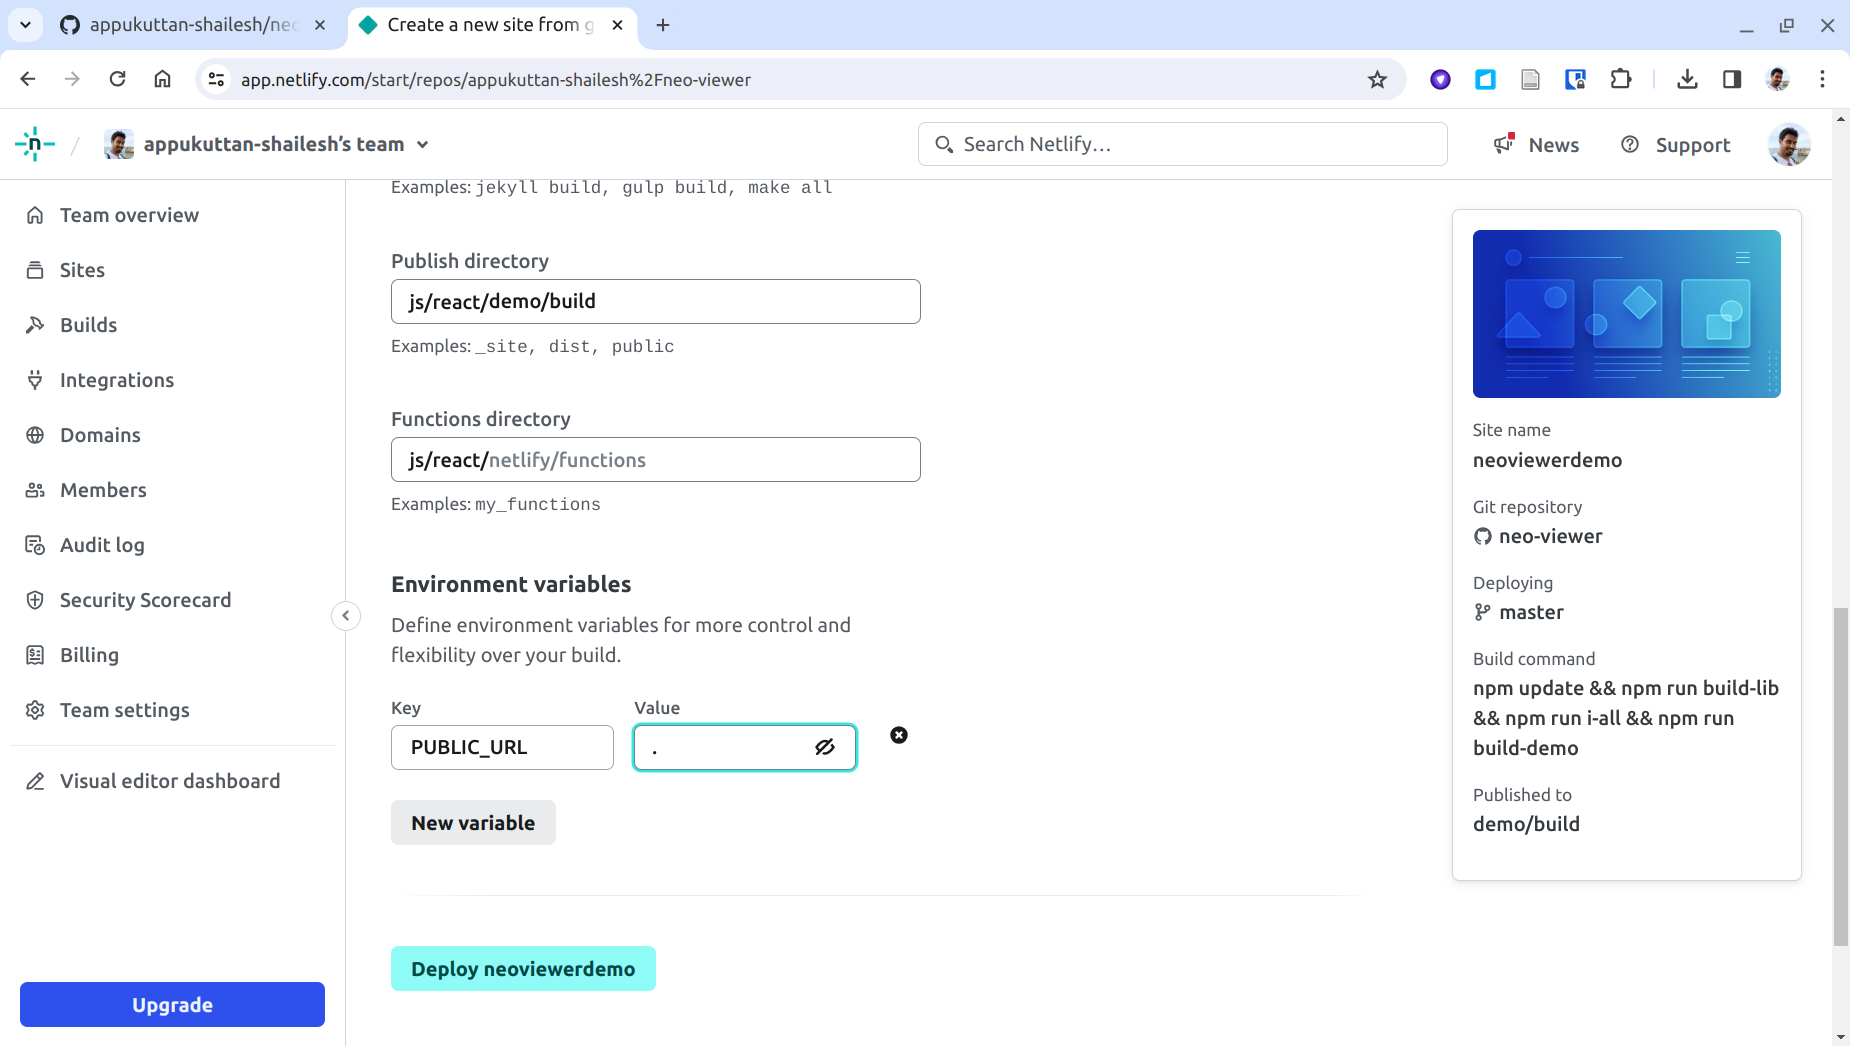
Set key PUBLIC_URL and value . (a single dot):
Step 23
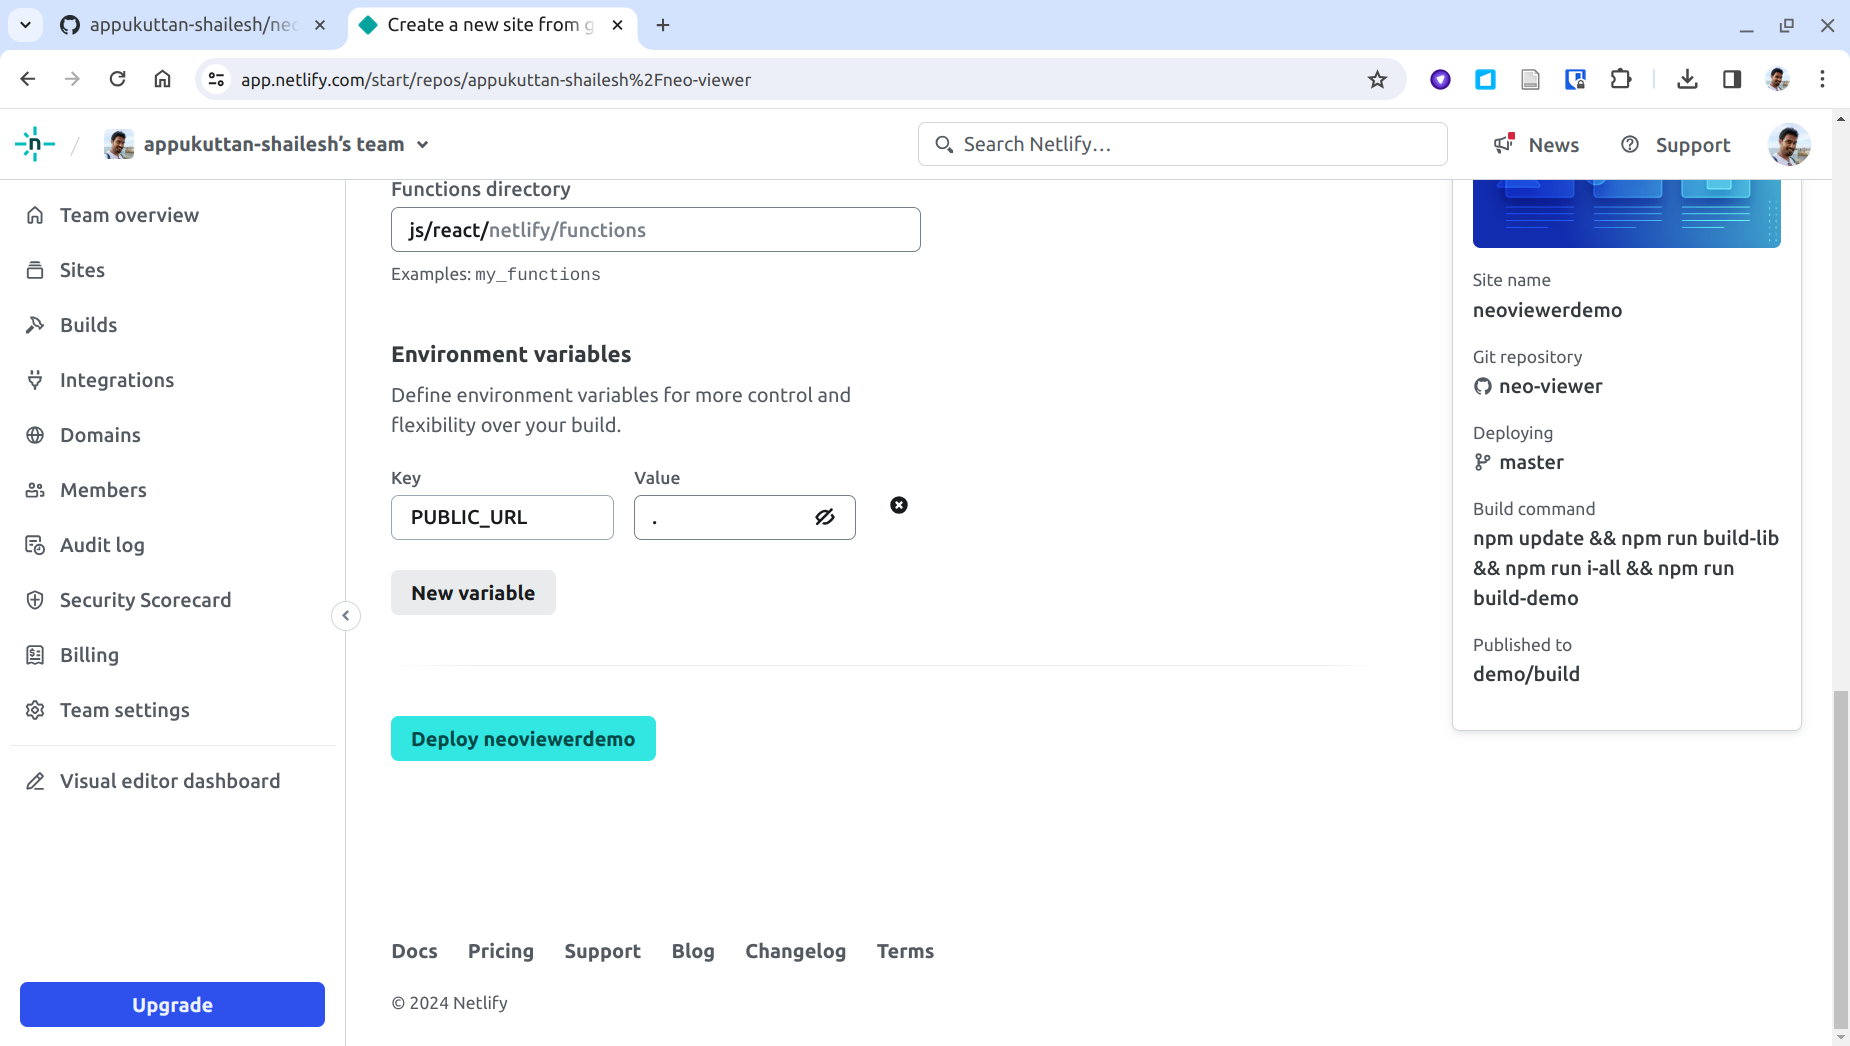
Click Deploy SITENAME:
Step 24
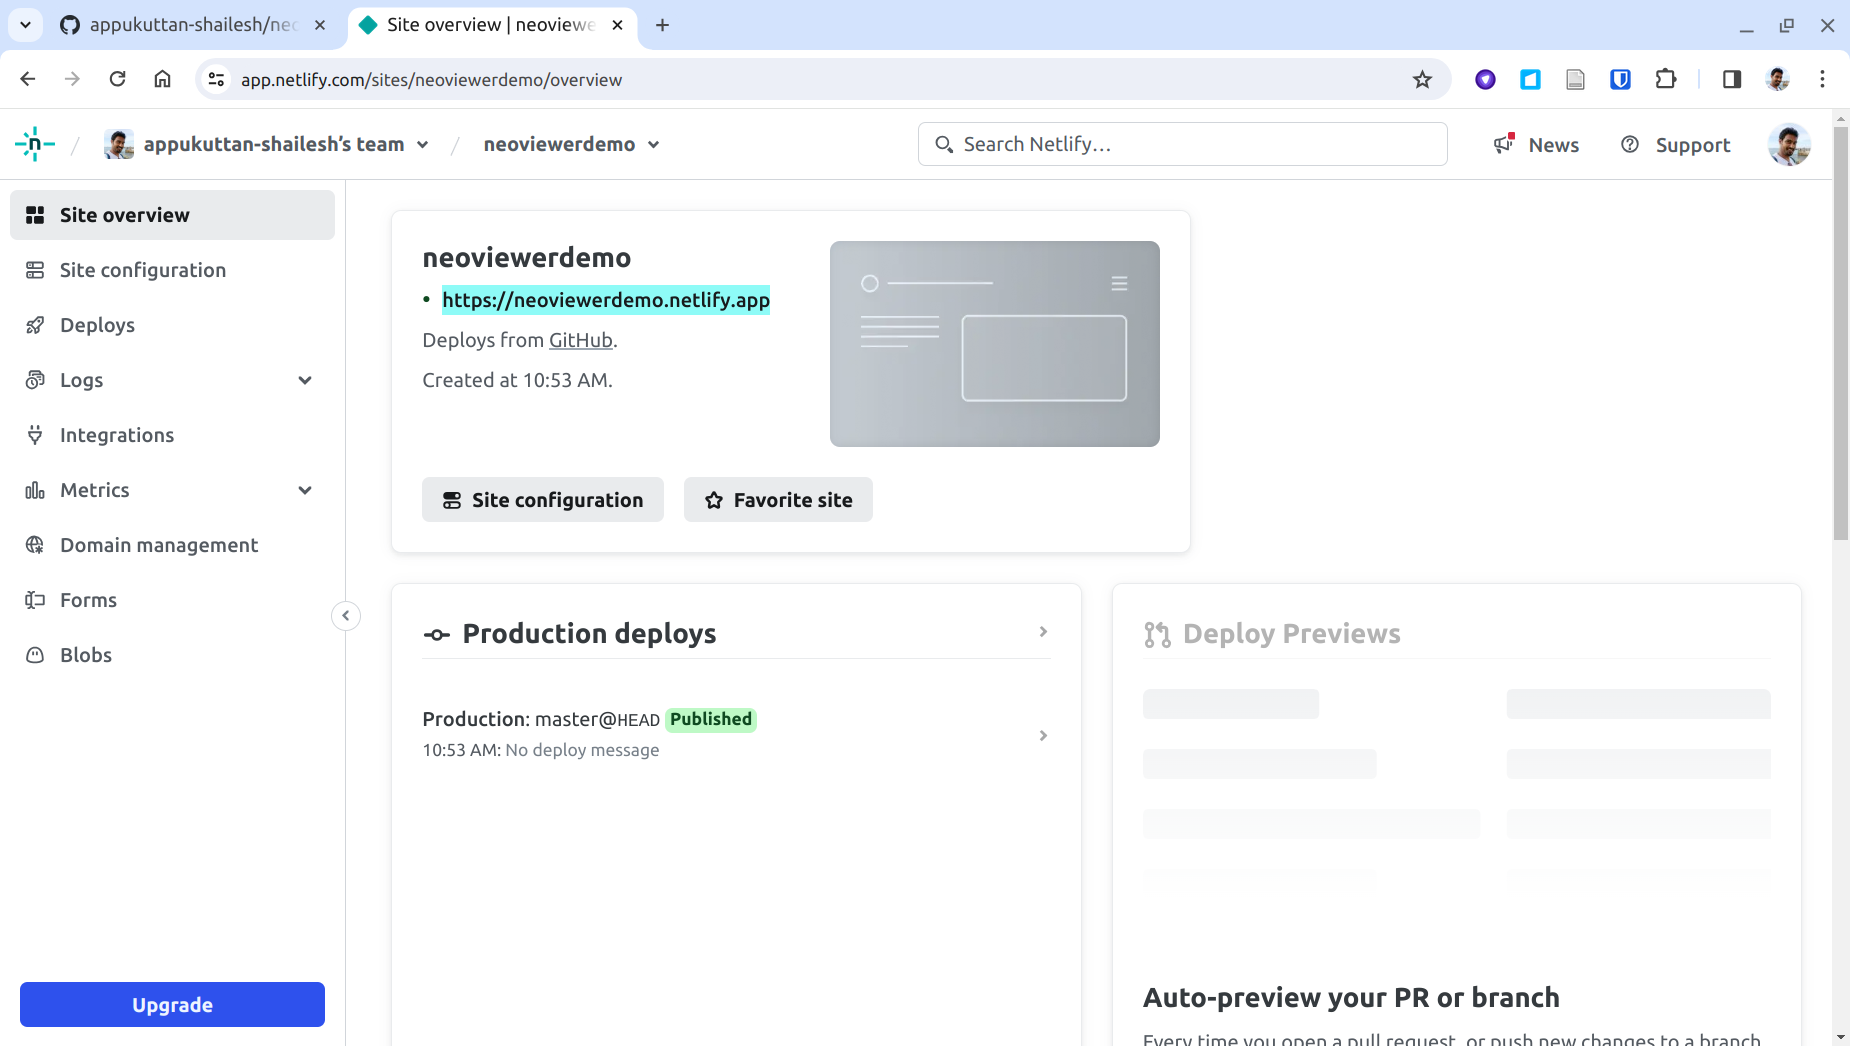
Deployment takes a few minutes. When status shows published, visit your URL:
Step 25
Your app is live. Share the URL or redeploy at any time by pushing to GitHub:
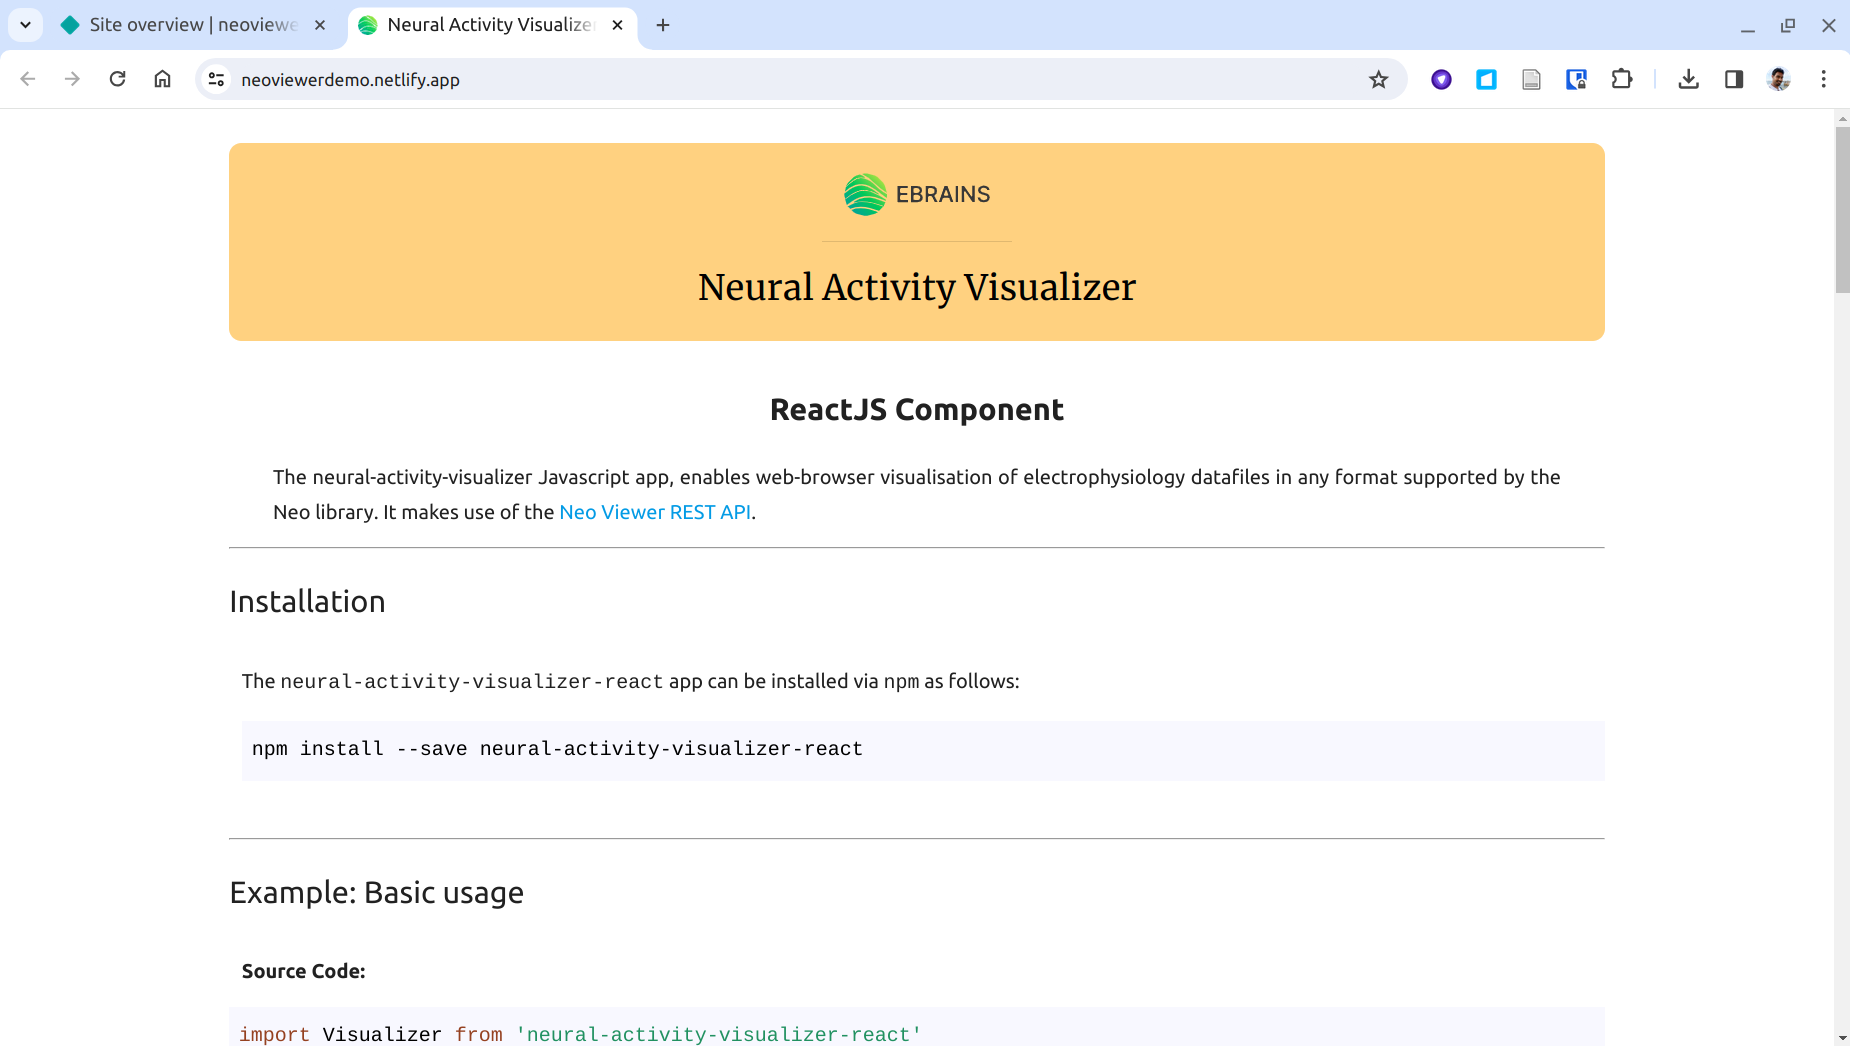
Step 26
Scrolling down you will see the familiar visualisation: