Using the AngularJS Component
A step-by-step guide to building a page with the Neural Activity Visualizer AngularJS component and deploying it on a web server.
Step 1
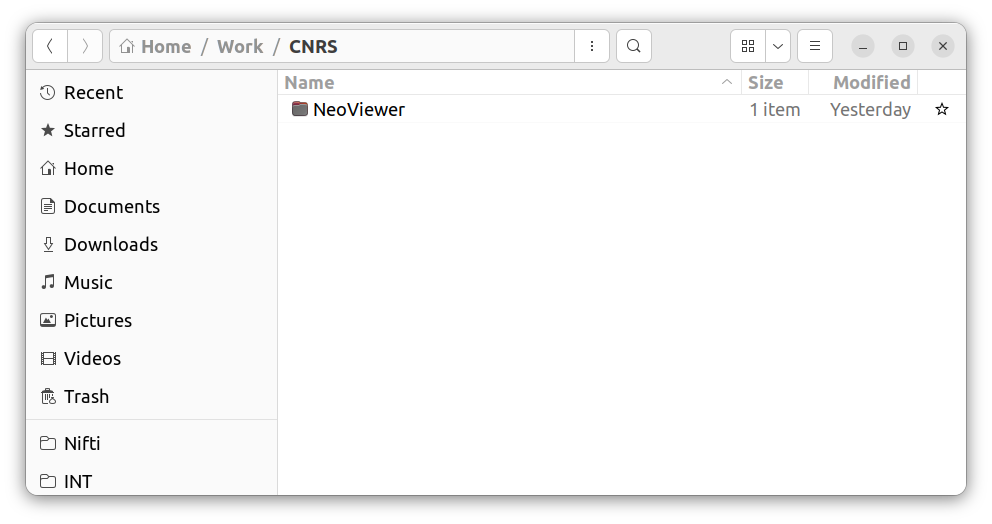
Create a new directory named NeoViewer:
Step 2
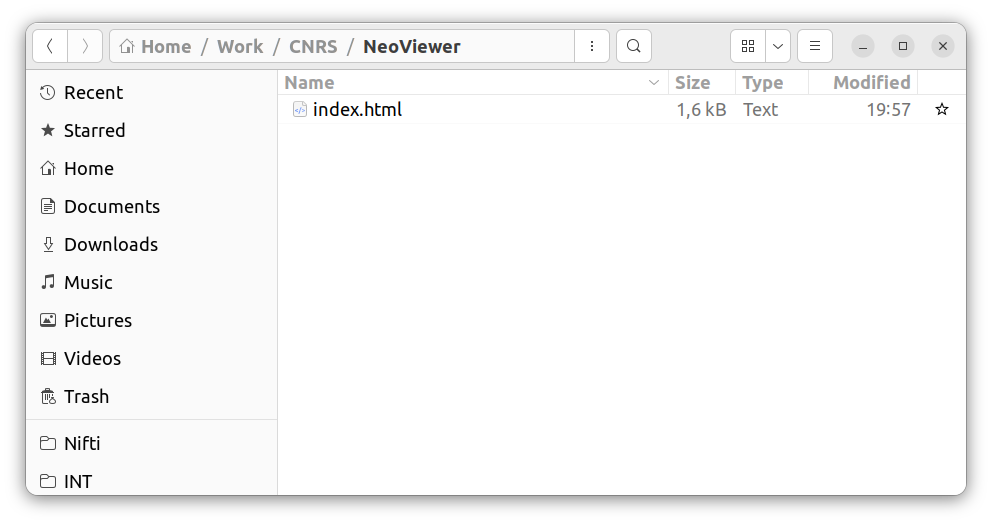
Create a file named index.html inside it:
Step 3
Copy-paste this code into index.html:
<!DOCTYPE html>
<html lang="en">
<head>
    <link rel="stylesheet" href="https://maxcdn.bootstrapcdn.com/bootstrap/3.3.7/css/bootstrap.min.css">
    <script src="https://cdnjs.cloudflare.com/ajax/libs/angular.js/1.7.5/angular.min.js"></script>
    <script src="https://cdnjs.cloudflare.com/ajax/libs/angular.js/1.7.5/angular-resource.min.js"></script>
    <script src="https://cdnjs.cloudflare.com/ajax/libs/angular-nvd3/1.0.9/angular-nvd3.min.js"></script>
    <script src="https://cdnjs.cloudflare.com/ajax/libs/plotly.js/1.51.1/plotly.min.js"></script>
    <script src="https://cdn.jsdelivr.net/gh/NeuralEnsemble/neo-viewer@master/js/angularjs/src/visualizer.js"></script>
    <script src="https://cdn.jsdelivr.net/gh/NeuralEnsemble/neo-viewer@master/js/angularjs/src/services.js"></script>
</head>
<body>
    <div id="root">
        <div class="container" ng-app="neo-visualizer">
            <div ng-controller="URLFormController">
                <form class="form-inline angular-container">
                    <div class="form-group">
                        <label for="dataFileURL">URL of data file:</label>
                        <input type="text" class="form-control" ng-model="dataFileURL"
                               id="dataFileURL" placeholder="enter data file URL here"
                               style="width: 600px;">
                    </div>
                </form>
                <div class="row angular-container">
                    <visualizer-view ng-if="dataFileURL" source="{{dataFileURL}}" height=300>
                    </visualizer-view>
                </div>
            </div>
        </div>
    </div>
</body>
</html>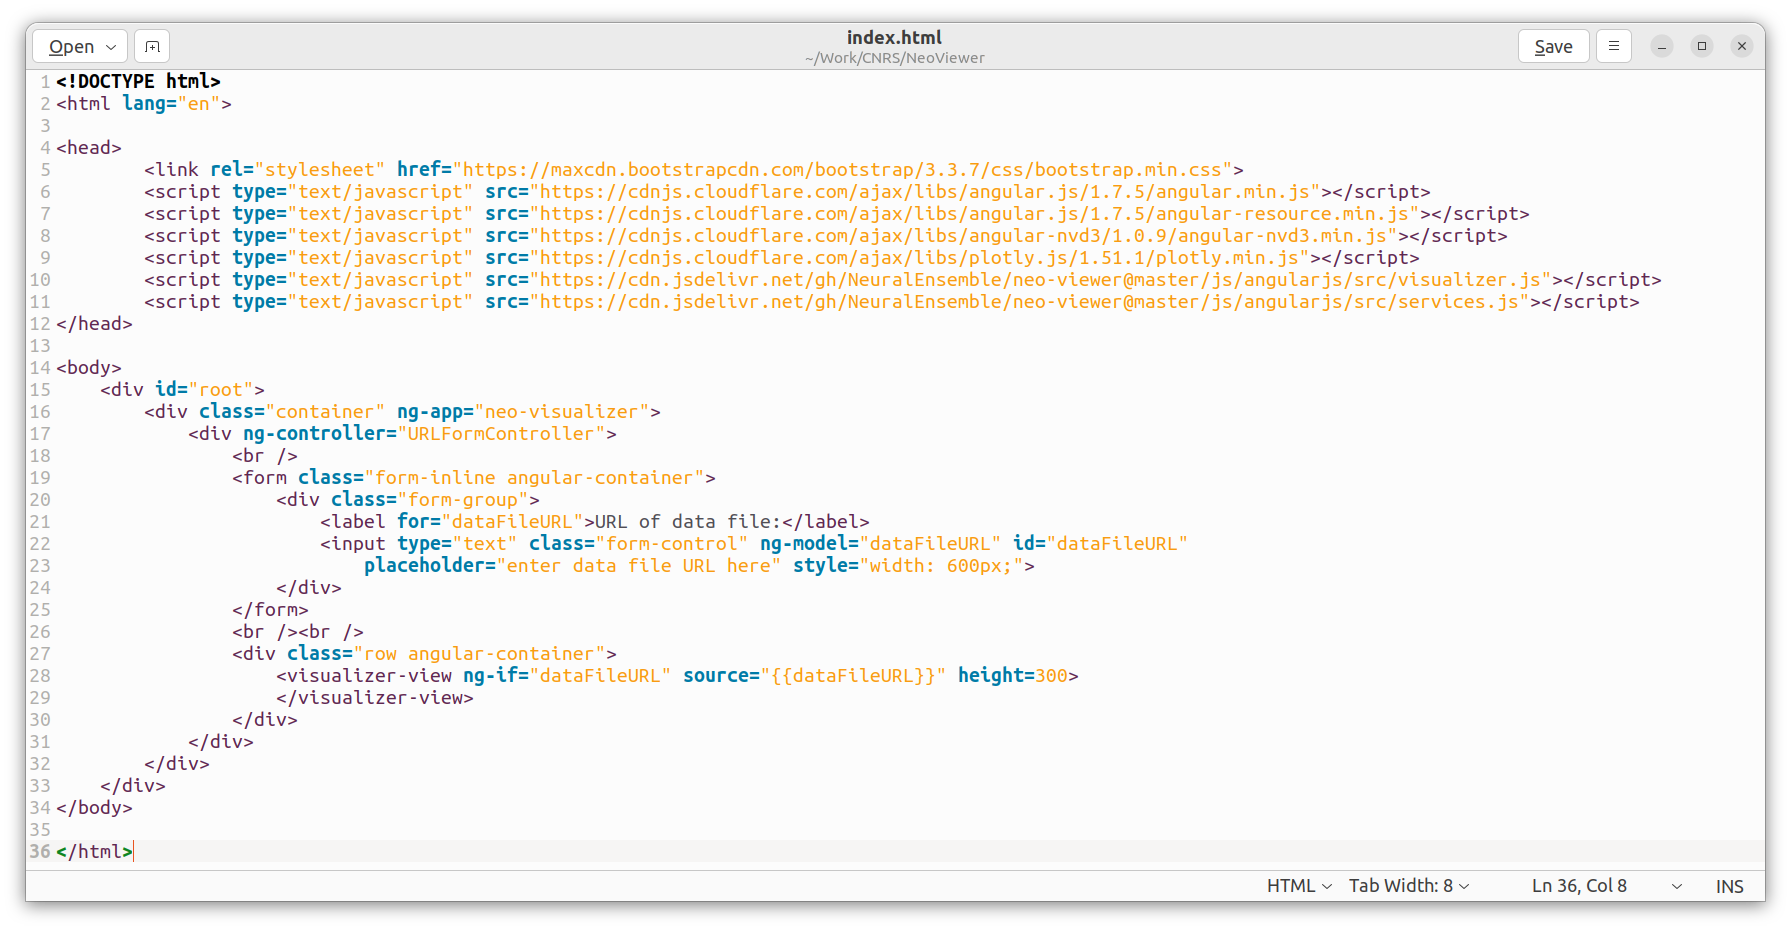
Step 4
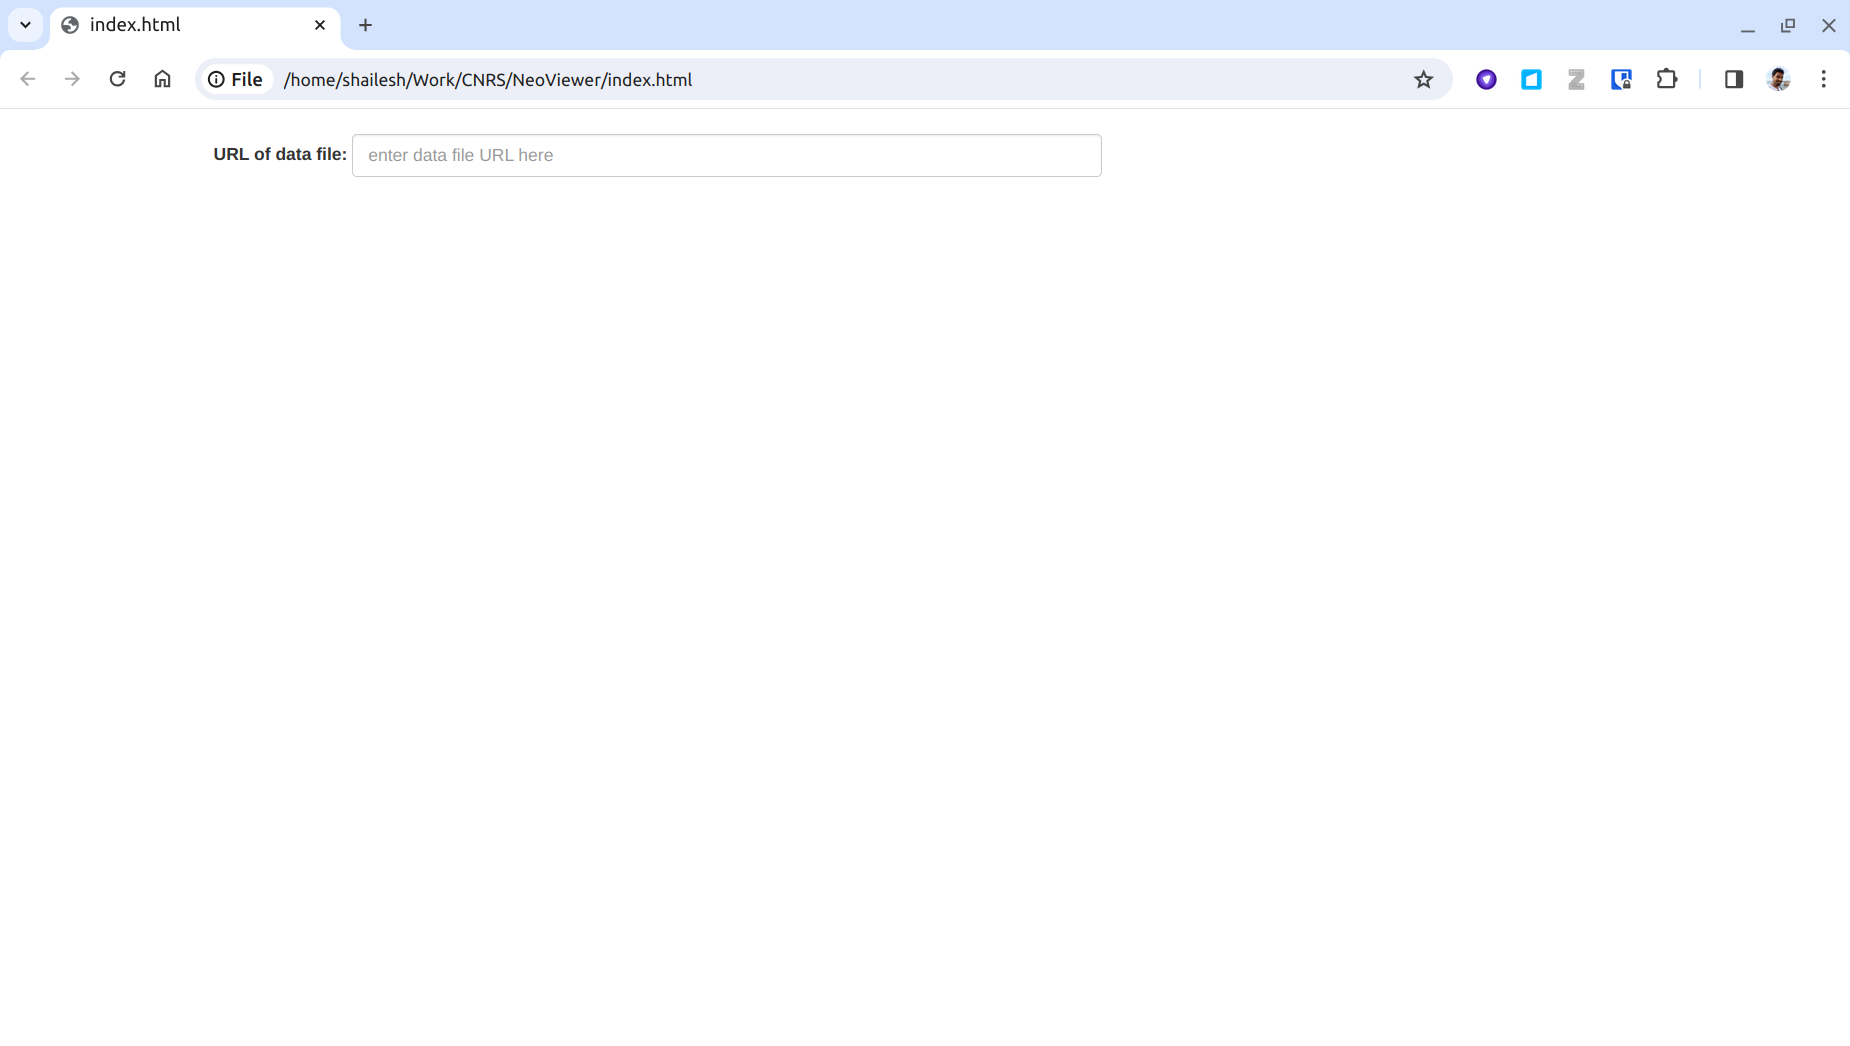
Open index.html in your browser:
Step 5
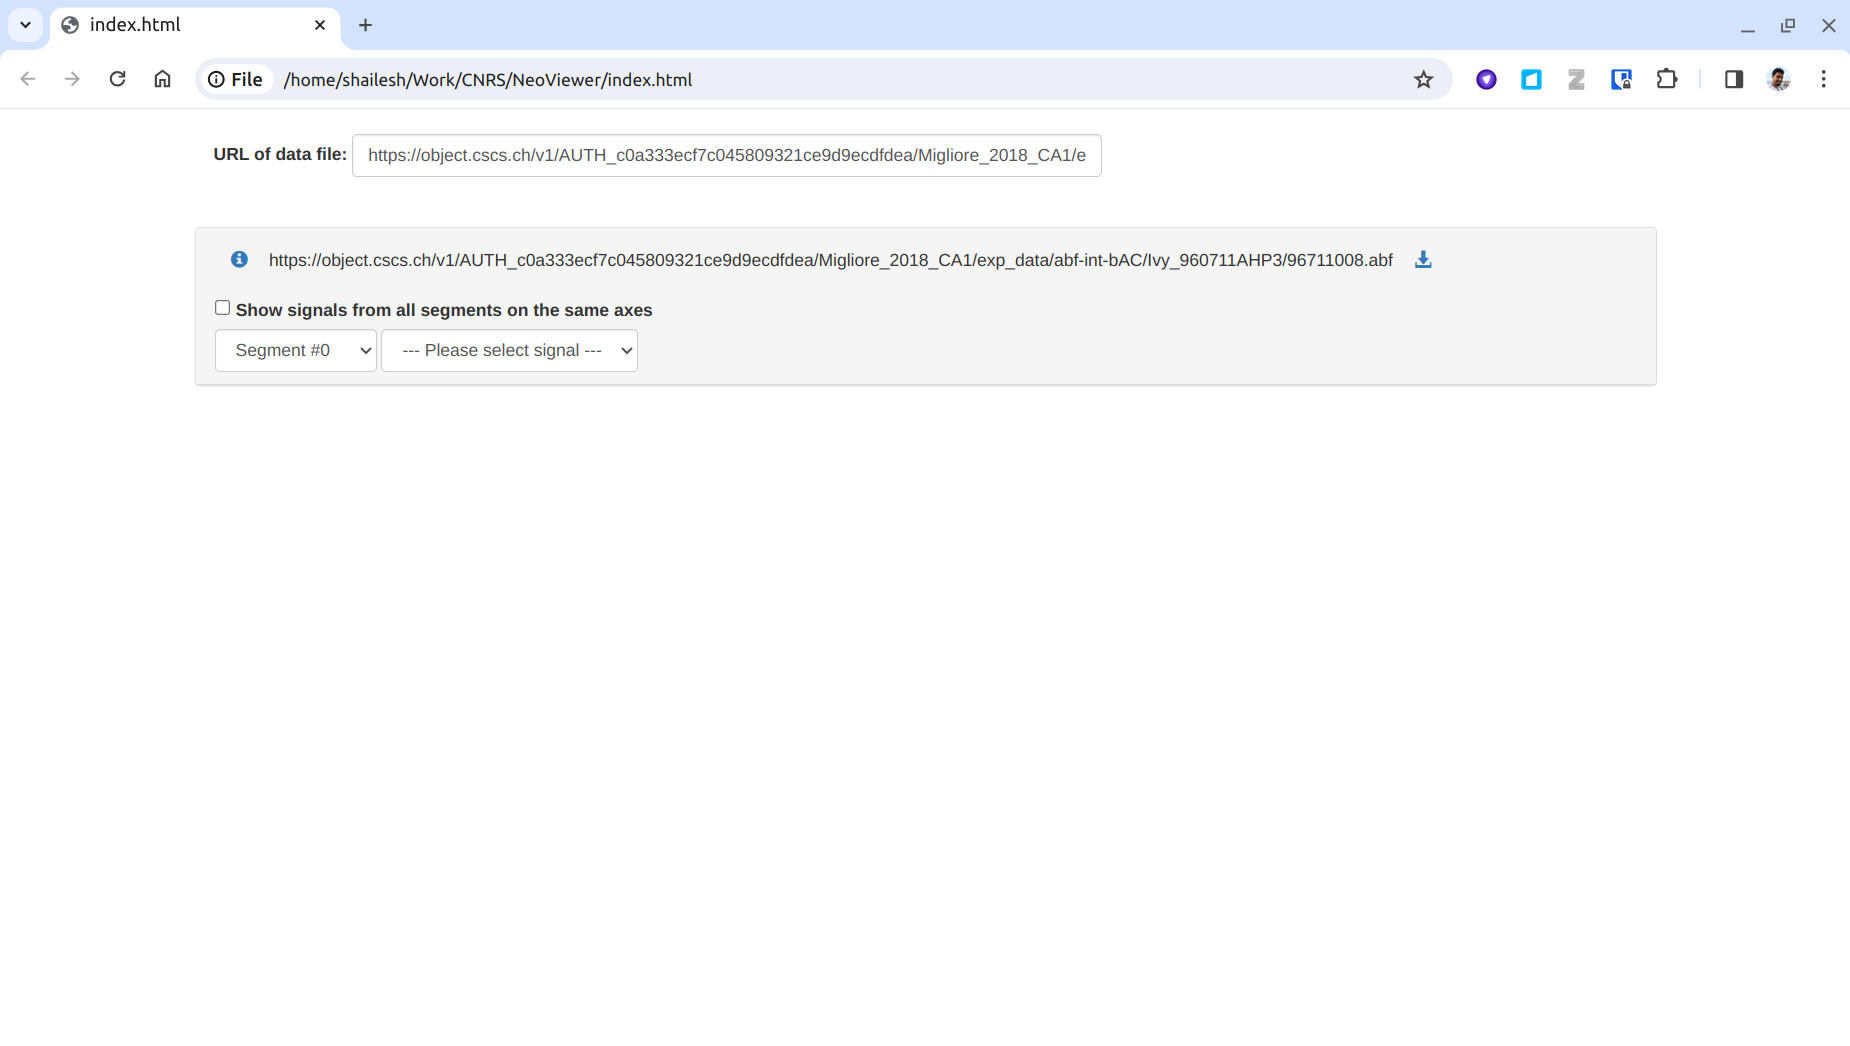
Paste a data file URL into the input box. Example:
https://data-proxy.ebrains.eu/api/v1/buckets/pc0a33-Migliore_2018_CA1/exp_data/abf-int-bAC/Ivy_960711AHP3/96711008.abf
Step 6
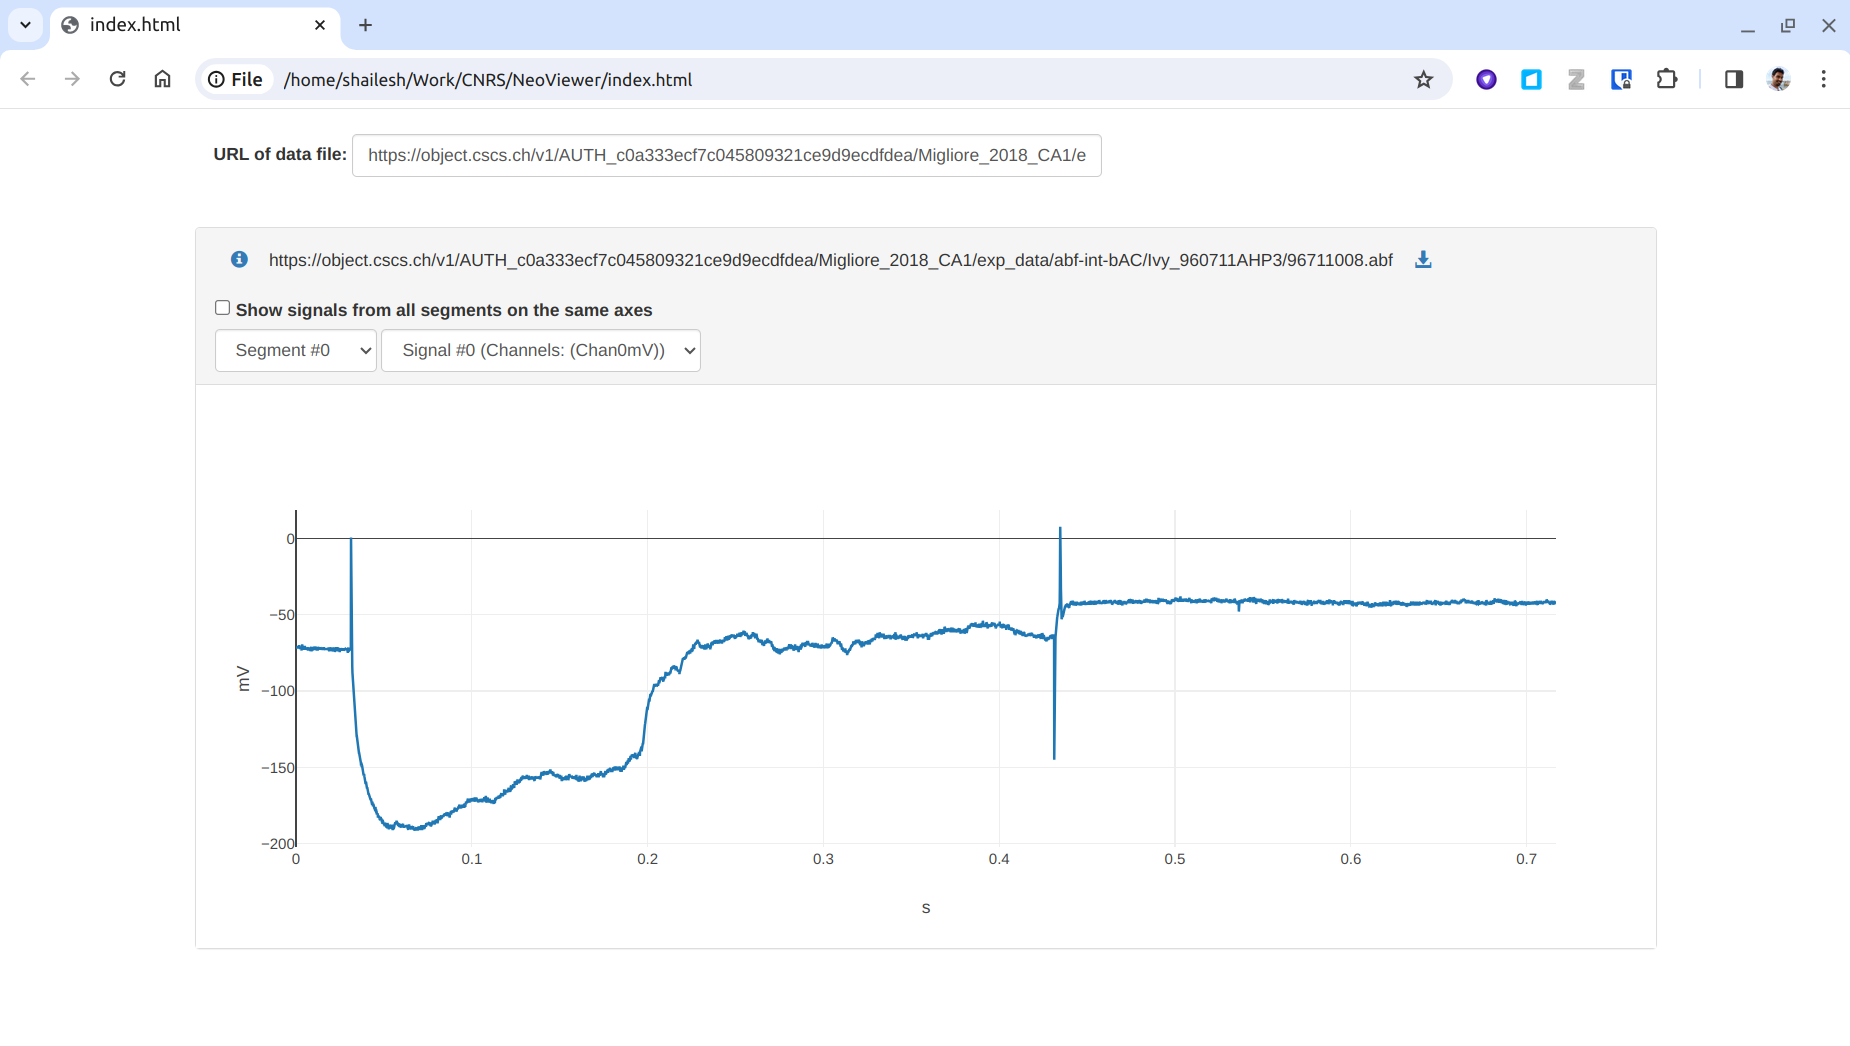
Select a signal to display it:
Step 8
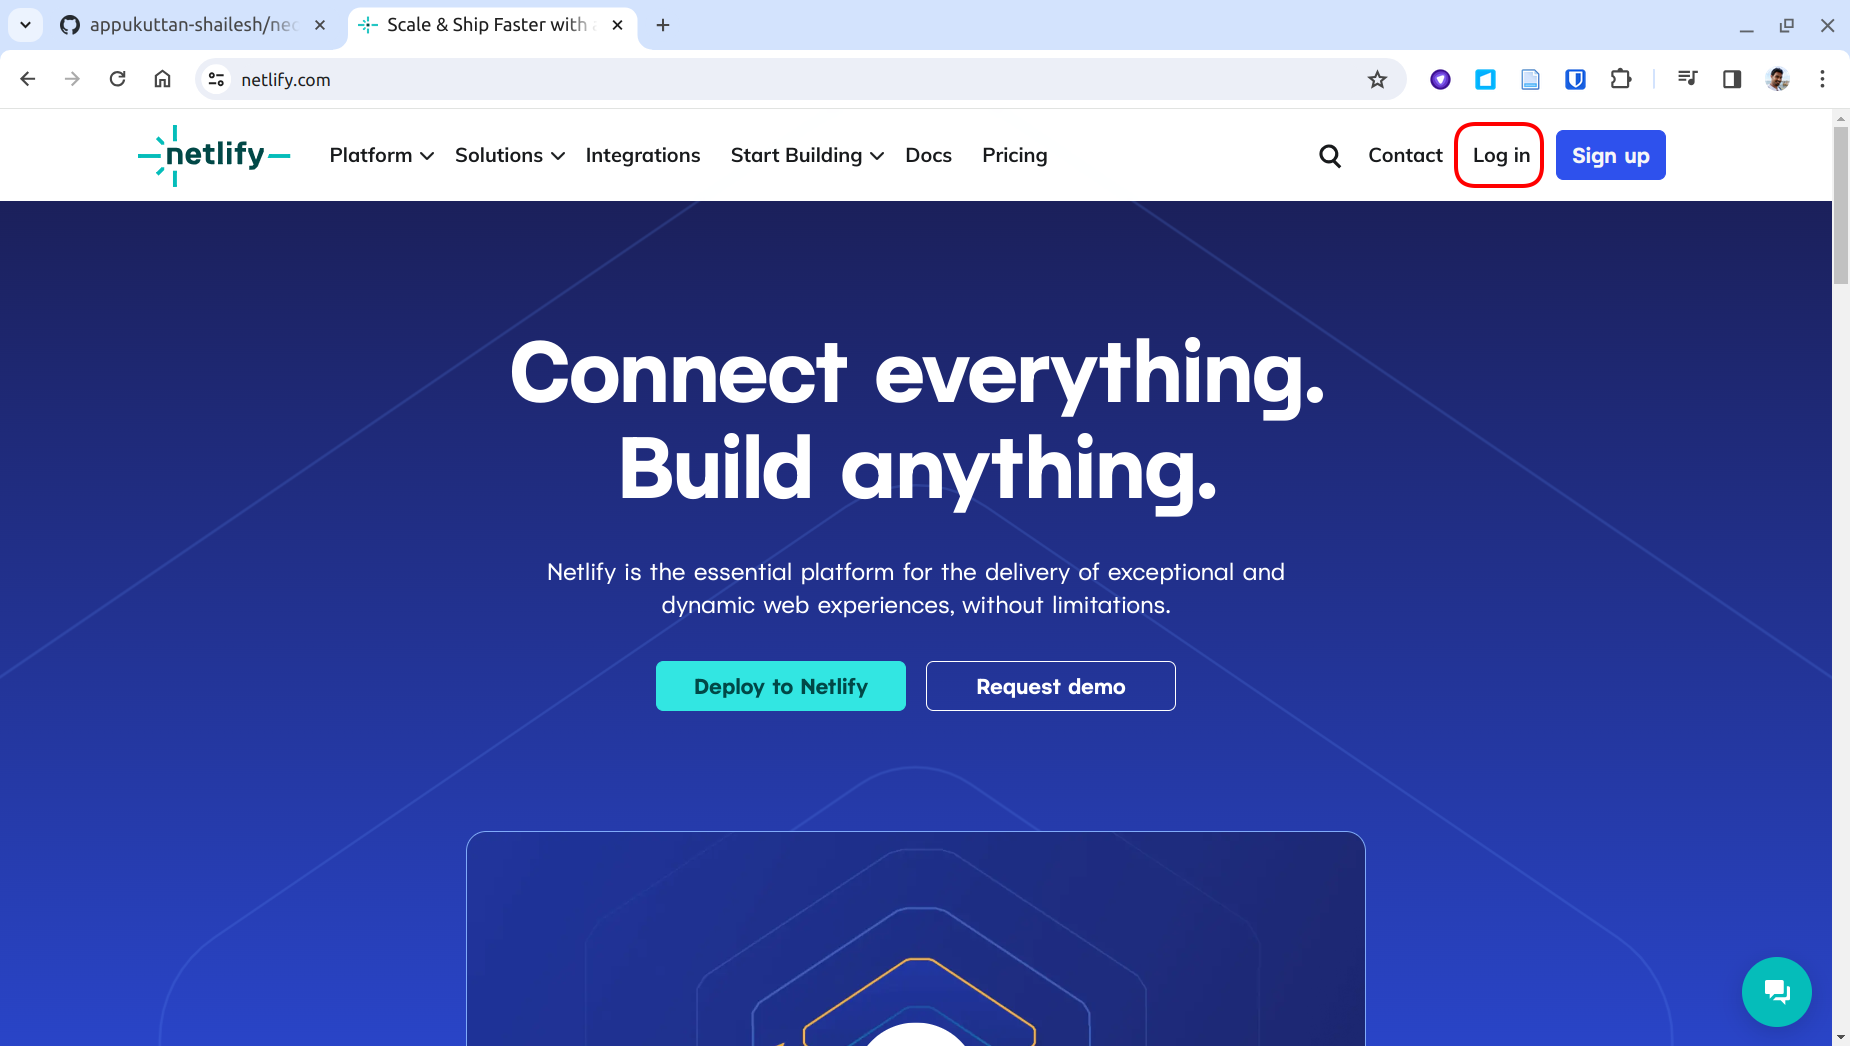
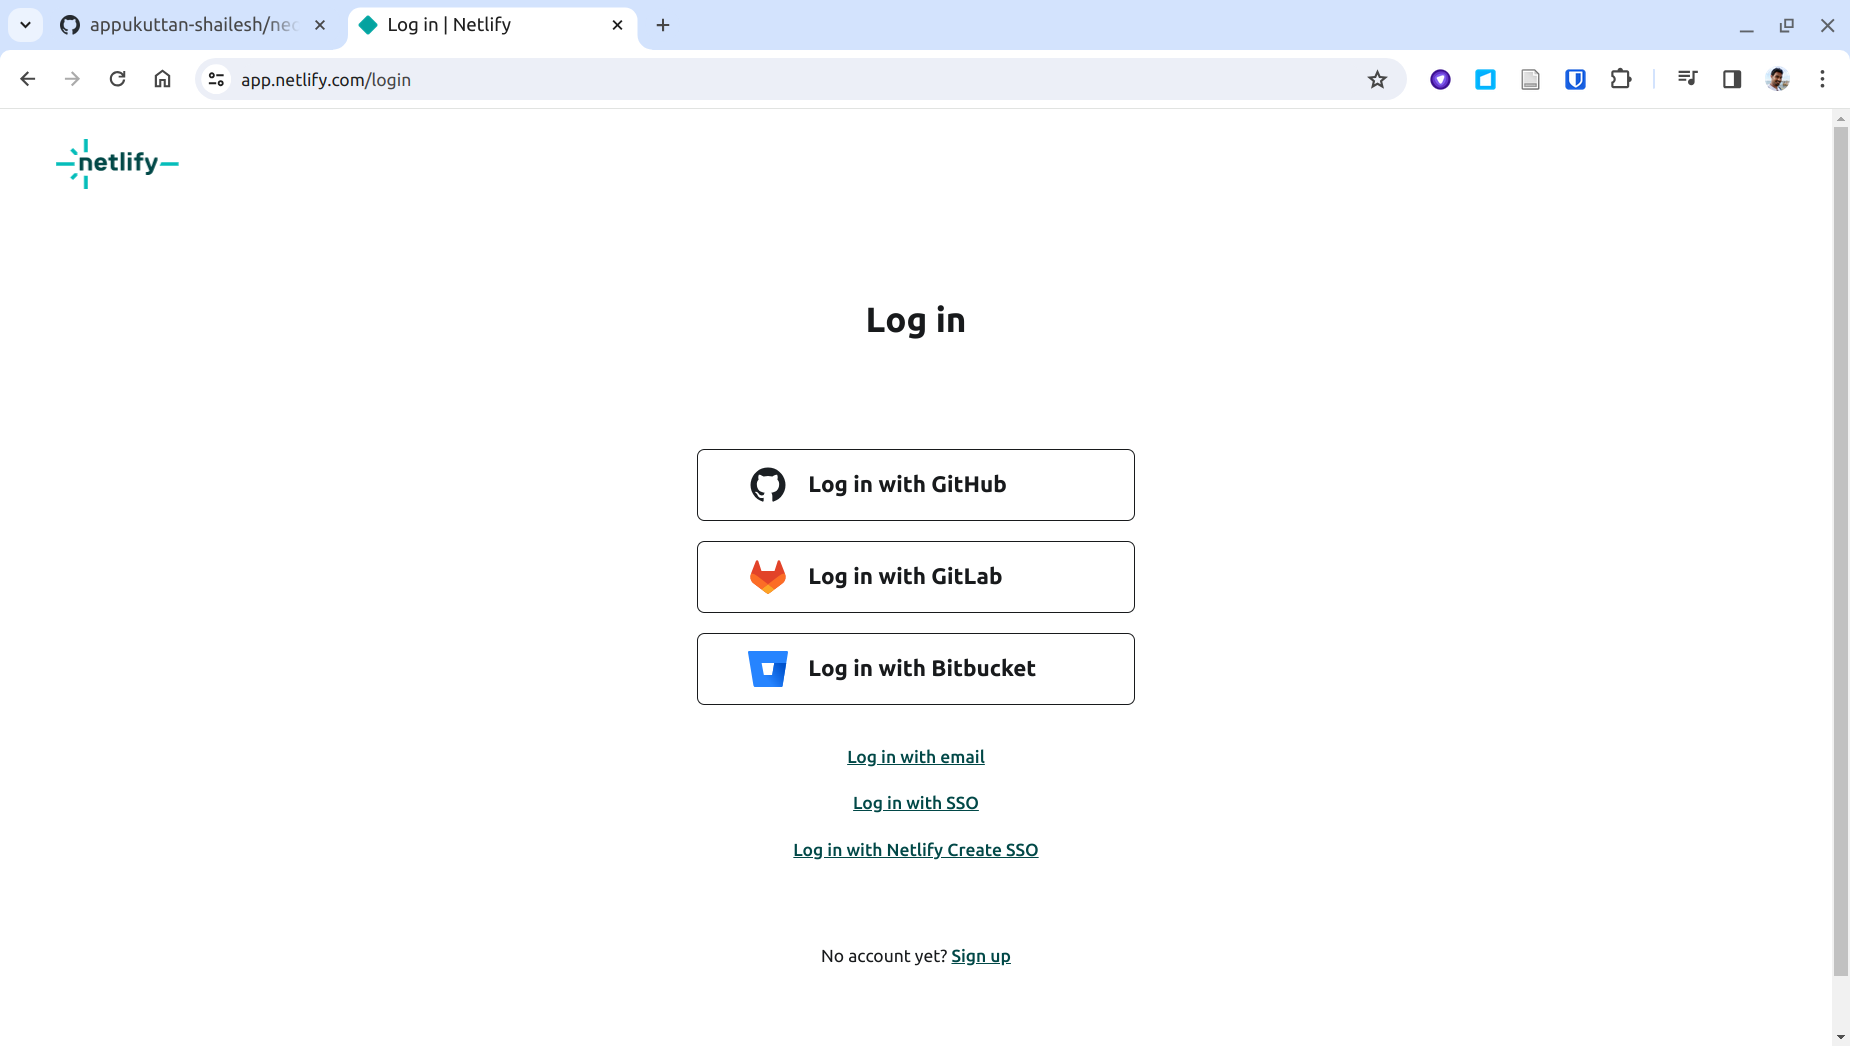
Log in with your GitHub account:
Step 9
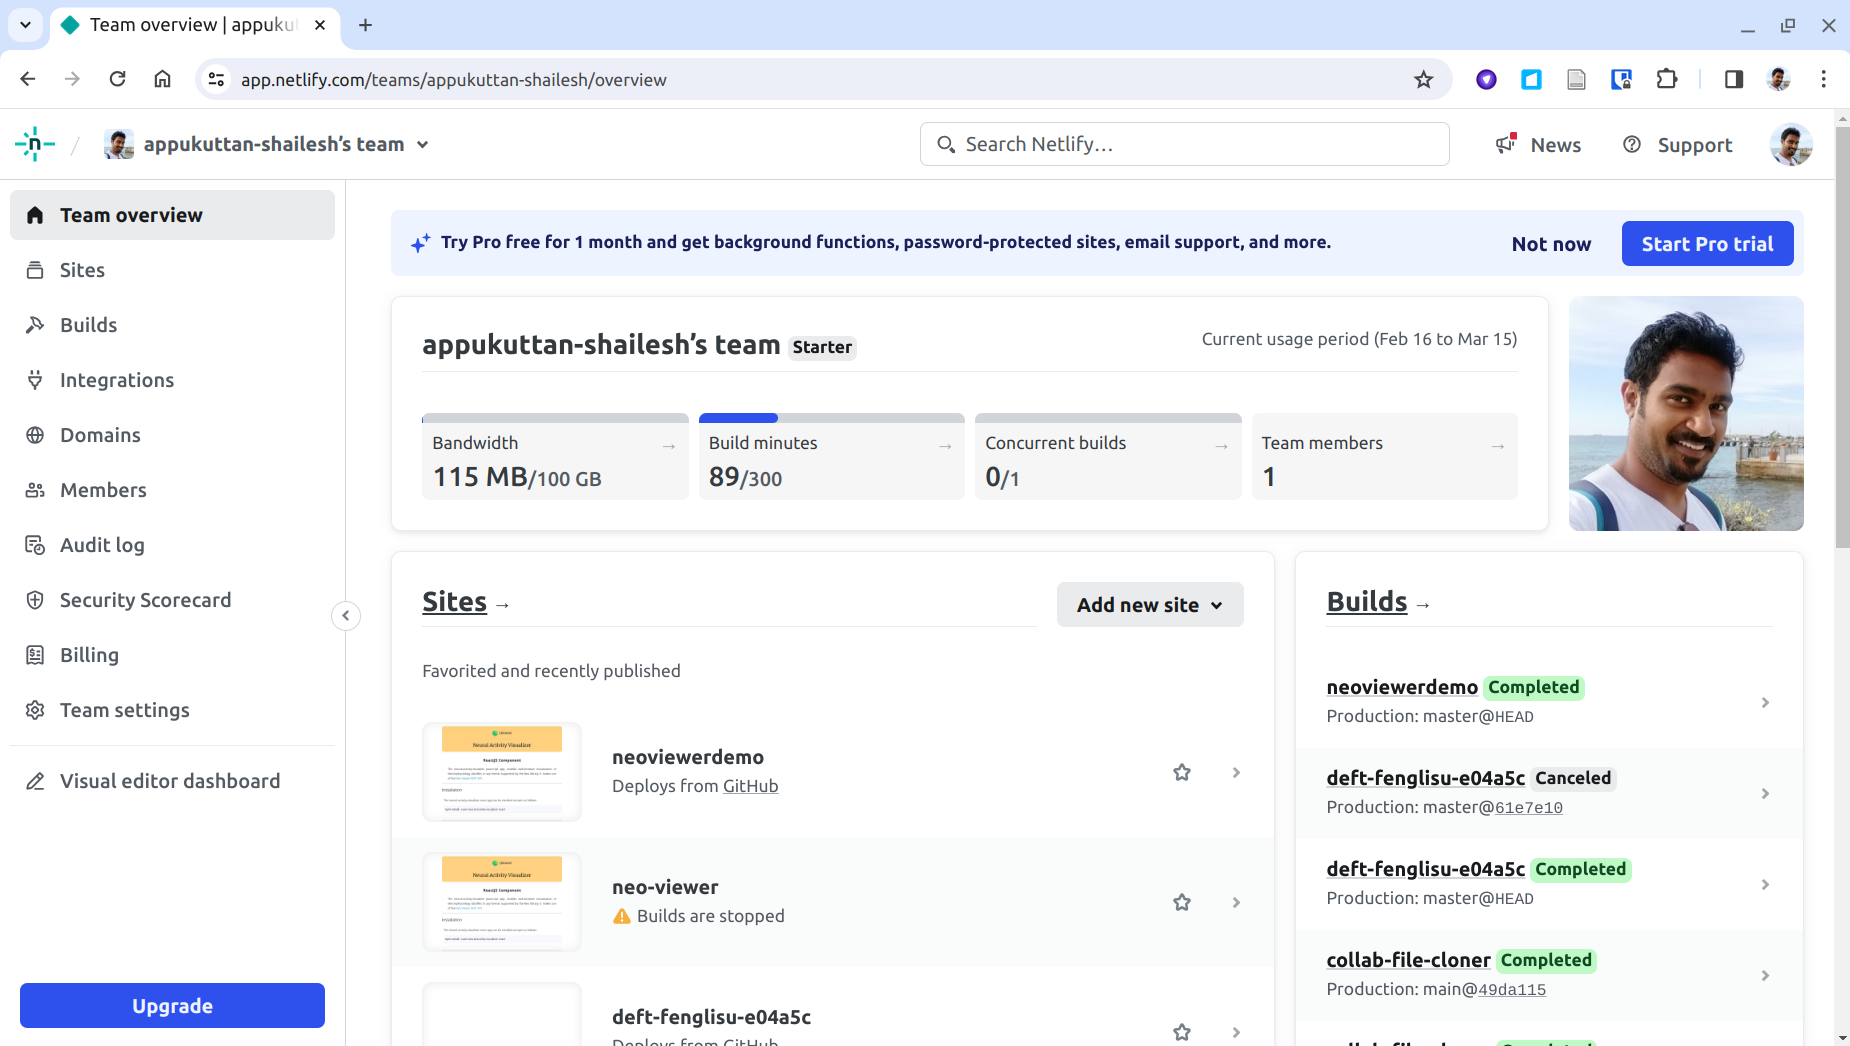
Click Add new site:
Step 10
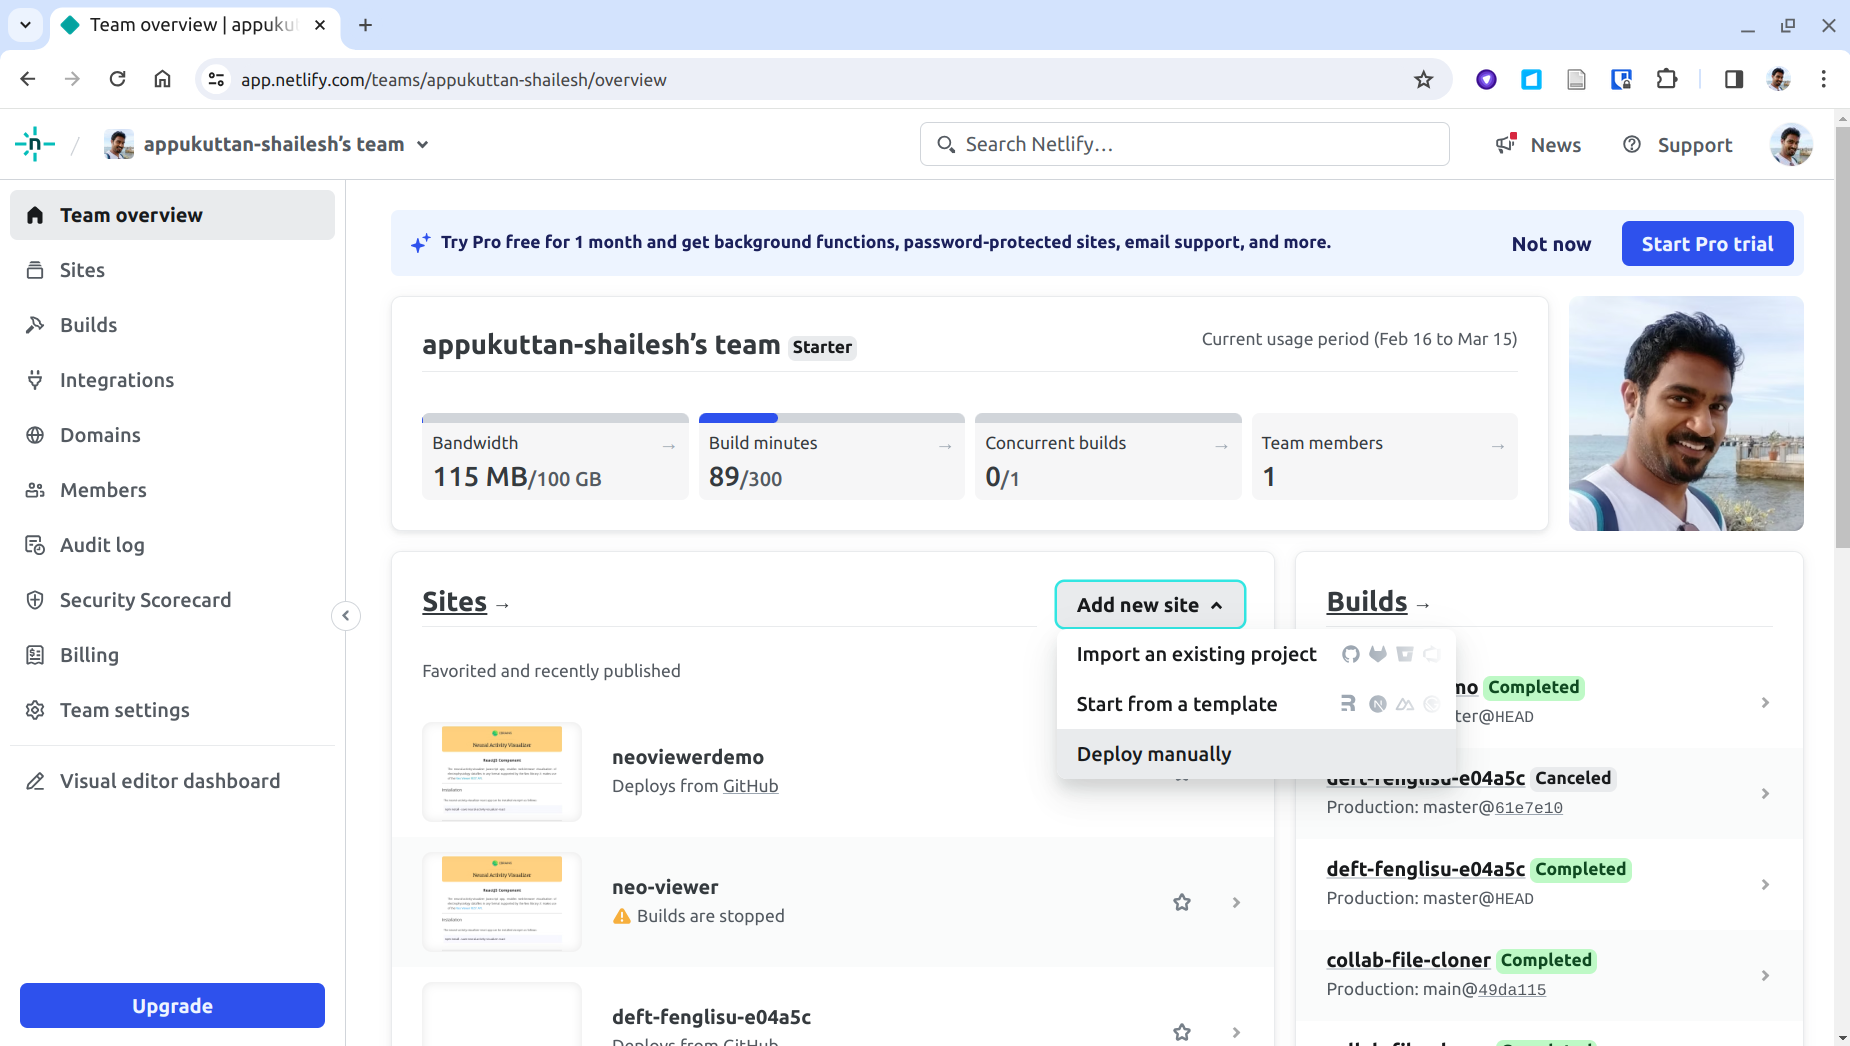
Click Deploy manually:
Step 11
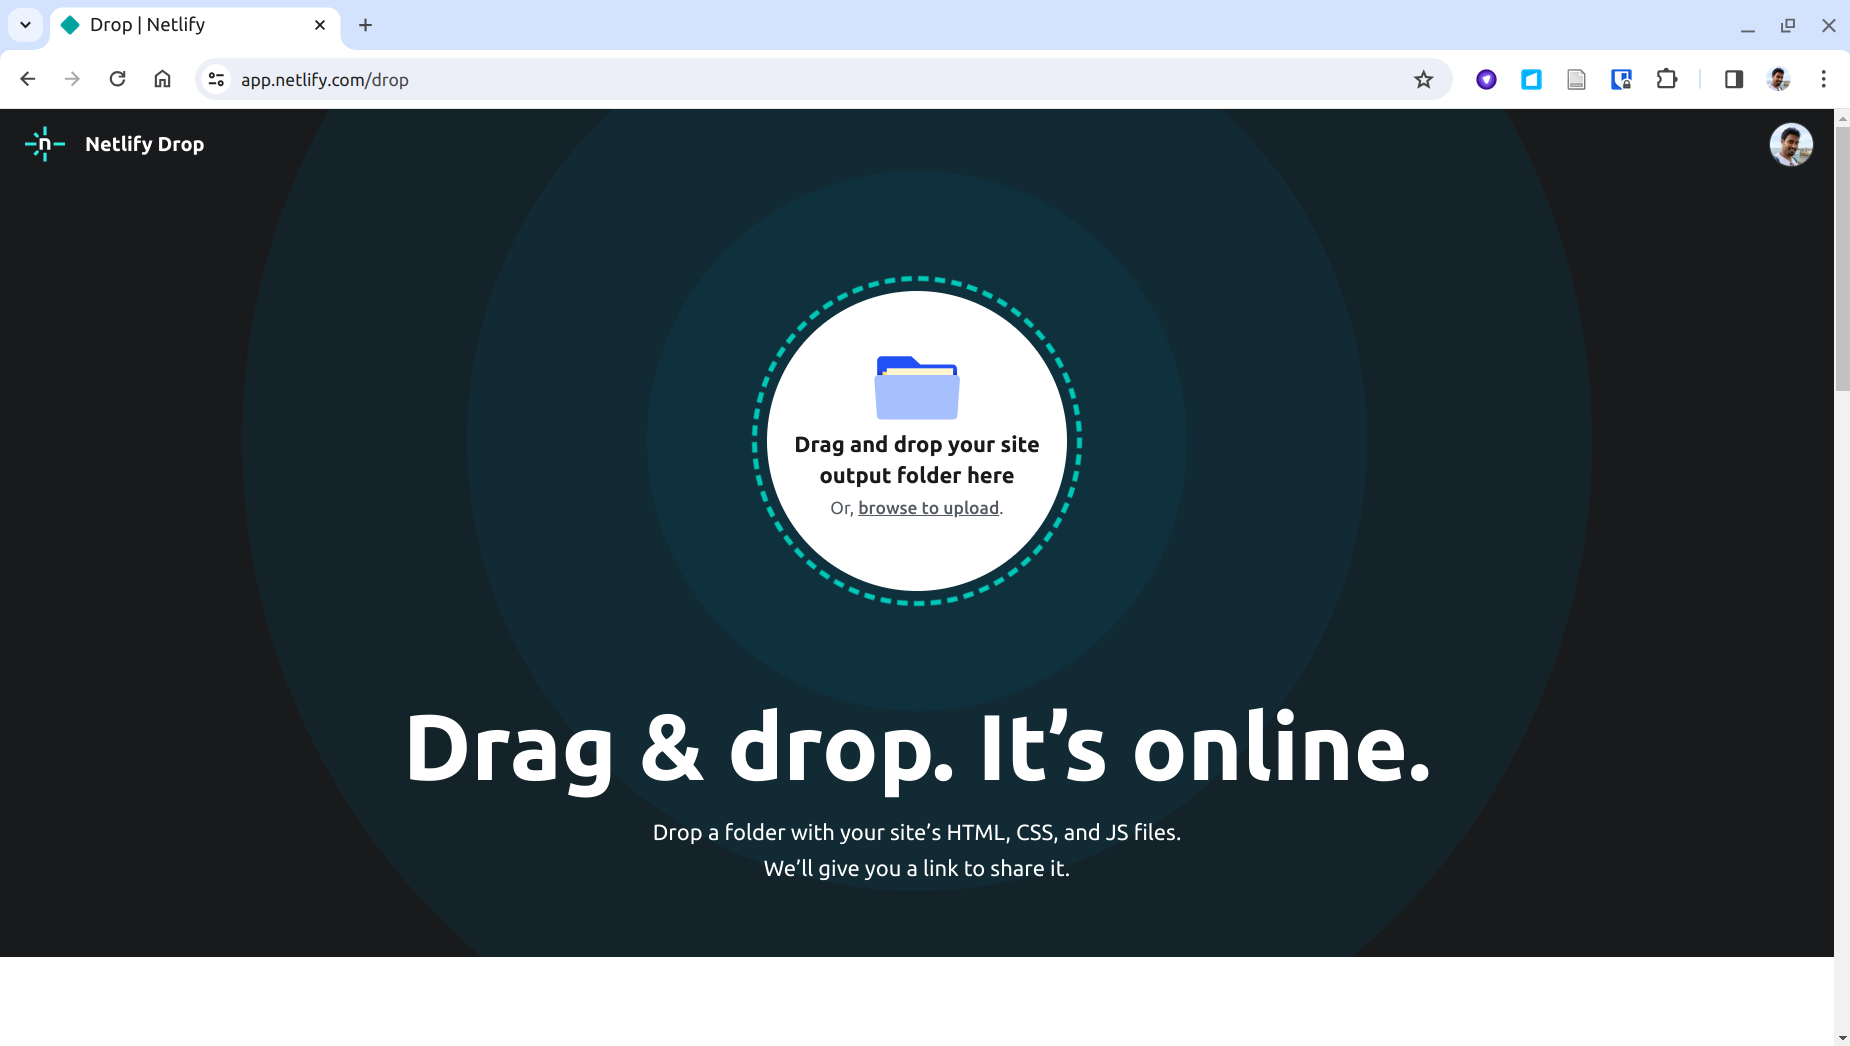
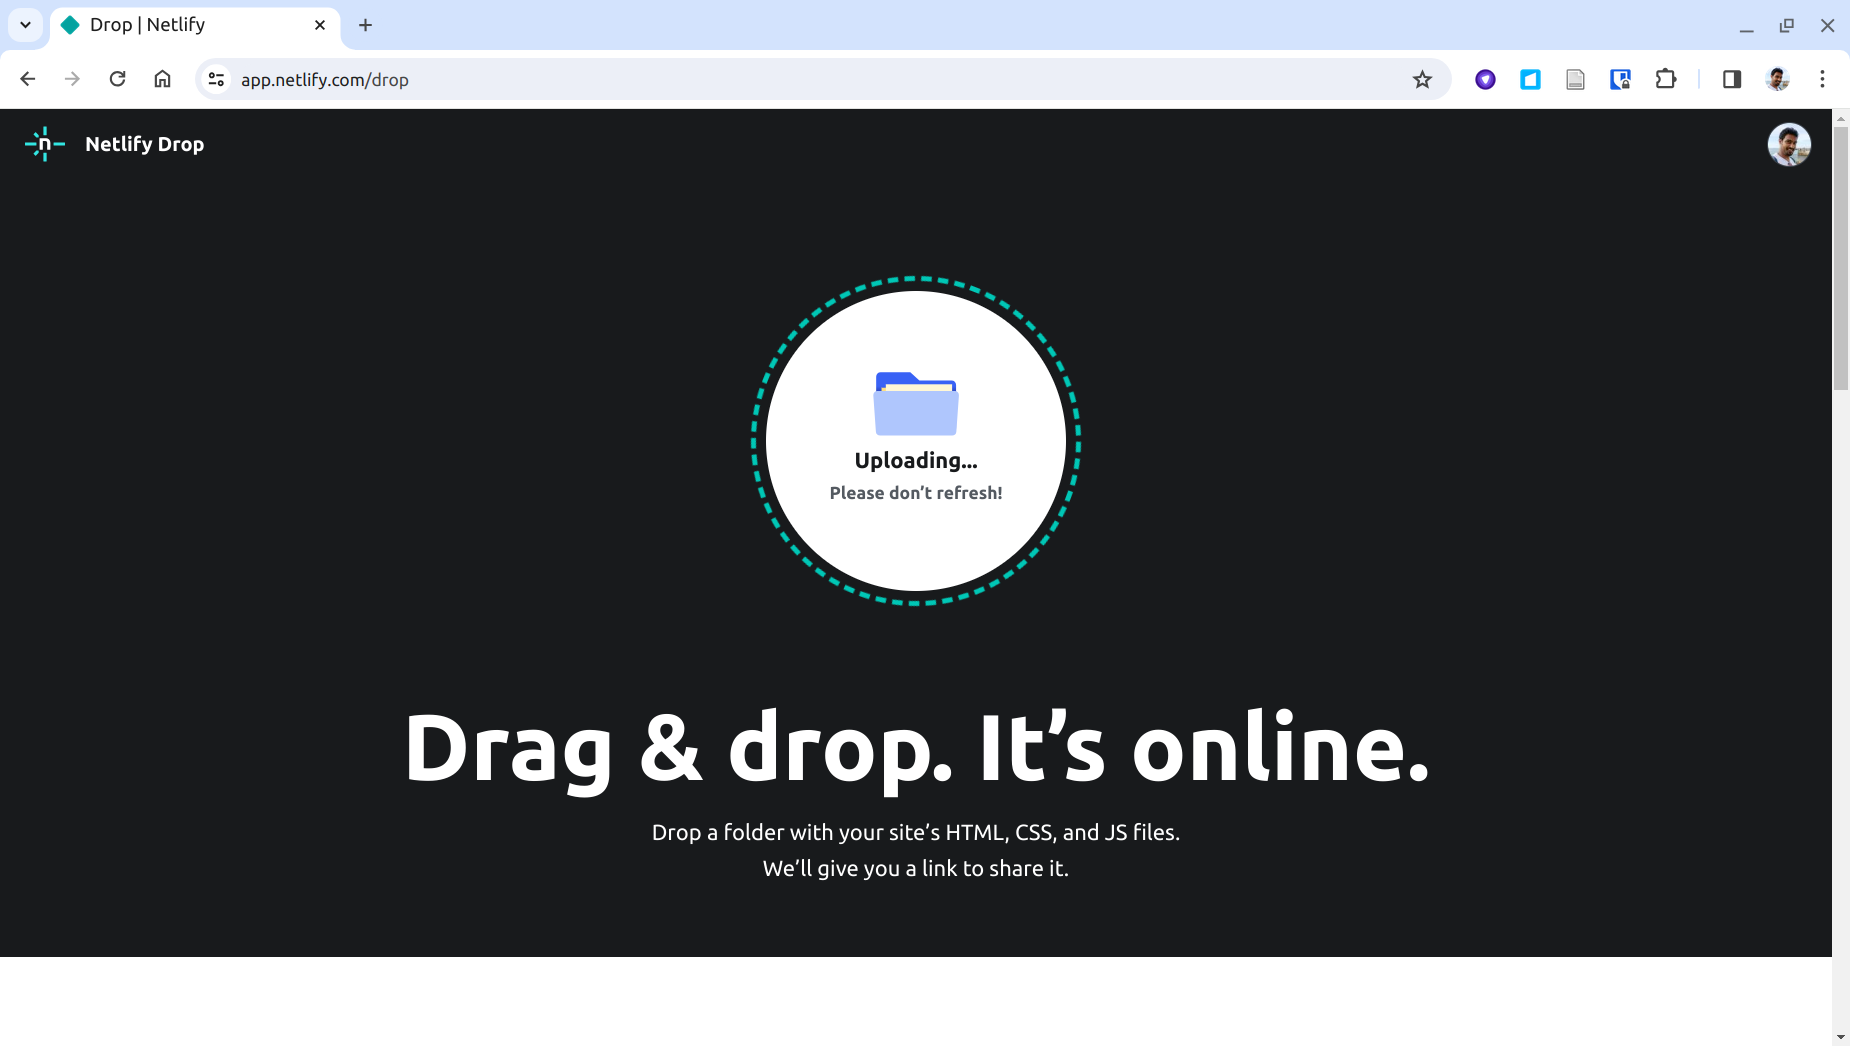
Drag and drop your NeoViewer folder onto the upload area:
Step 12
Step 13
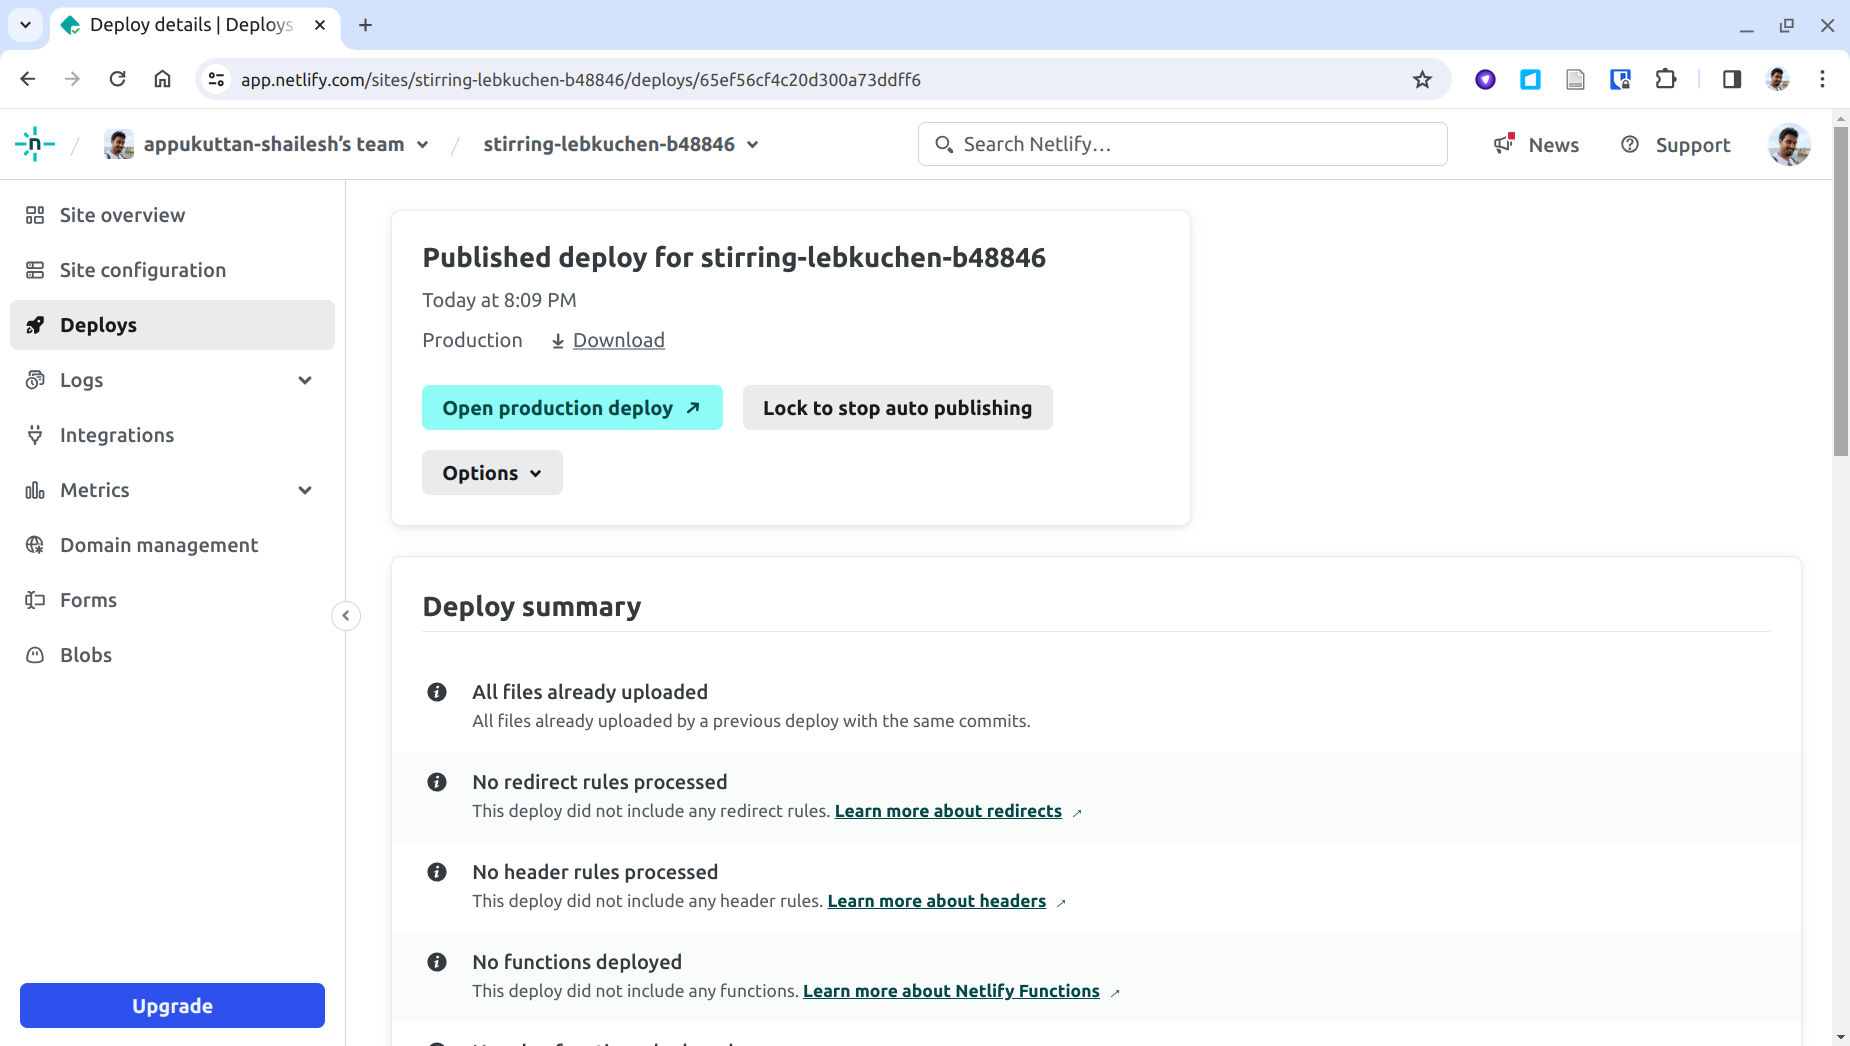
Deployment complete:
Step 14
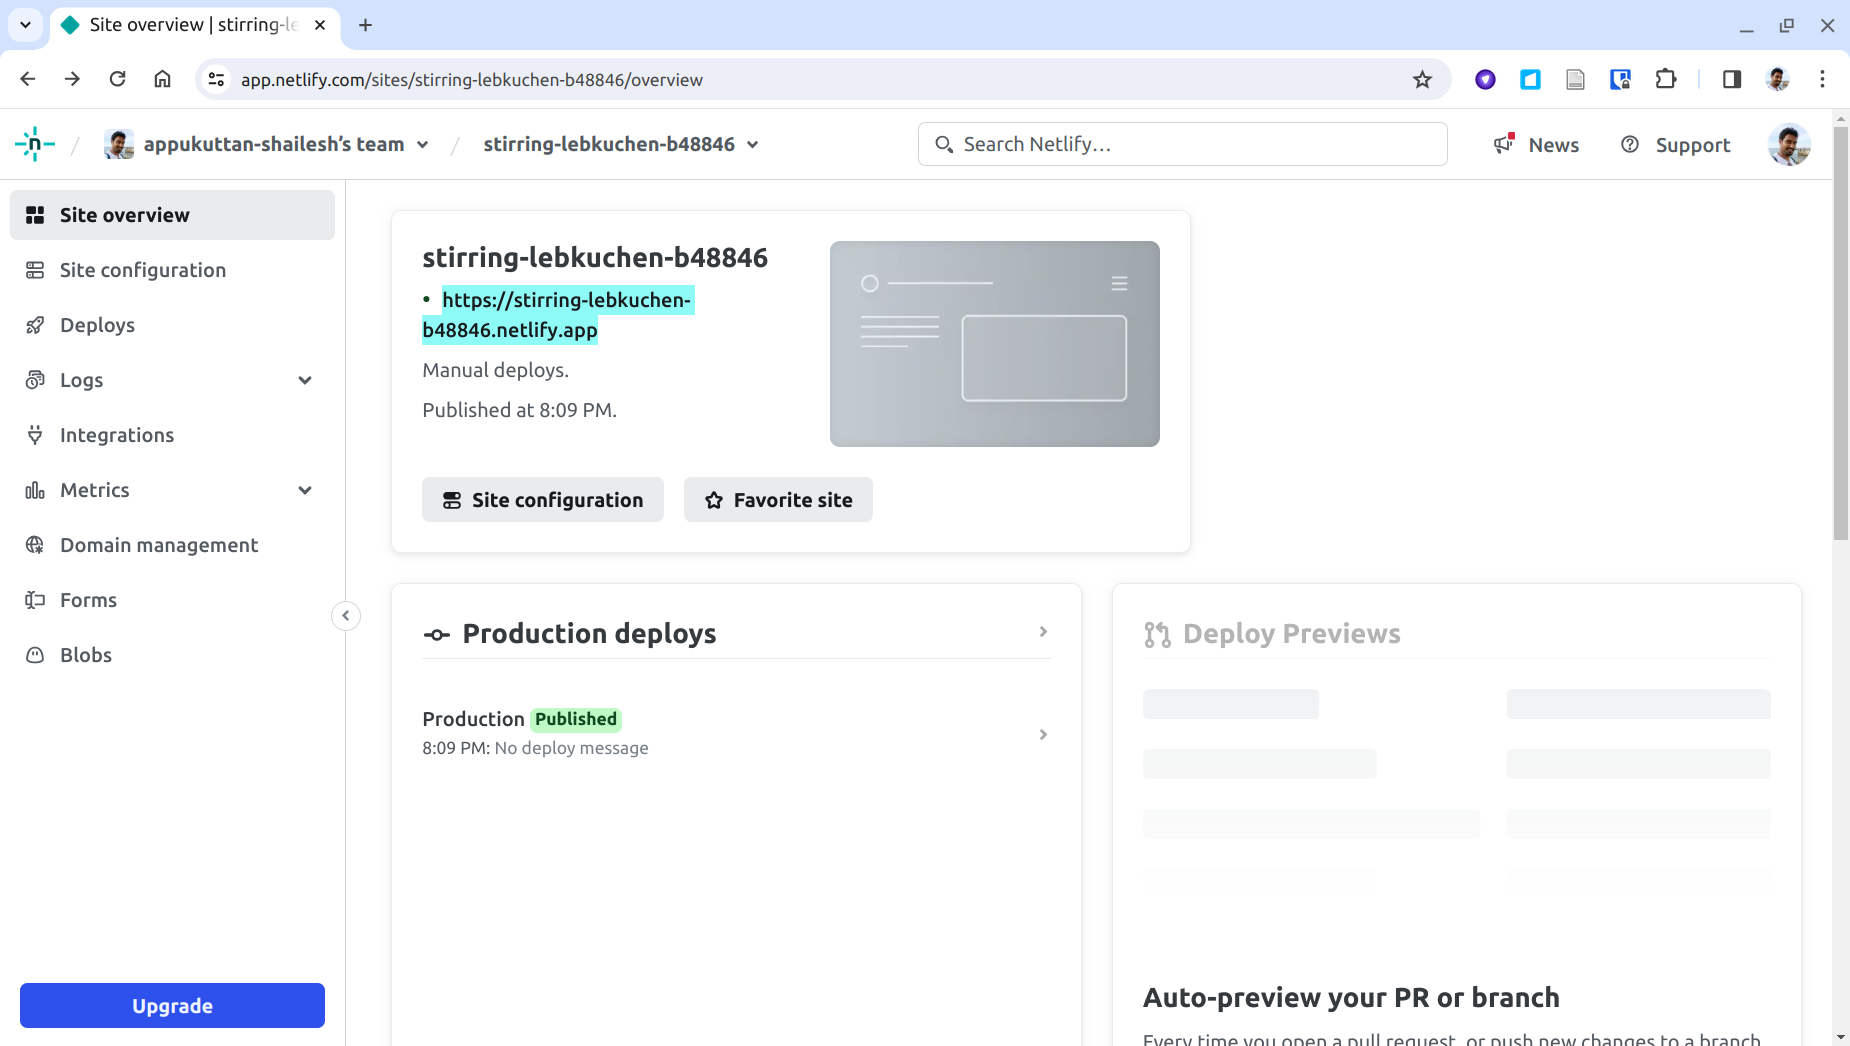
Click Site Overview to find your URL:
Step 15
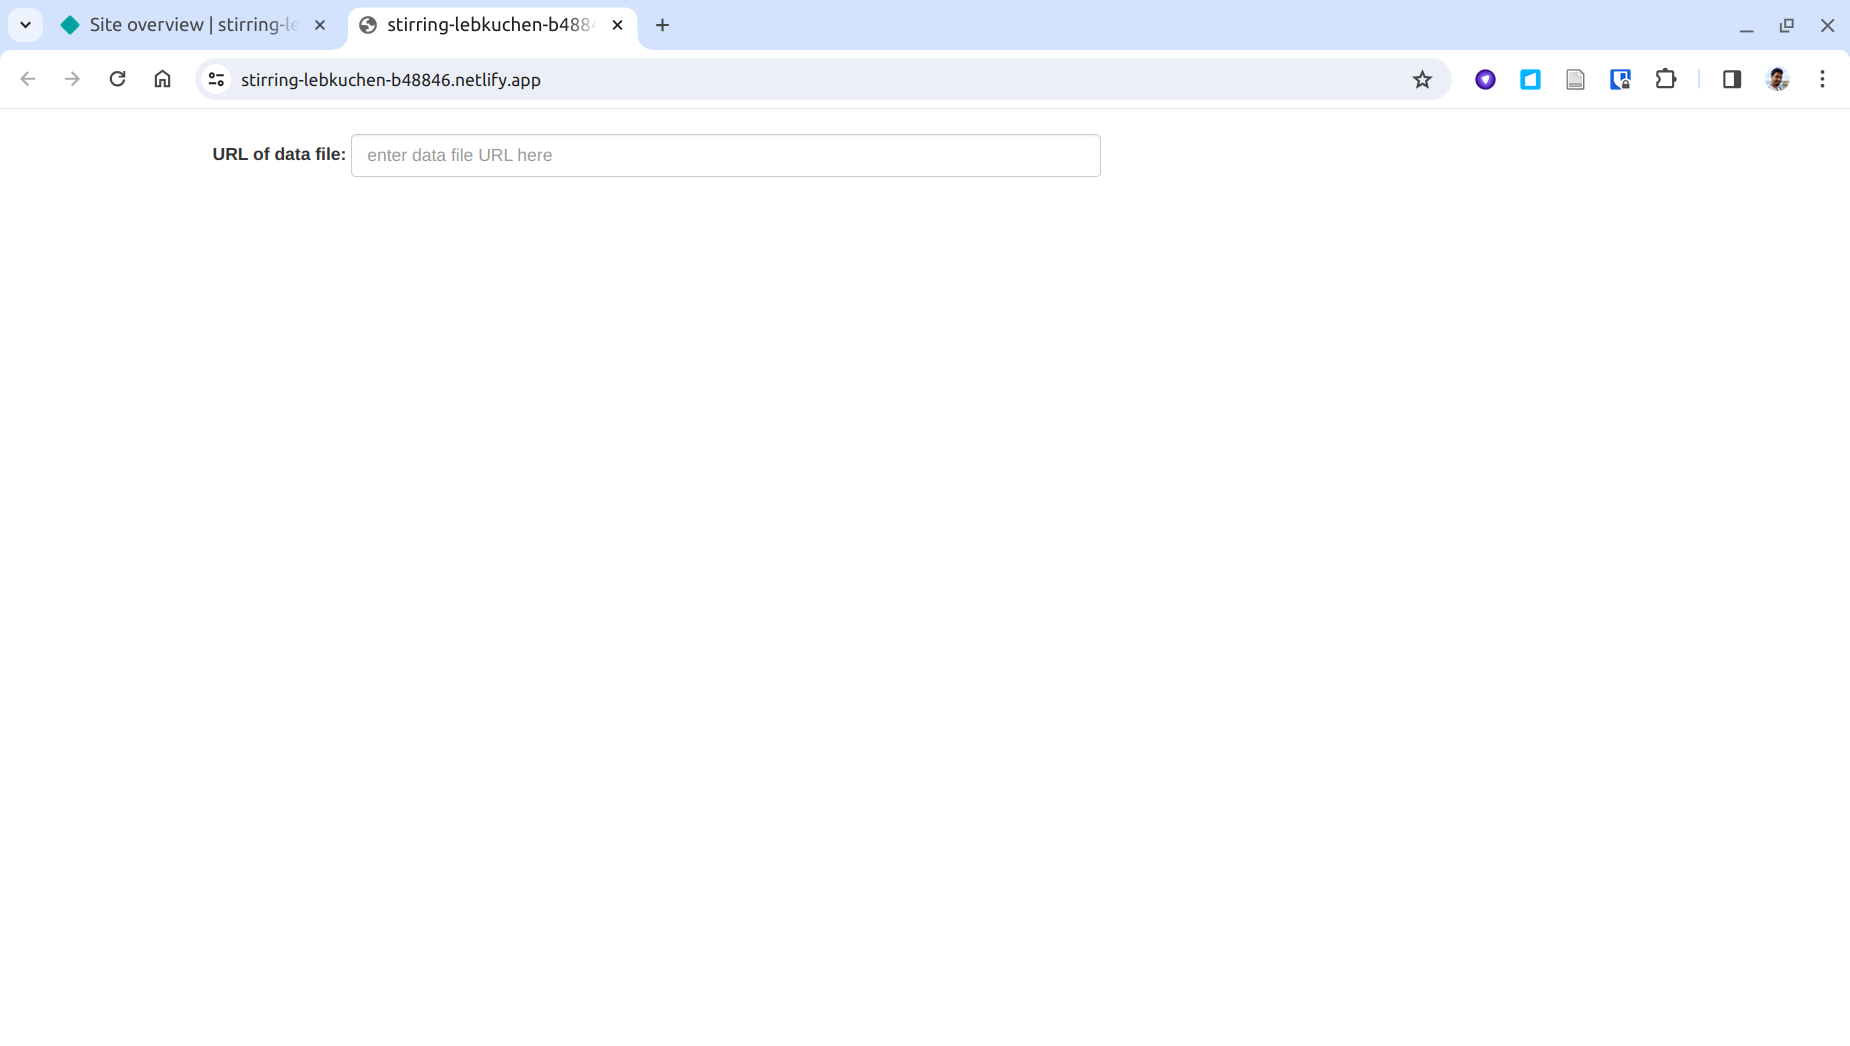
Your visualizer is now live:
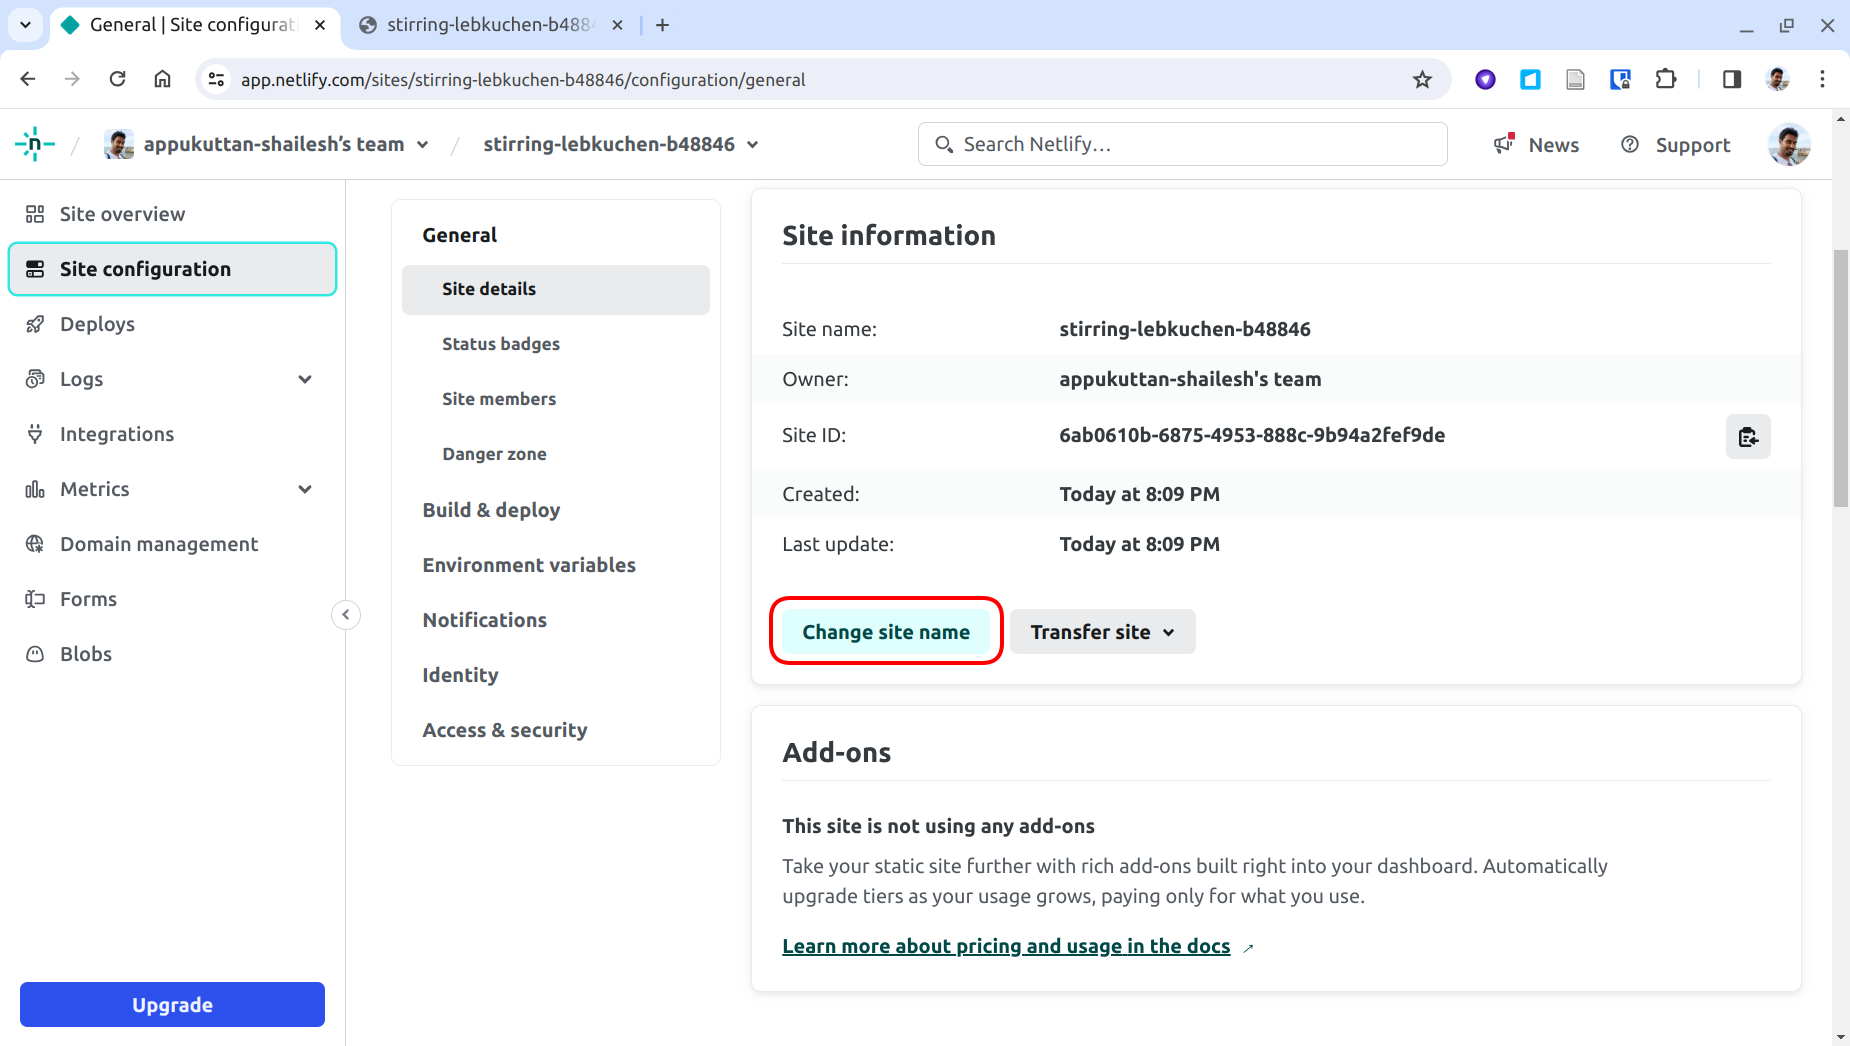
Step 16
To rename your site (and its URL), go to Site configuration → Change site name. Share the URL with anyone to give them access, or embed it in another website.